Strat Salvage (part 2)
I left the last Strat Salvage report with body cracks well glued and the makeshift clamp still in place. The next thing to do then was to remove those veneers (front and back). I read that Fender use/d them to help with finish consistency, especially when using a partially transparent finish such as the case of a sunburst where the grain is visible towards the center of the body; I guess this became standard manufacturing practice on all guitars, even those with a solid finish. This guitar body is constructed from three pieces of timber, and not very well grain-matched pieces at that, which points to cheap, high volume manufacturing: stick a laminate over those glue joints and it doesn’t matter how the guitar was built or what finish you intend to use, the result will be flawless. At least it isn’t ply.
Actually the wood itself is quite beautiful: honey coloured alder, and the individual pieces are of quite high quality. I wouldn’t go so far as to say the wood is figured, but there’s definitely some interesting grain to play with. But enough waffle about wood and construction theories.
This guitar will be refinished with Tru-Oil, a light varnish produced for gun stocks. Reasonably common on guitar necks but slightly less so on guitar bodies. I will apply it with a French polishing technique (I use the word “technique” loosely), with several thin coats that won’t require buffing or anything like that. It won’t be a glass finish, but I’m hoping for something like a violin appearance – I want to show off the grain without affecting the colour of the wood too much. The Tru-Oil is in the post (in Sydney I think) and before it arrives there are a couple of problems to be investigated and hopefully solved.
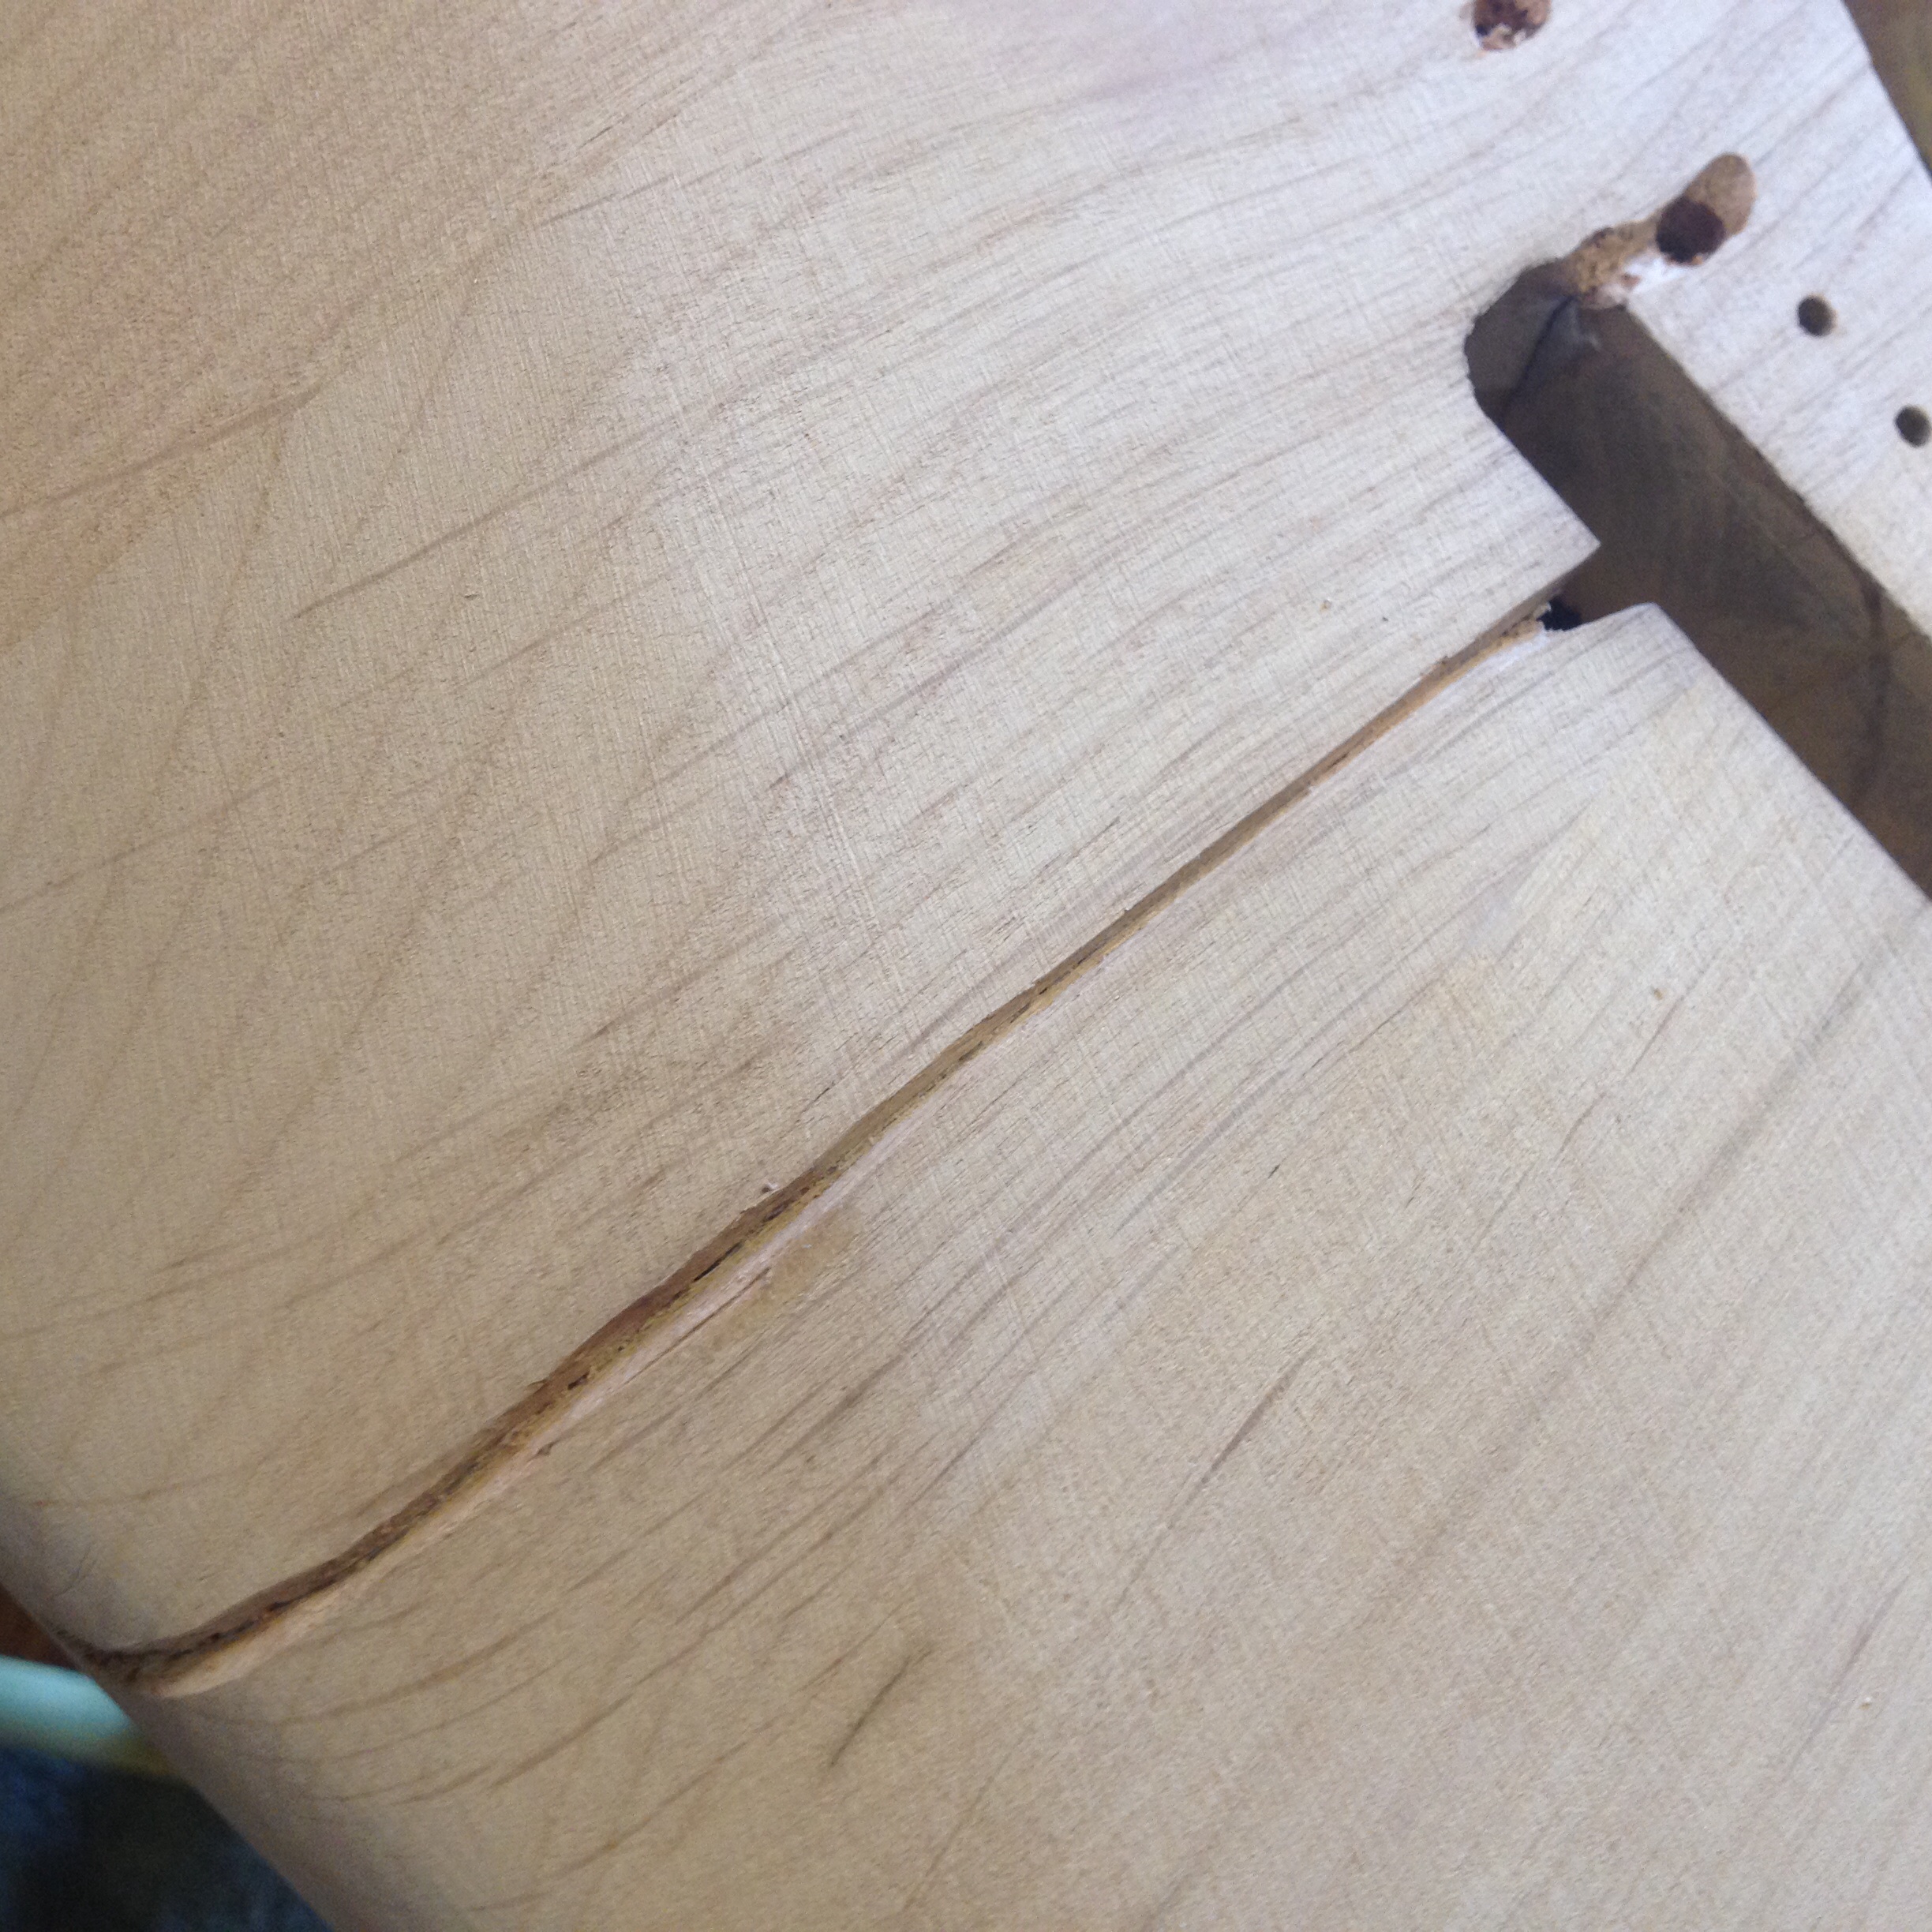
The main battle scar accentuated.
- Filled cracks: We decided to retain a reminder of the battle wounds by not going to too much effort to hide the crack repair. In fact I’ve accentuated it a little by scraping with a razor along the line of the crack and filling it with a slightly darker than necessary filler (maple dust in Titebond). There’s still a little work to be done on this crack as well as other nicks and knocks.
- Dark spots: I can’t be certain, but it looks as though I inadvertently singed the timber with the heat gun in a couple of spots while removing the finish. In these areas the wood is a little darker and softer and I’m not enough of a wood guru to say whether this is simply deteriorating wood, heat rash, or that perhaps one begot the other. Either way some effort will need to be made to even out these inconsistencies. Wiping down with a damp cloth makes these areas extremely dark indeed compared to the honey-like appearance of the rest of it.
- Sanding: Because this finish won’t be sanded and buffed like a normal instrument finish, the wood will need to be as silky as humanly possible before the Tru-Oil goes on. I’m currently on 400 grit sandpaper and it’s looking pretty tasty. I’ll take it as far as 800. I doubt anything higher would make much difference on this timber. Some fine steel wool may be useful as a final polish before finishing.
That’s where I left this blog over a month ago. I wasn’t resting on my laurels though… here’s where the project is now:

Veneer removed. Eroded screw holes revealed.
In an attempt to match those darker, potentially singed bits, I applied bleach, but it only seemed to affect the stuff that was already lighter. I decided not to persevere, and just left those bits a little dark. In fact it got me thinking about a singed sunburst finish – instead of using black paint around the edges – but that’s something for another day.
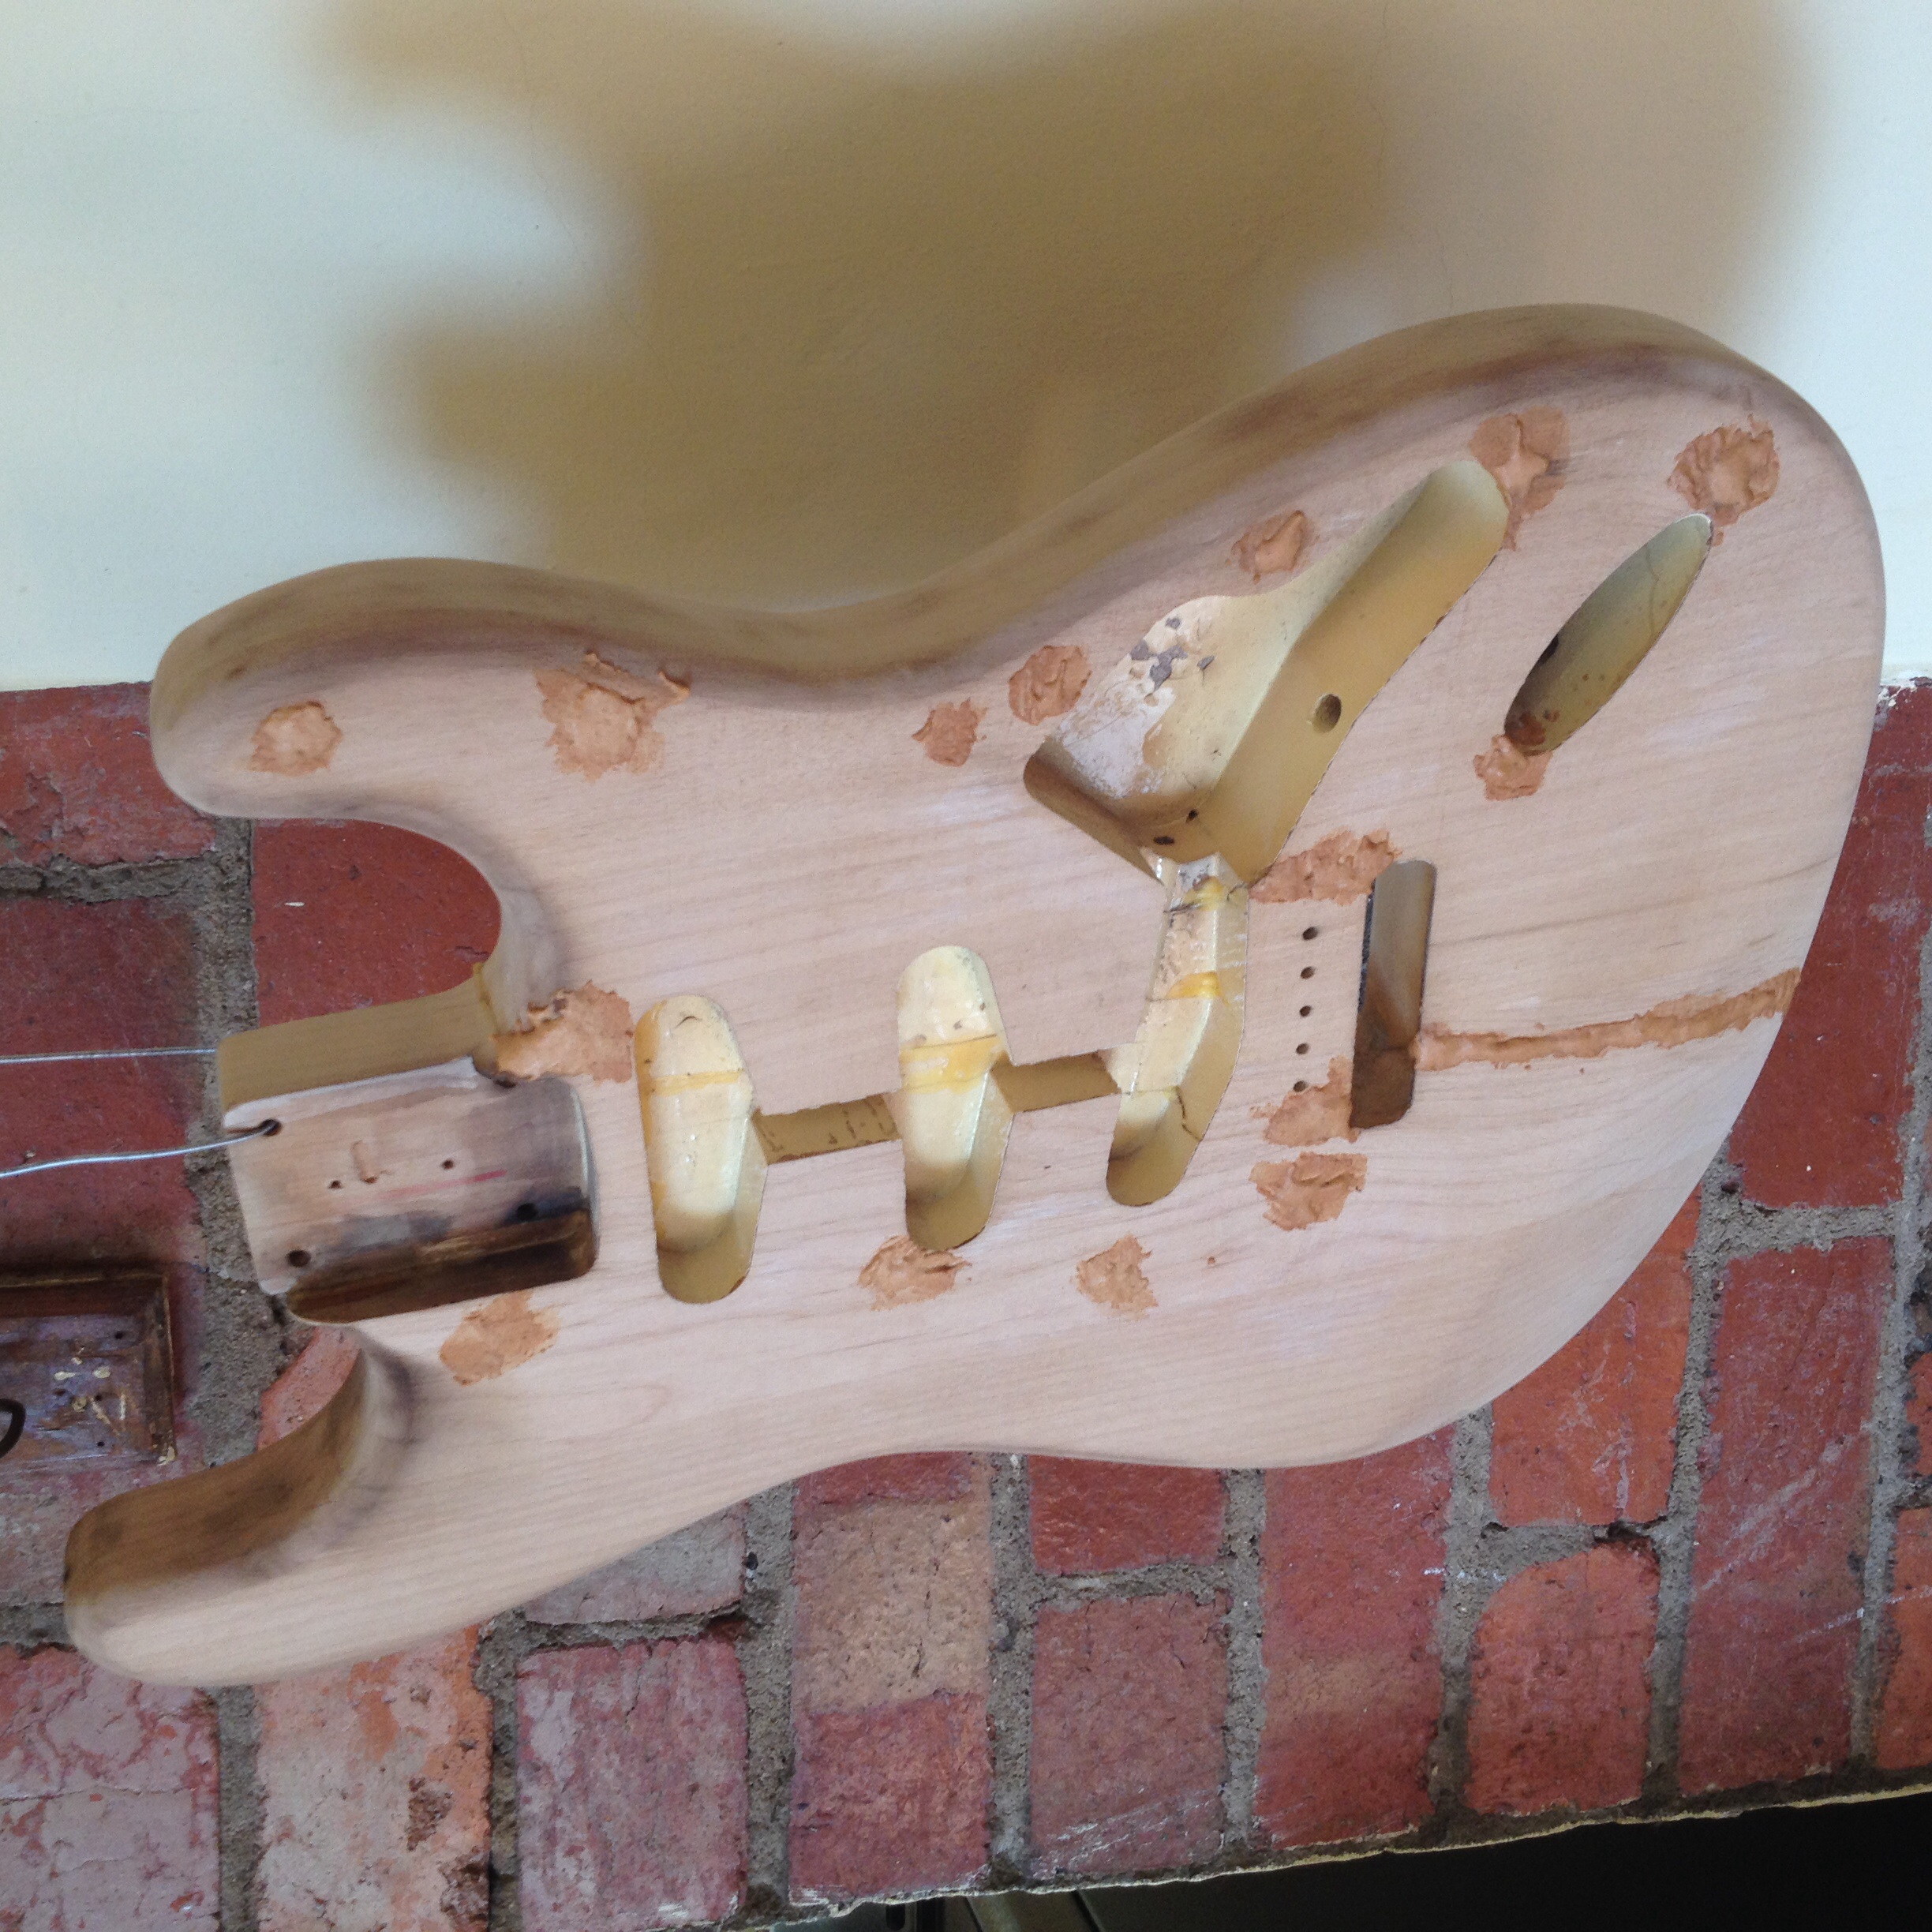
Patched with maple dust in Titebond. There’s a good view of the signed bits here.
Well, there’s no point in dragging this out. The Tru-Oil arrived in the post, and I immediately fell in love with it. The wood soaked up the first coat like something that had been lost in a desert, and thereafter was a delight to apply. I used cotton balls wrapped in a bit of an old cotton T-shirt, and applied around ten coats with some steel wool rubbing when it seemed like a good idea (0000 grade). I used the same grade steel wool to bring life back into the chrome hardware: it removed the sweat-induced green corrosion with minimal effort, and while I was at it I rubbed back the neck, partly to clean it and partly to remove the hard candy clear finish and give it the satin feel that I prefer on Strats.
The only new piece of hardware was a pre-wired pickguard. The original one had a few bites taken out of it, so it needed replacing anyway, and since we were on a shoestring budget I decided not to wire it up with fancy components for now. The original pickup covers, knobs and switch cap were used because they were nicely aged and yellowish.

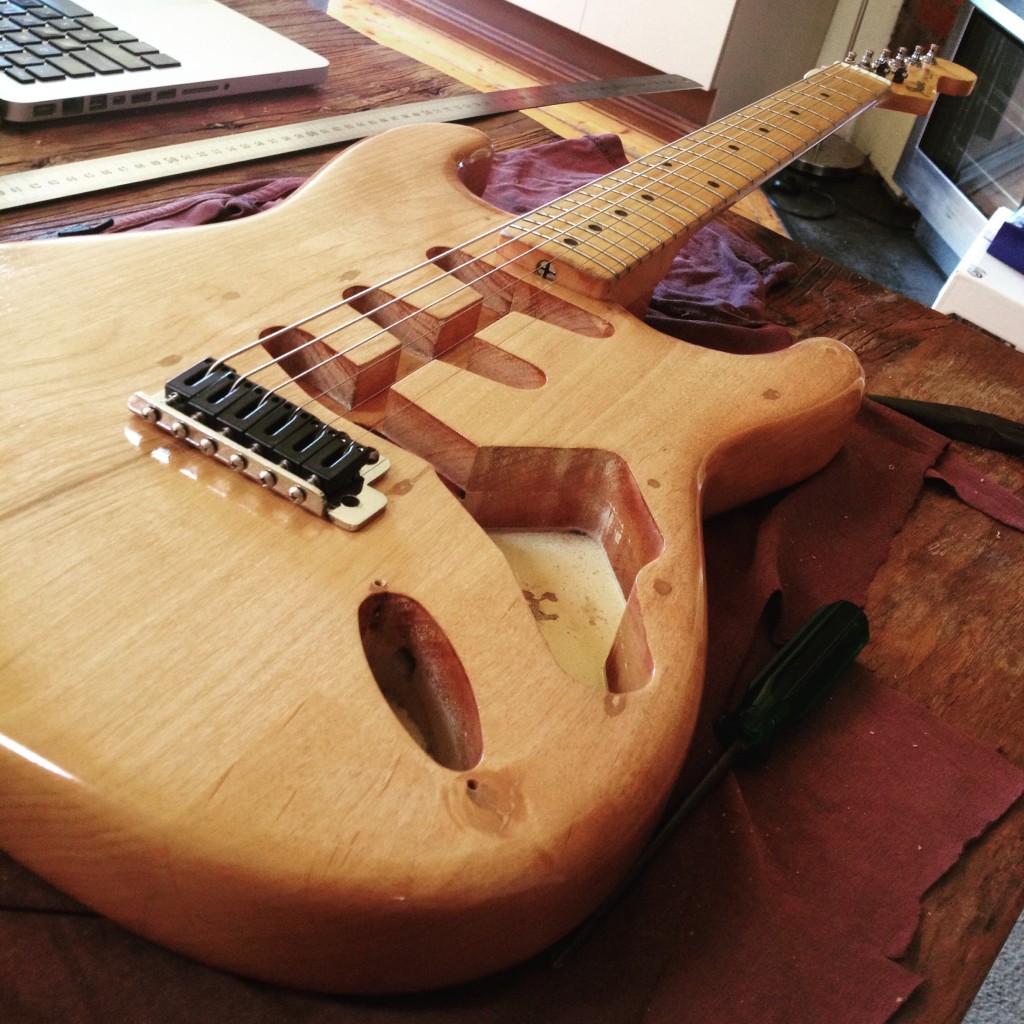
A test play while waiting for the pickguard to arrive…
With everything reassembled, the only remaining task was to see how it played. I threw on some old strings, did no kind of setup, and to my absolute surprise the guitar played beautifully.
So that about wraps it up. I handed the guitar over to its master earlier this week with the promise of a proper setup soon. Said master was happy just to have it playable again… the fact that it played so well without a setup was pure icing.
No Comments