“Jerry Garcia” Guitar Re-Build (part 1)
I’ve always freely admitted to taking a long time to complete projects. This was my first attempt at a guitar, started during my first university holiday in 2001, and… I sort of finished it. But not really. Impatience, poor material choices (aside from the lovely chunk of mahogany) and low standards all conspired to create an unplayable disaster. When I say unplayable, from memory I was able to string it up properly and play it, but it had terrible action, a poorly fretted fingerboard and rubbish electronics salvaged from another “project guitar” that I think I ended up throwing out.
So here we are in 2015, and I just got back from a brief trip to Brisbane where I grabbed a few straggling belongings that hadn’t yet followed me to Melbourne. I’d always hung onto this guitar despite the project being largely a failure, partly for reasons of nostalgia, partly because of the fairly spectacular bit of tree it is made from, and partly because I’d been planning to start work on another guitar anyway.
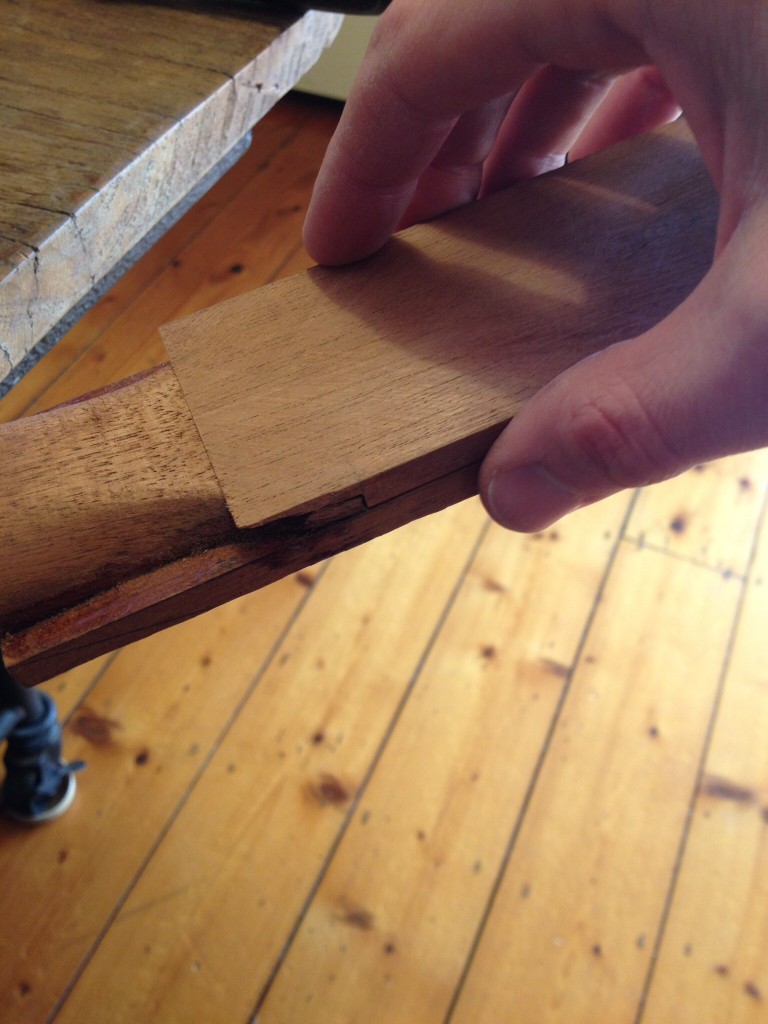
Before the work began. At some point I started the re-build by thinning the body down with an electric plane.
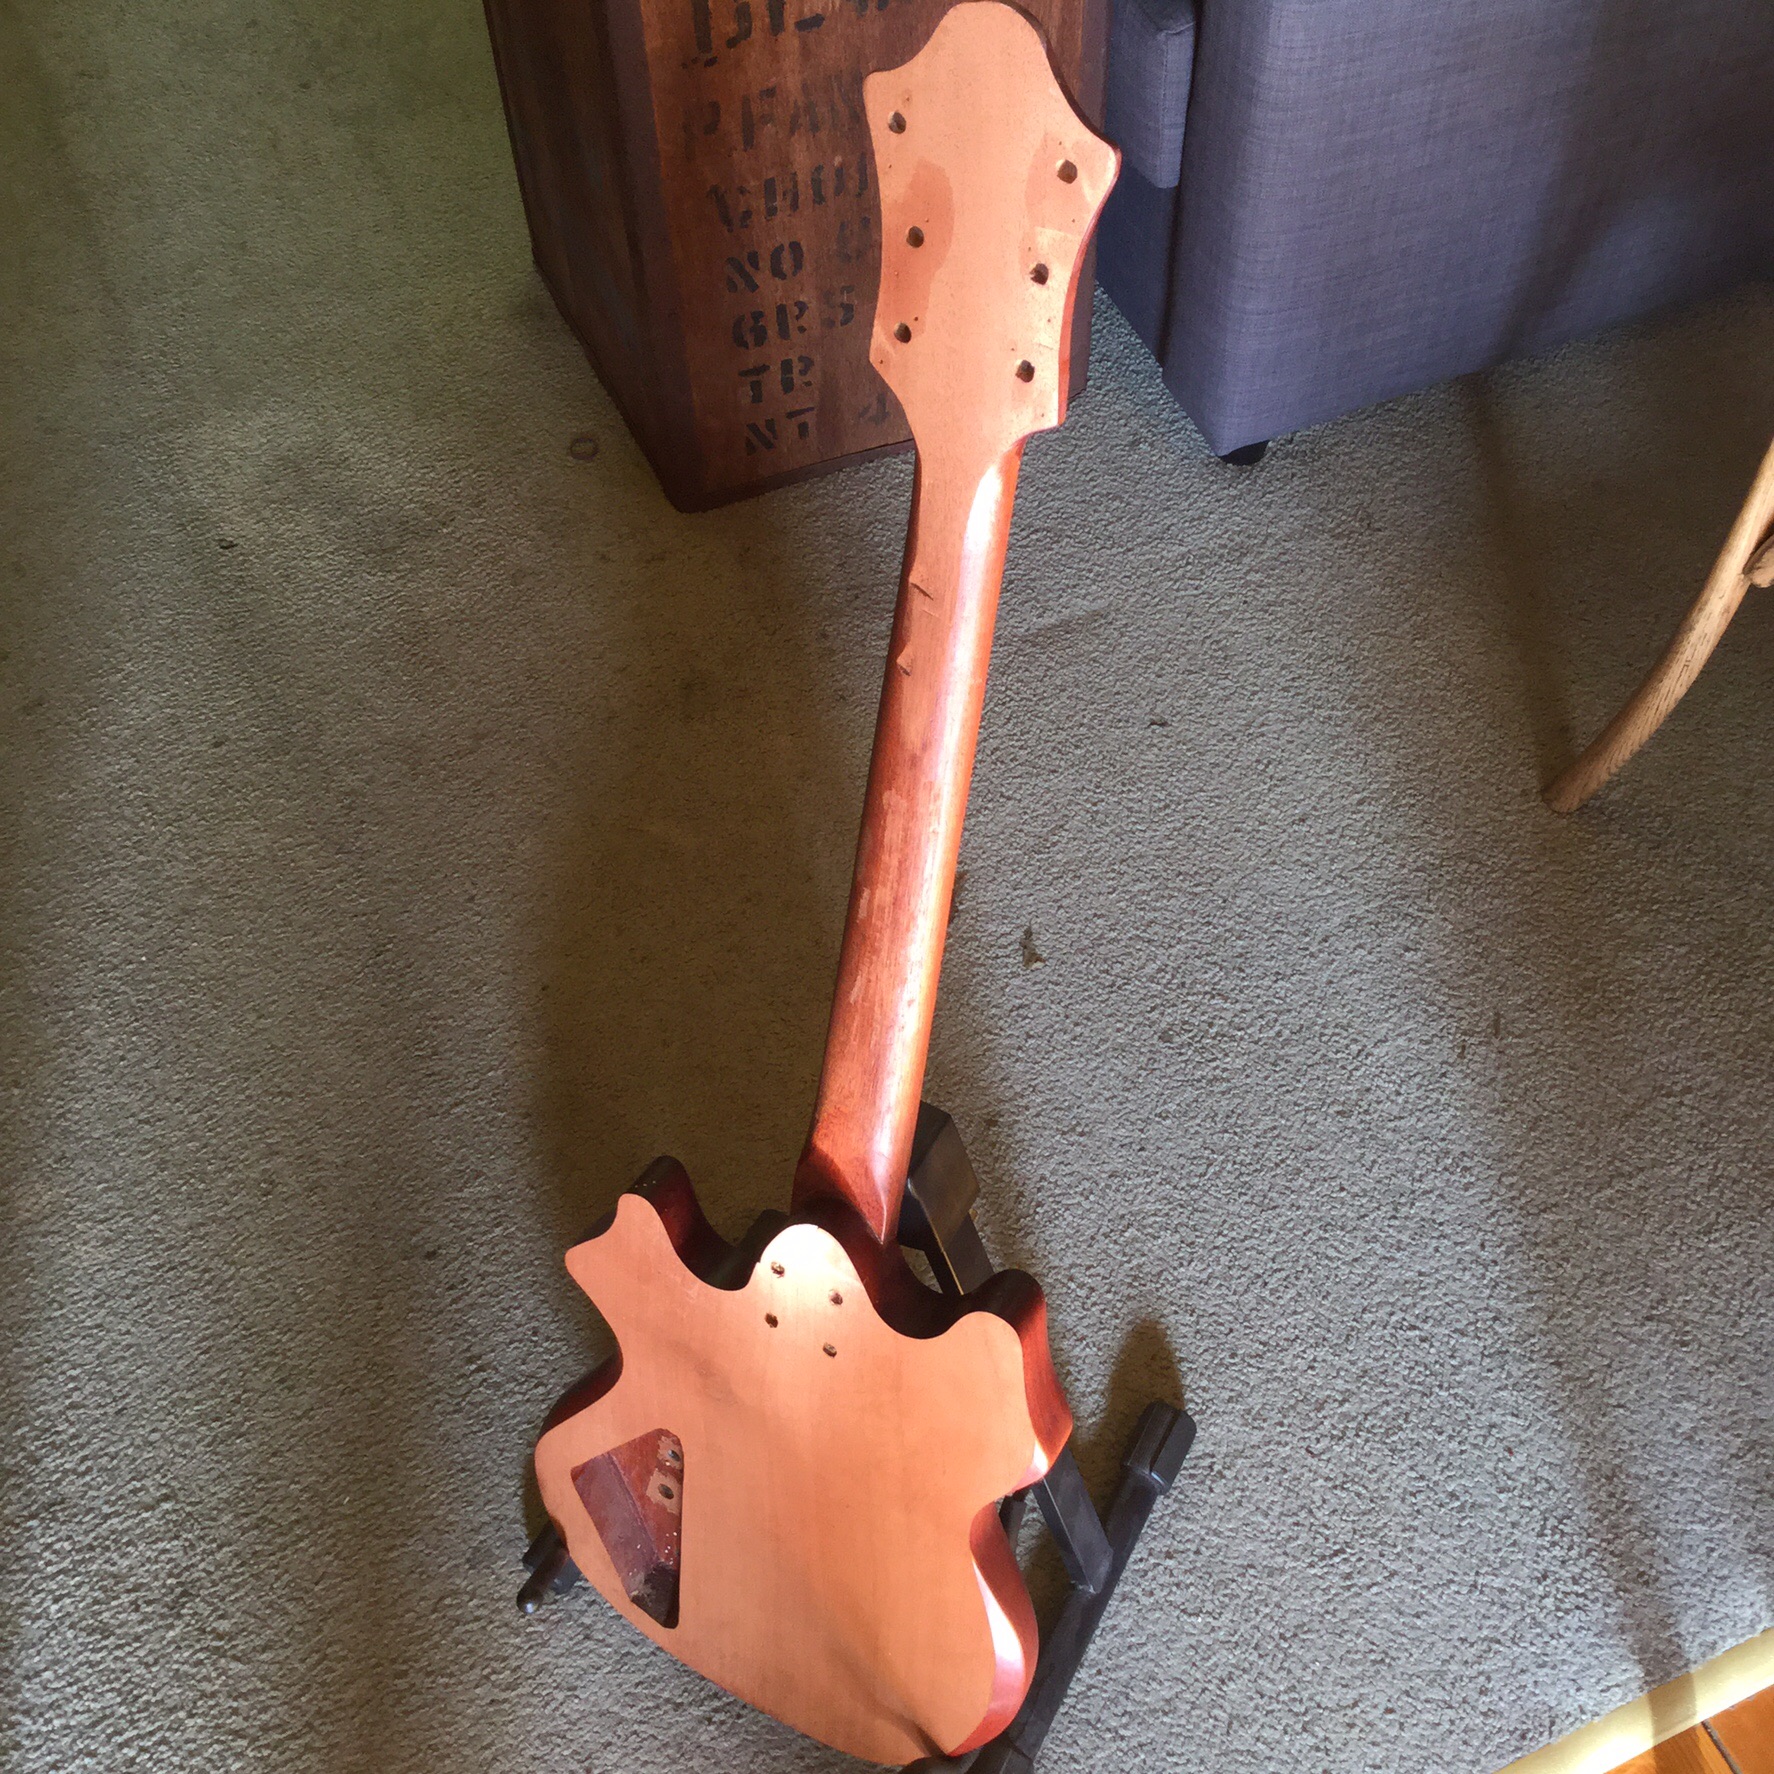
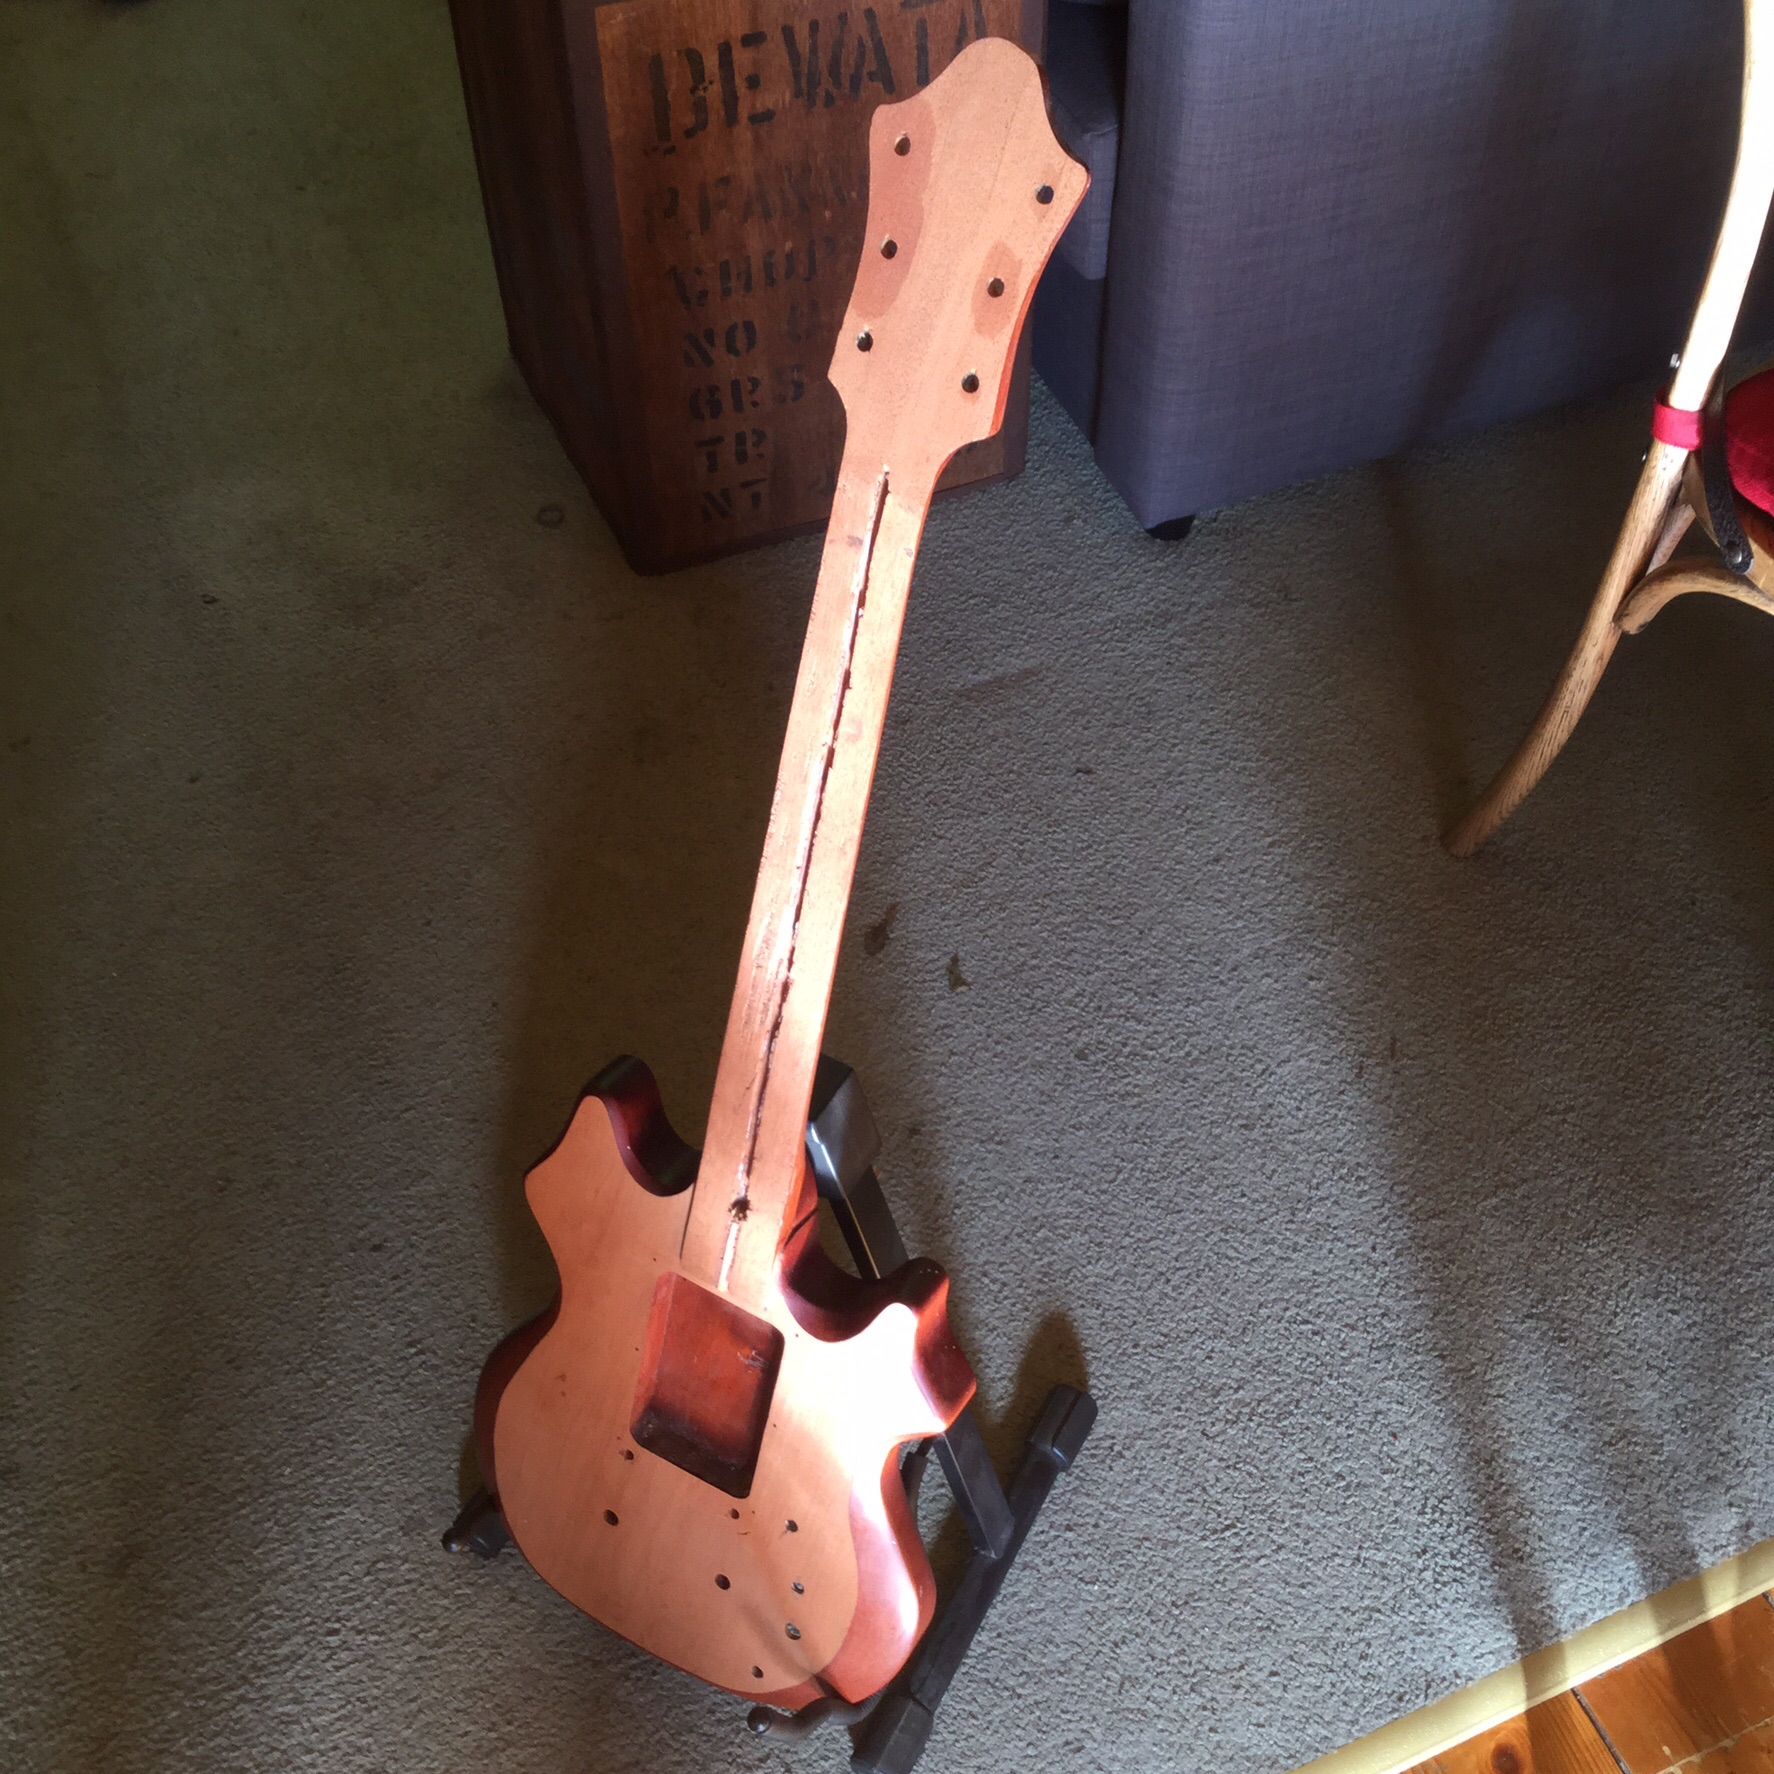
And the back. Note gaping electronics bay, extremely square neck heal, and practically zero degree angle on the headstock.
So, enough back story. Here’s the list of problems so far identified:
- The headstock was never done properly. Originally I tried to carve the entire neck and headstock out of a single block of wood but didn’t quite have enough material to get a good angle (not to mention possible strength issues owing to the direction of the grain).
- I didn’t cut the truss rod groove properly. It is as flat as a pancake. At some point over the years I removed the hopeless fingerboard in order to salvage the truss rod for another project. Thankfully I did that relatively neatly.
- Not much point in mentioning the fingerboard – there isn’t one! I have a nice piece of rosewood I plan to use for that.
- The heal of the neck is all wrong. For some reason I screwed and glued the neck to the body, so there are some ugly holes to fill and hide. The heal itself if too square and uncomfortable when playing high up, so I’ll be going for a neck-through look when blending the neck to the body.
- Moving to the body, the position of the controls is messy, and the electronics bay on the back is way too big and looks dreadful. The pickup bay, well it’s not perfect but I’ve decided to leave it as is because I’ll be using a pickguard this time round.
- Lastly (I think), the shape is going to get freshened up. If you don’t recognise the shape I was going for, it’s based on Gerry Garcia’s Rosebud and Lightning Bolt guitars of the 90’s. It’s not a shape I’d go for these days, but it is what it is. I’m just going to carve the top a little more to pretty it up.
The Headstock
After toying with various ways of bulking up the existing headstock and simply cutting a proper angle into it, I decided to chop it off and start again. It’s no fun trying to cut awkward angles accurately when you don’t have any straight edges left to guide you.
Unceremonious decapitation.
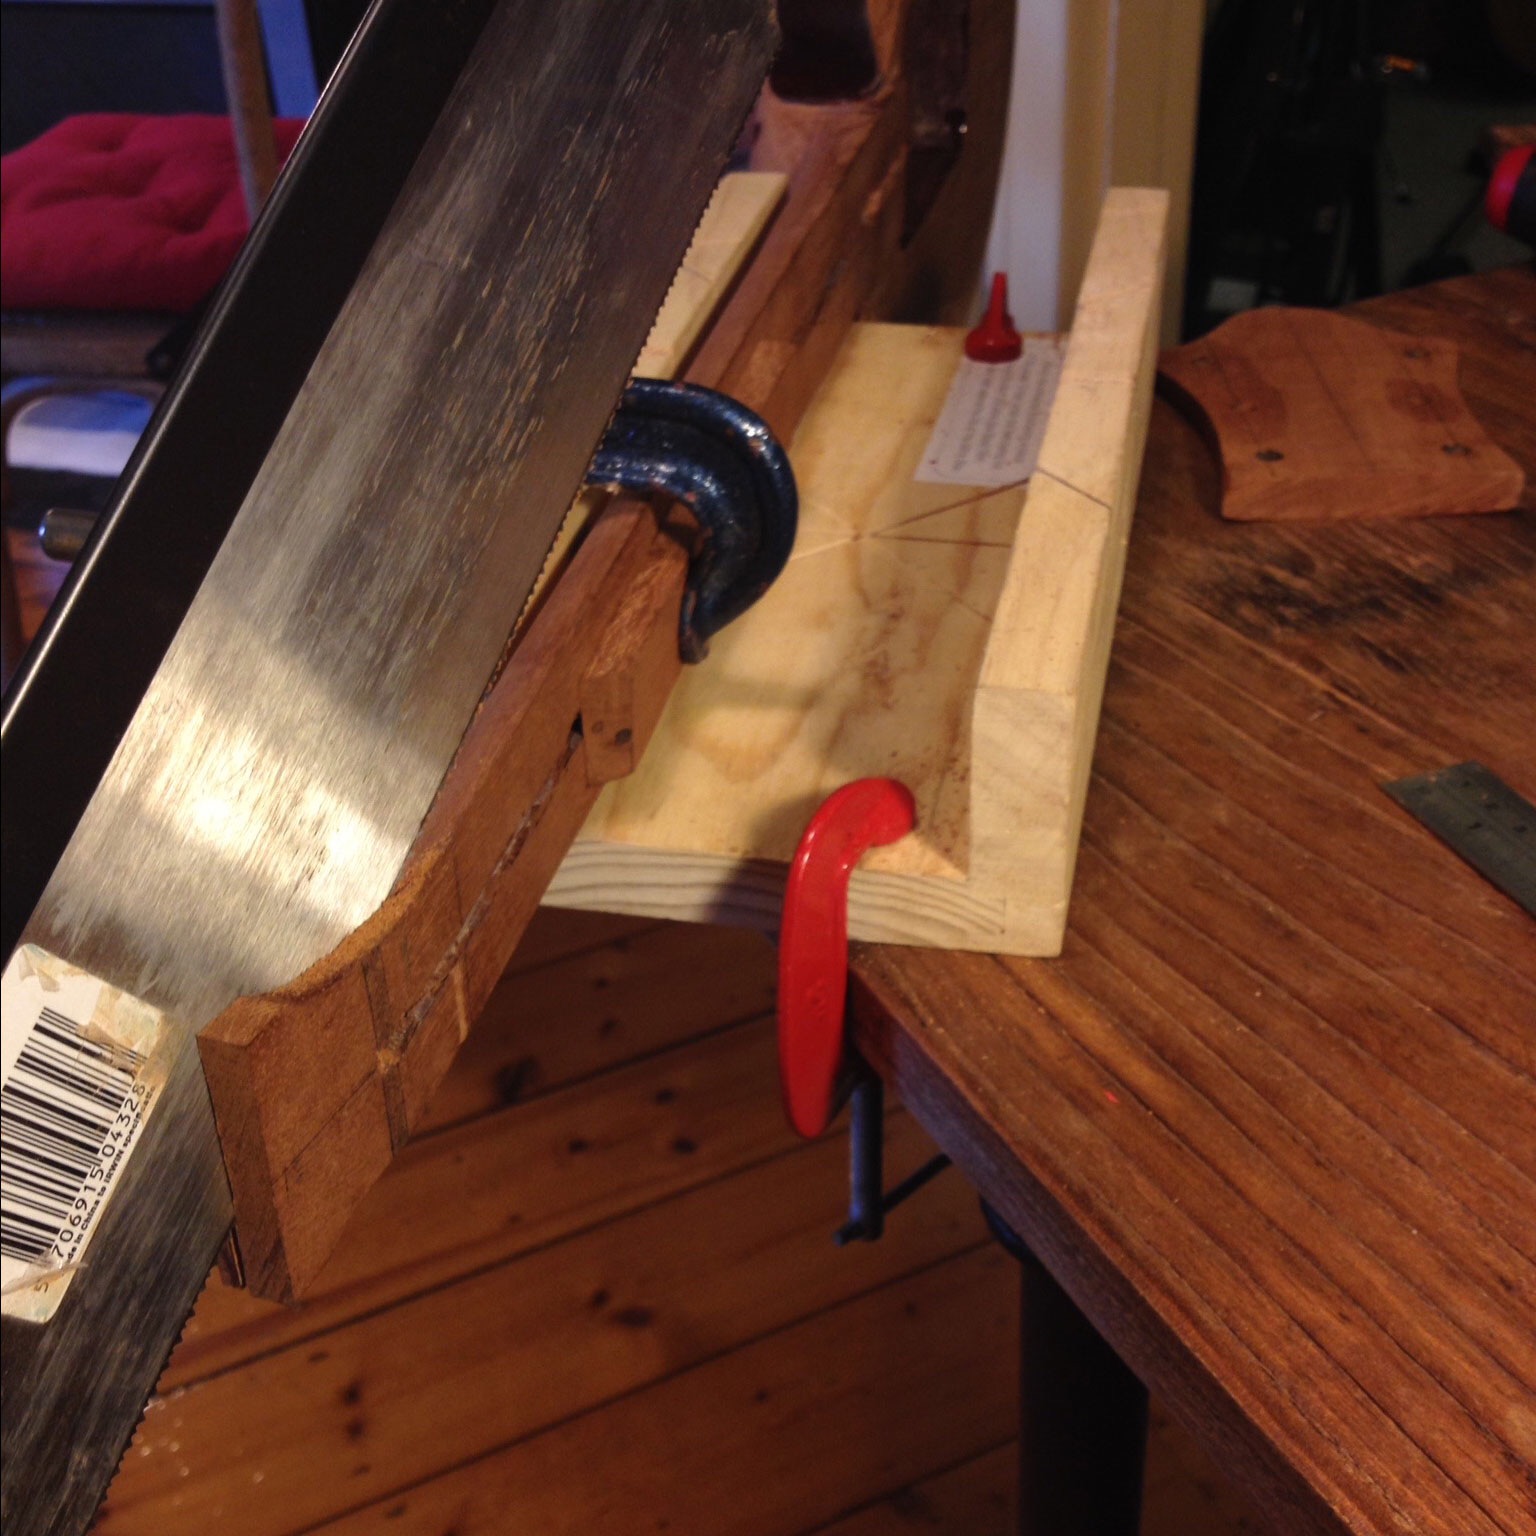
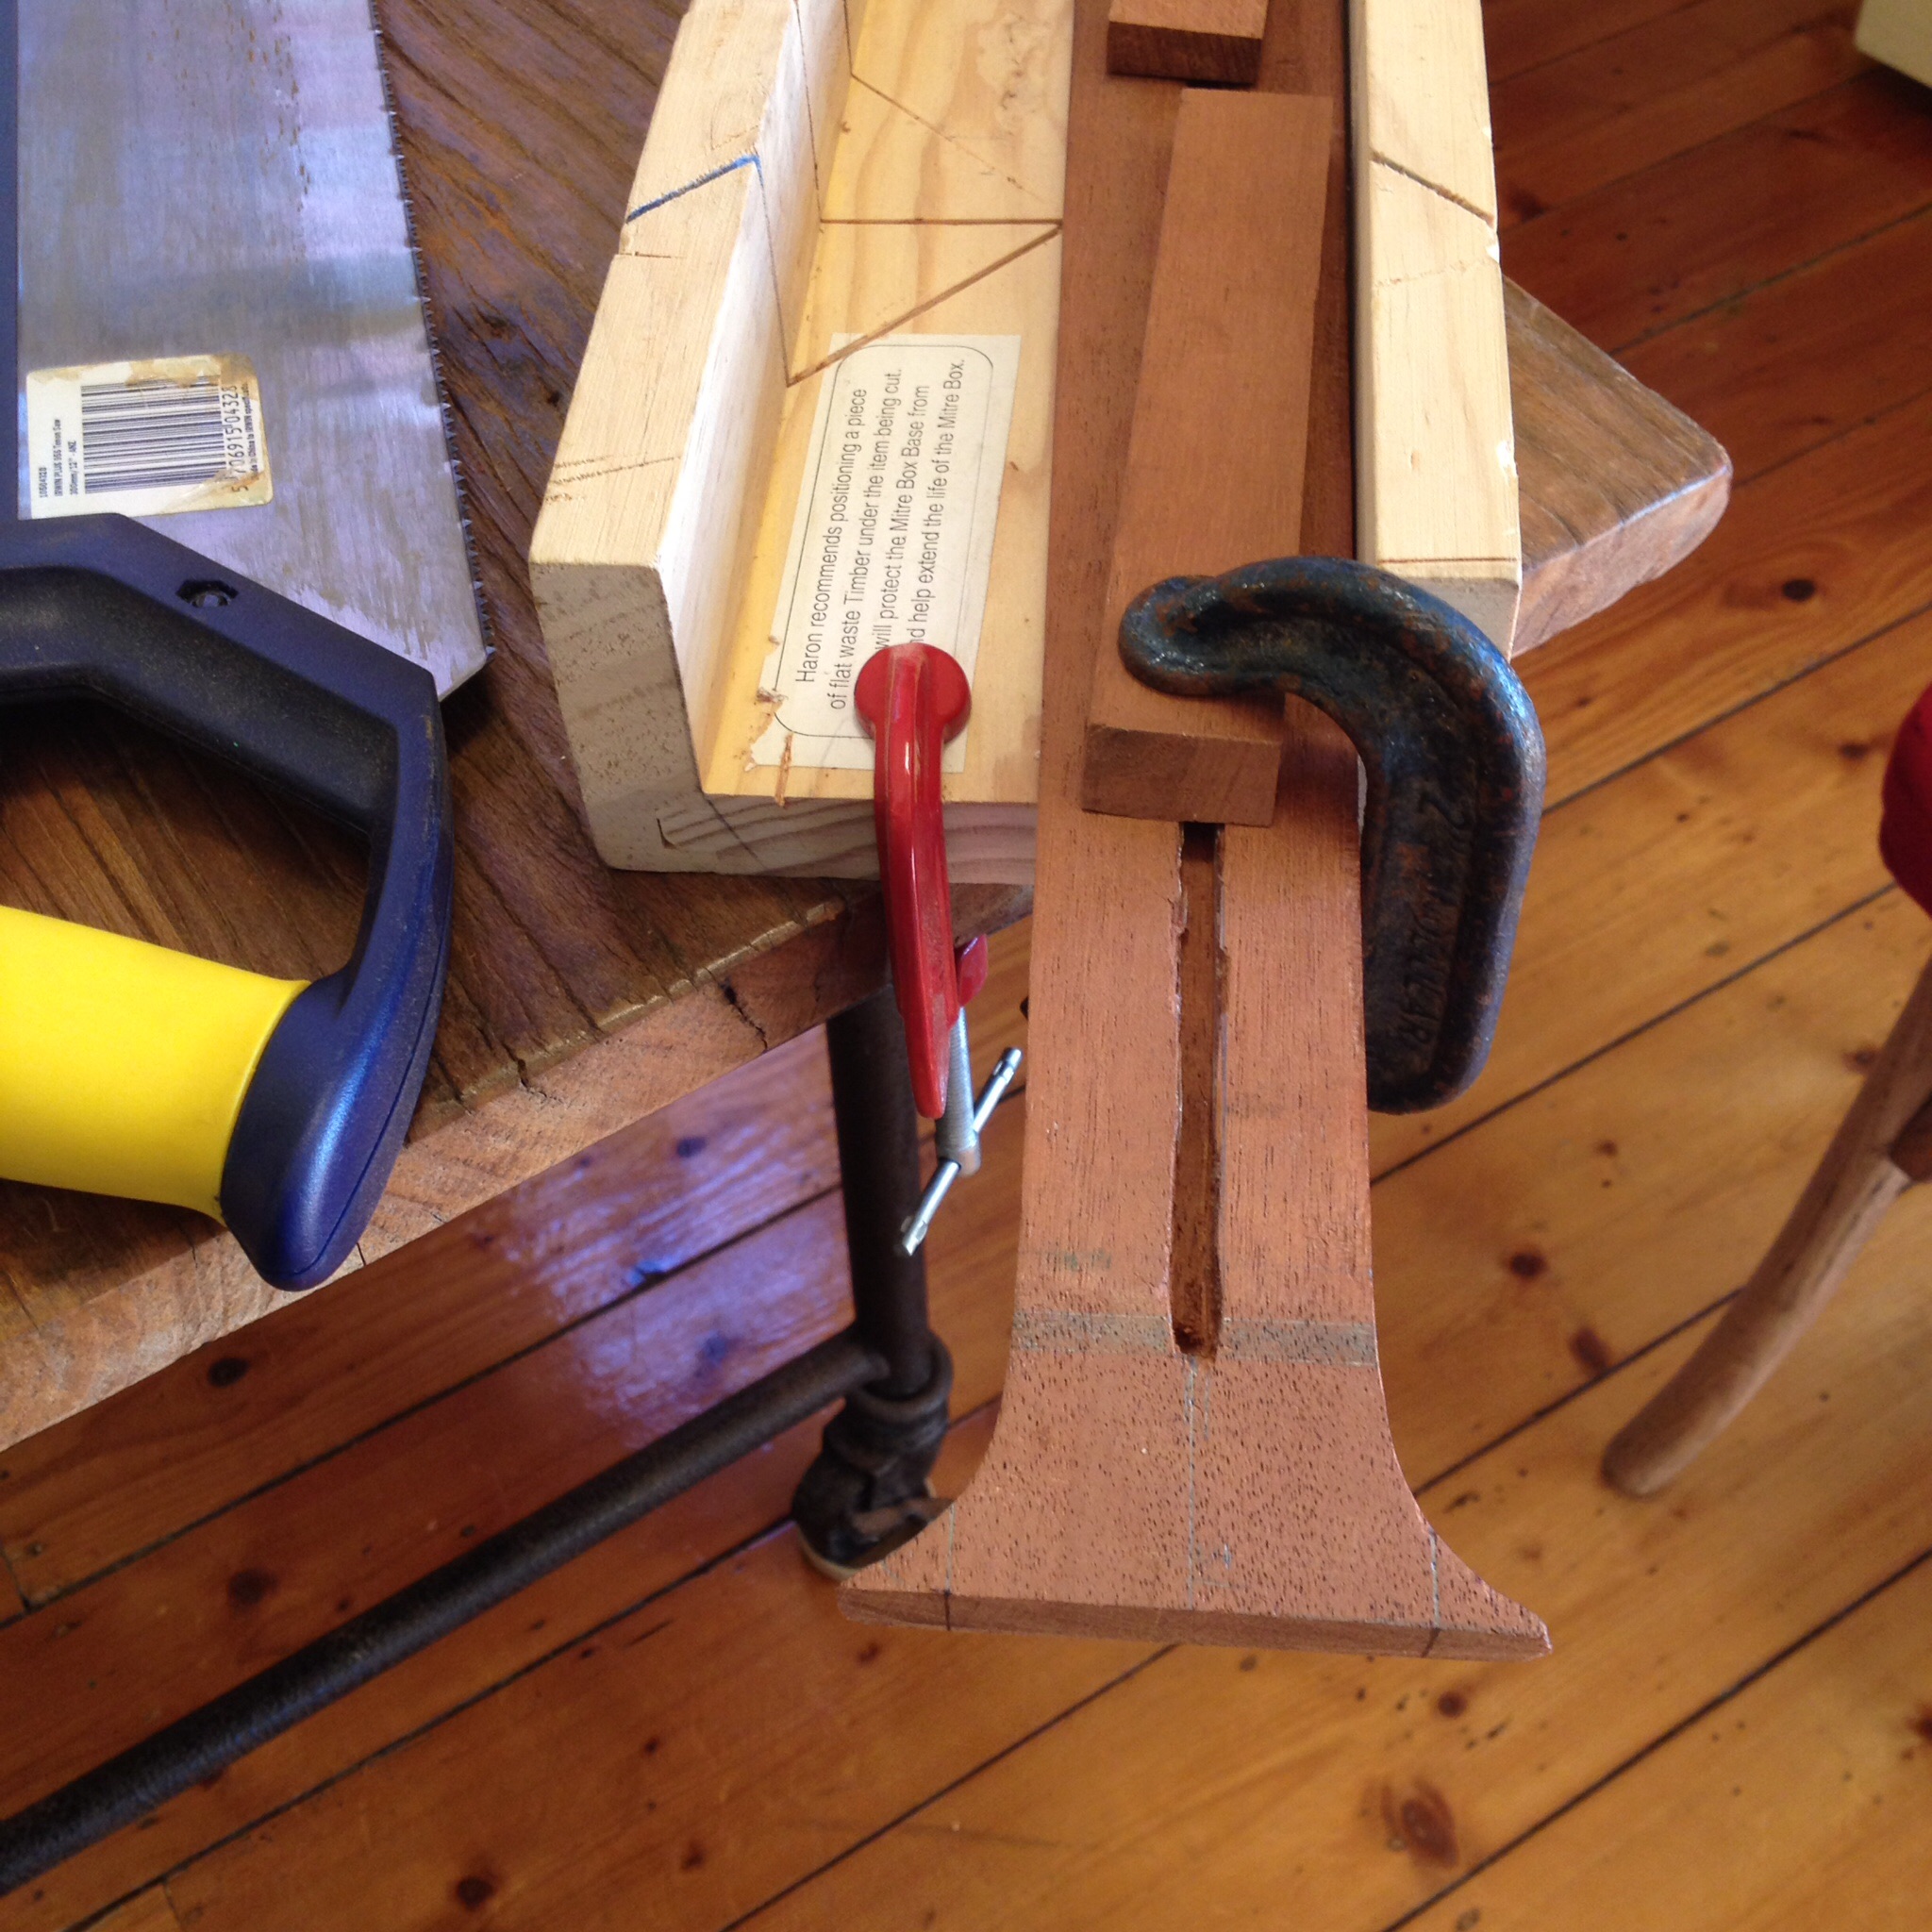
Exactly 14 degrees with a handsaw and no guide other than a pencil mark? Anyone?
OK, I lie, there was one awkward angle I couldn’t get out of. After much scribbling on scraps of paper and measuring this and that, the plan became to cut a 14o angle into the end of the neck and glue on a new piece of timber half the thickness of the finished headstock. The second piece would then be glued onto the back, thus forming a joint with the end of the neck and a good strong laminated headstock.
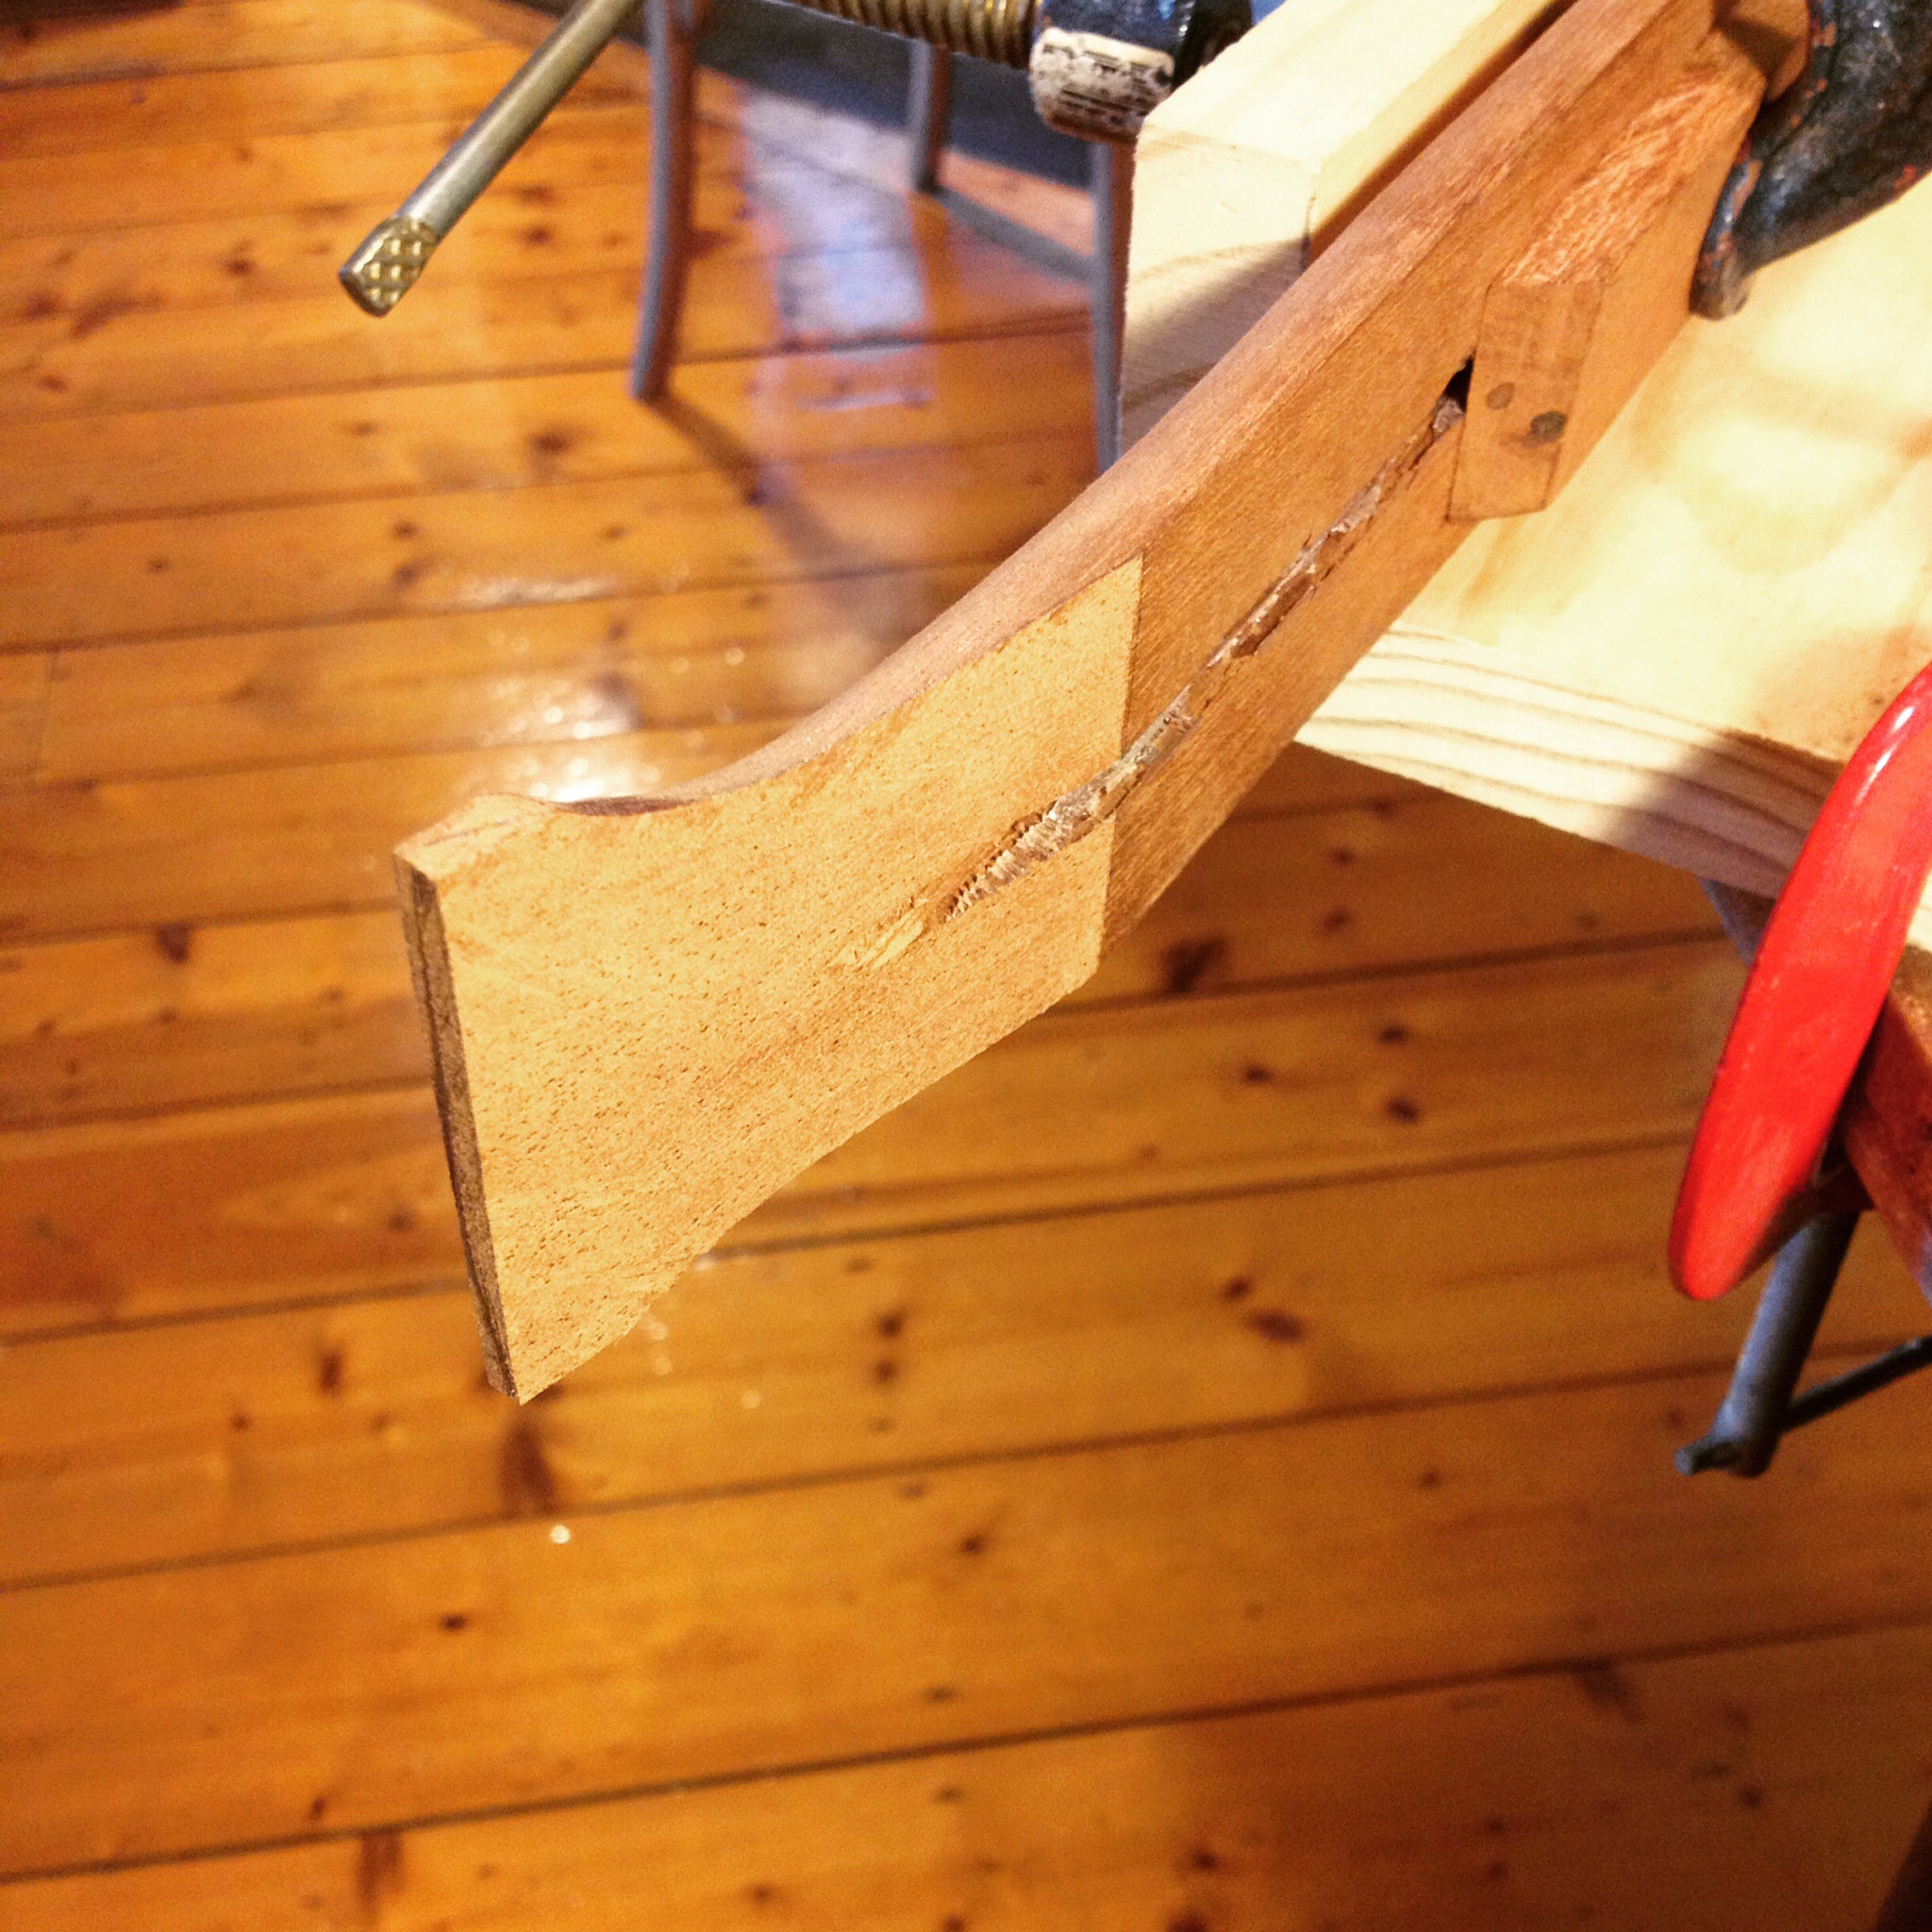
But it worked fine. Ready to clean up and receive the top layer of laminate.
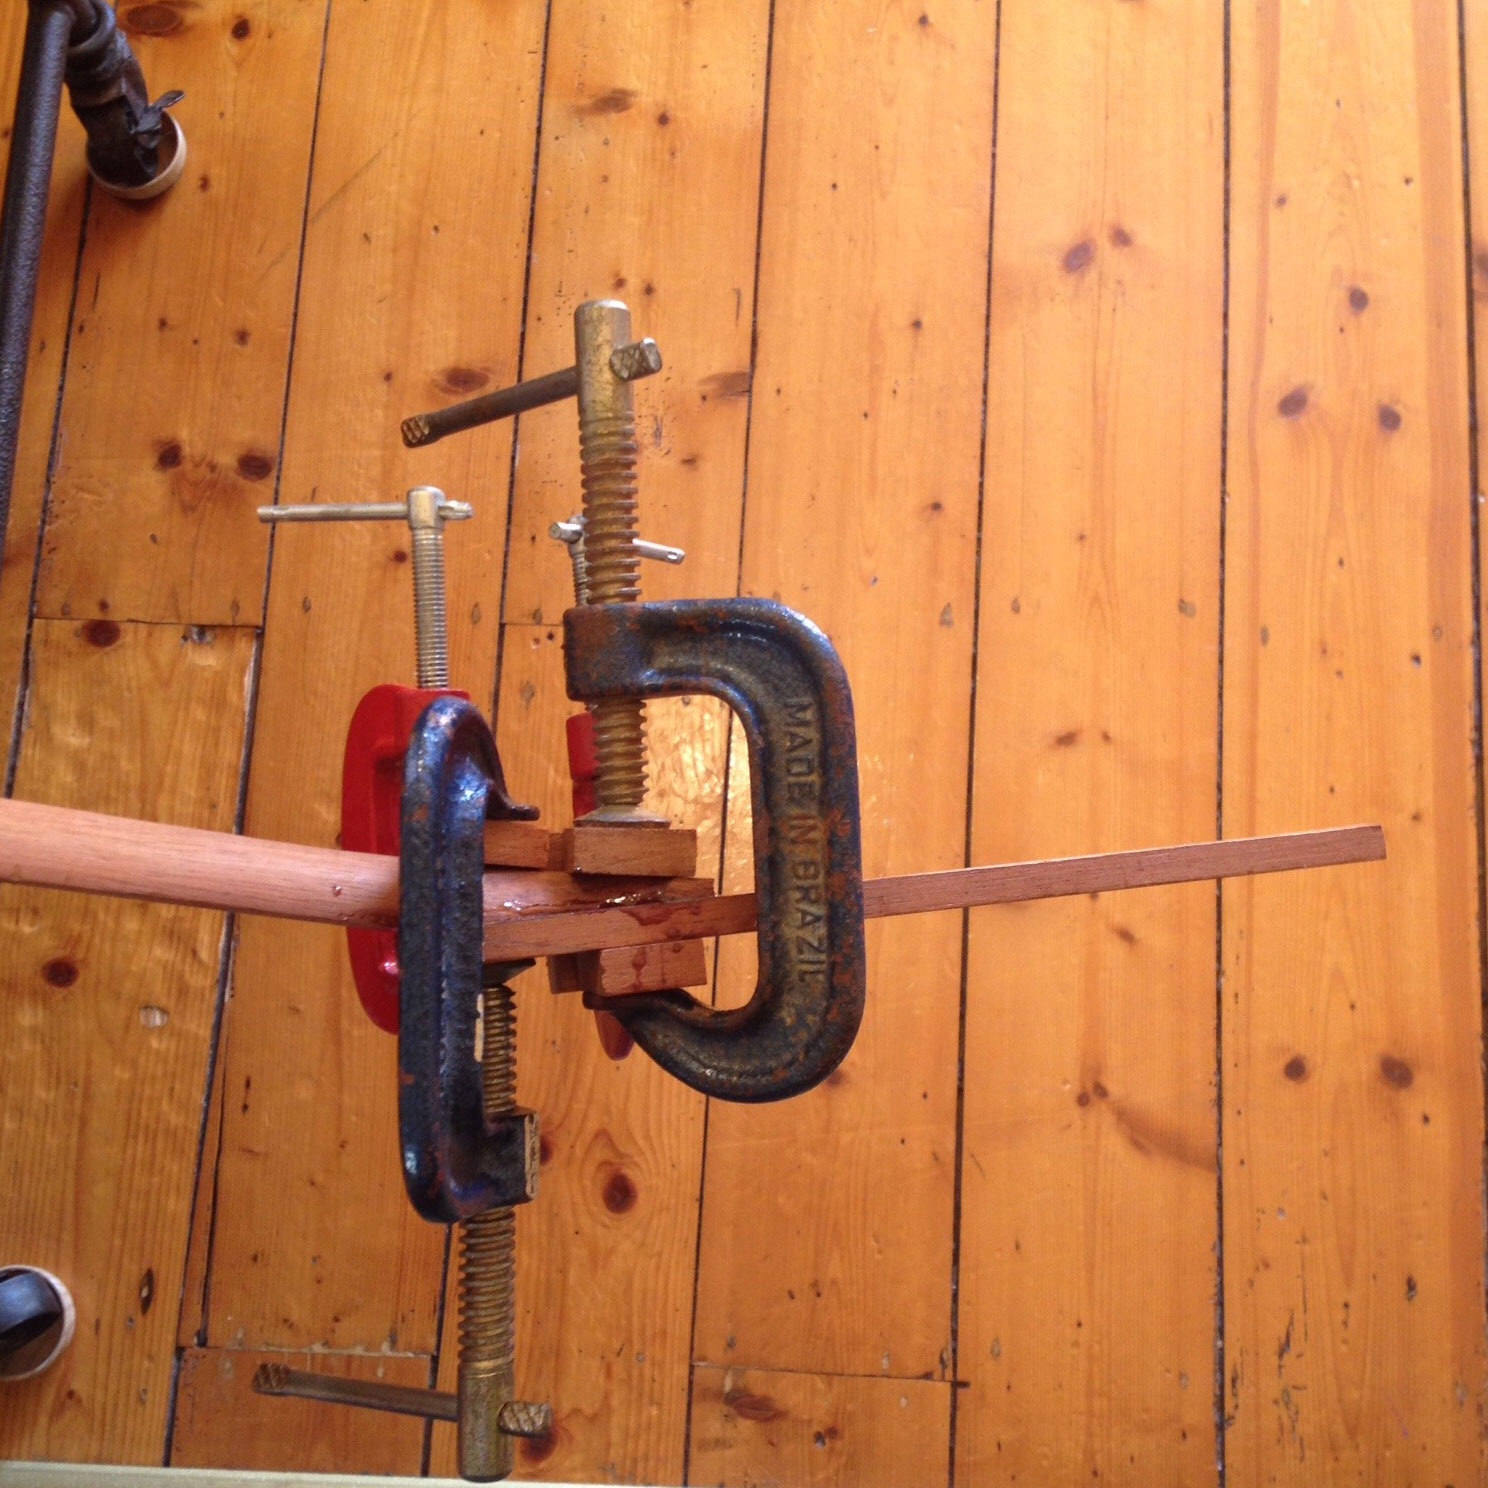
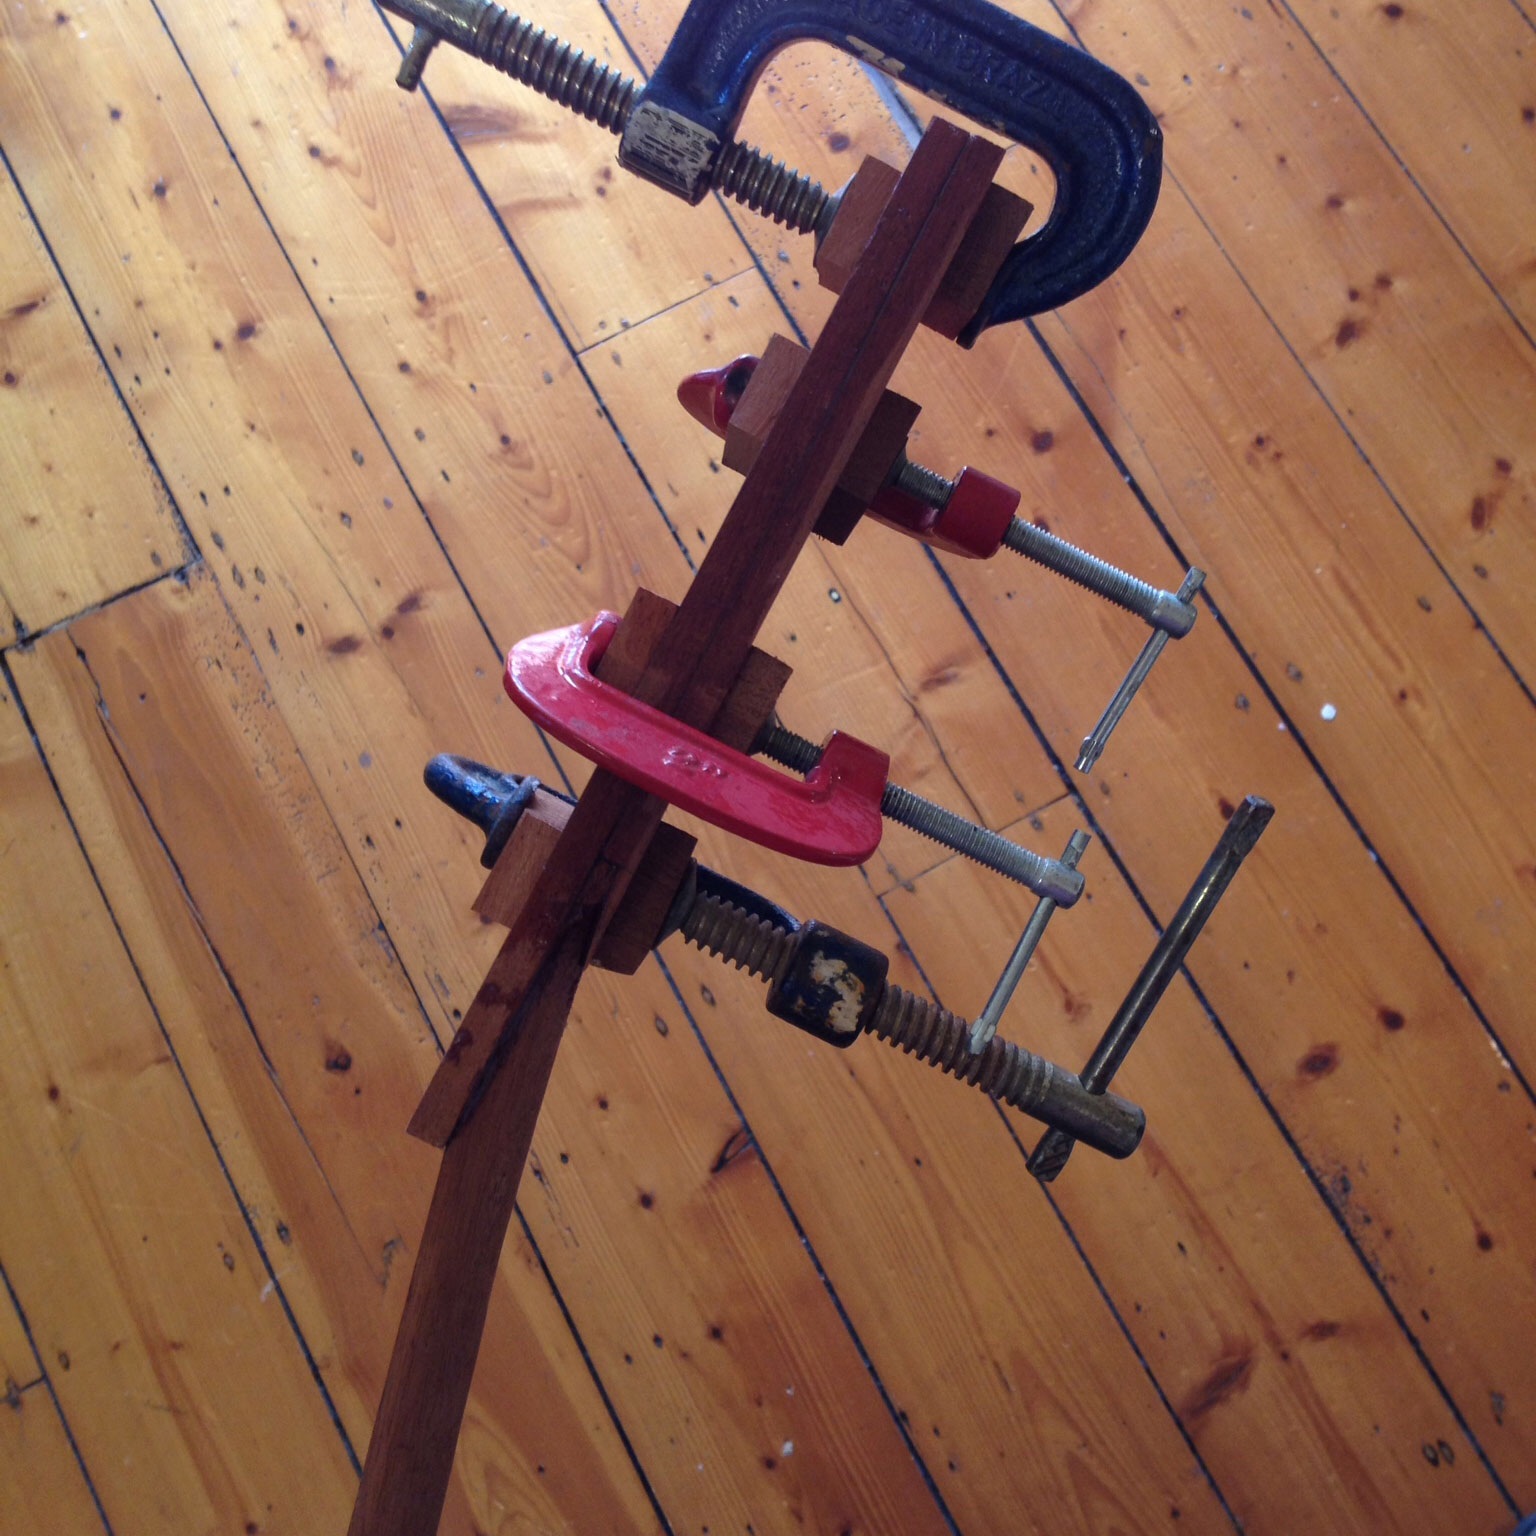
The first 8mm layer of laminate glued and clamped. Luckily I had saved the leftovers from the piece of timber this guitar was originally cut from.
As you can hopefully see from the picture, there’s going to be some leveling off to do on the fingerboard side. The angle will begin just after the nut, but the geometry of the joint dictates that the cut must begin further up the neck (in other words the start of the joint will be underneath the fingerboard).
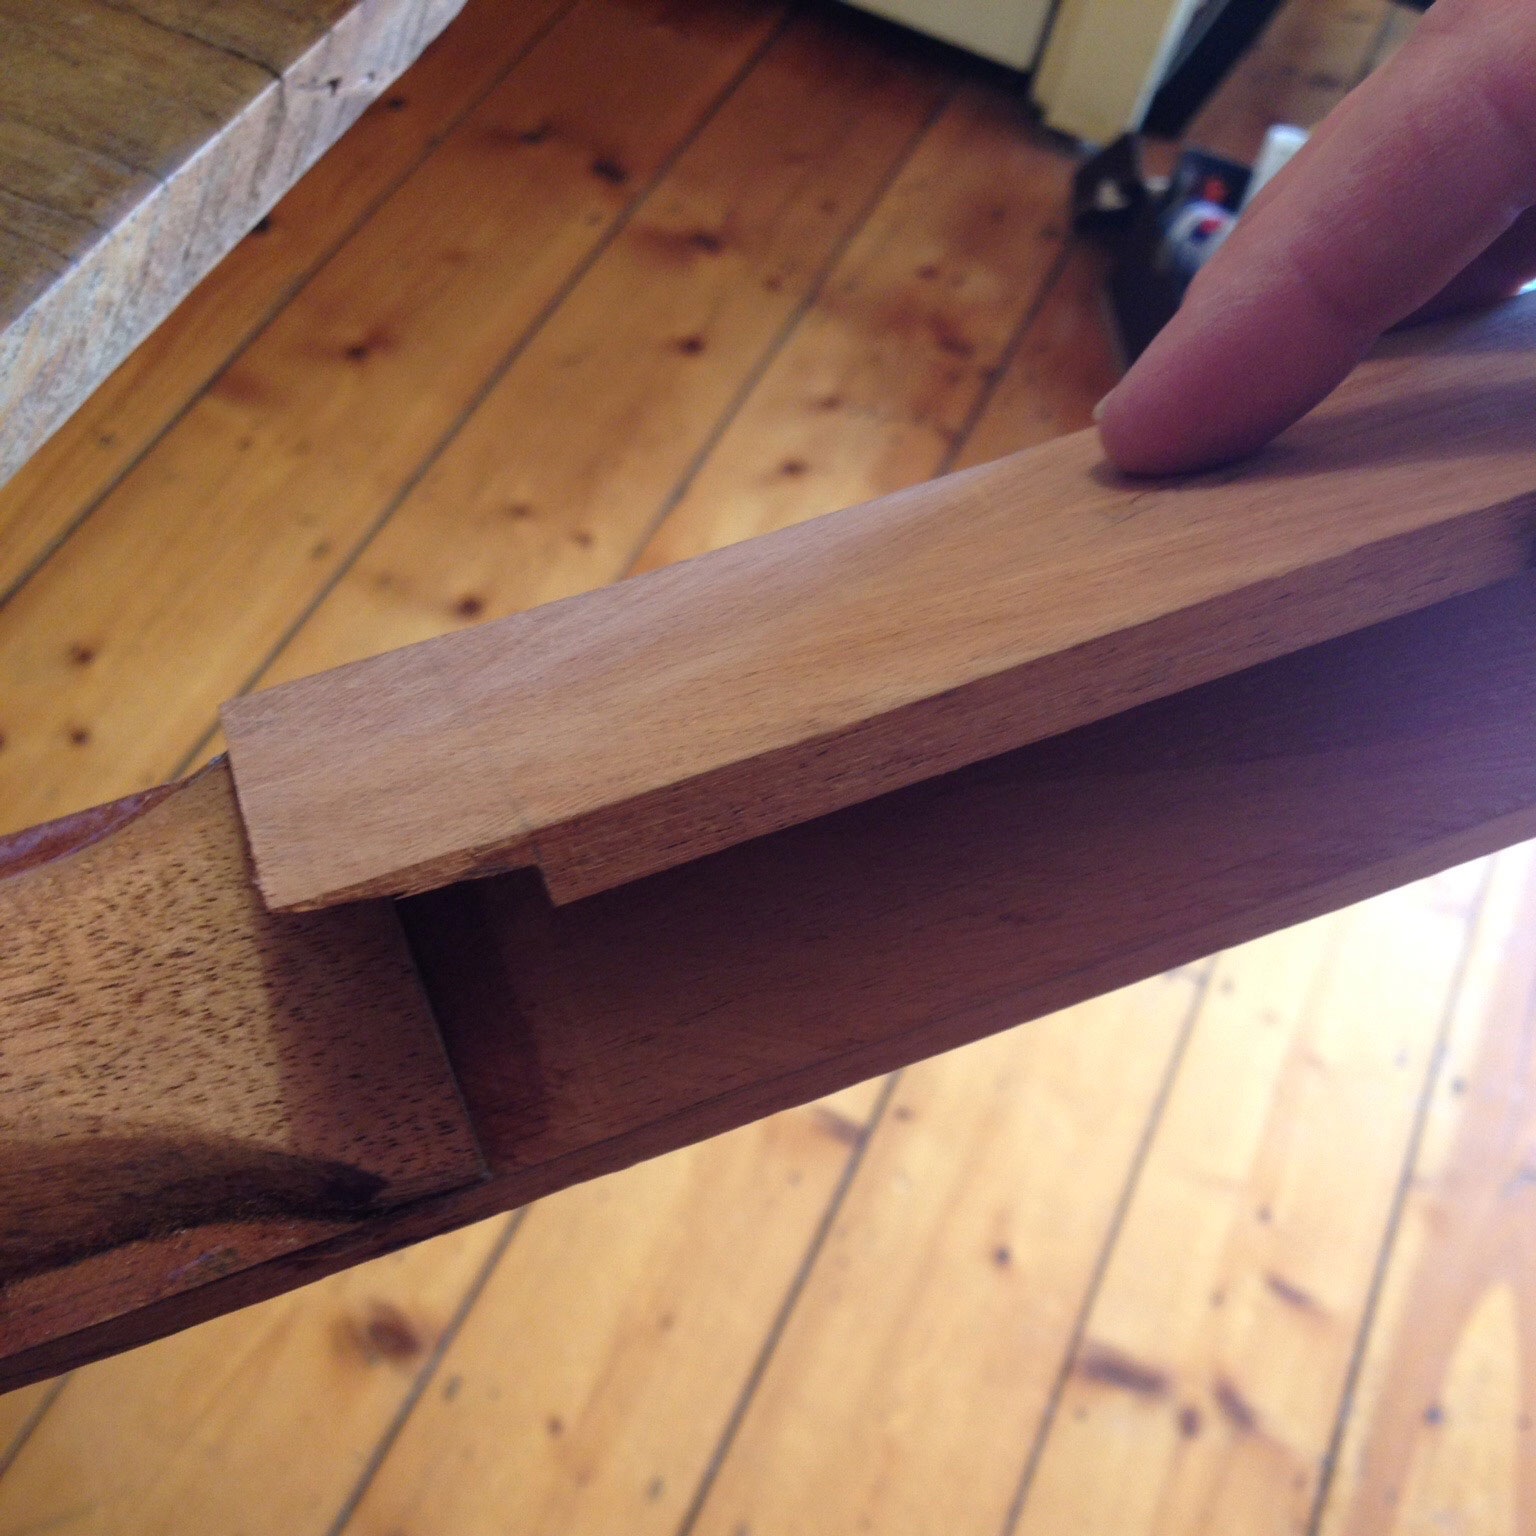
The bottom layer of laminate ready to go.
I used a maximum strength epoxy for the headstock joint; it’s been pretty cold here in Melbourne and it took the best part of three days for the glue to fully go off. I know some people prefer to not use epoxy on guitars, and this guitar has given me insight into why that is (if you need to open the joint up again it’s close to impossible without damaging the wood), but for a critical joint like this I don’t feel it’s wise to compromise strength. Just go carefully so that you don’t have to open it up again!
The first glimpse of what the finished angle will look like.
While that was going off, I went looking for something else to attack.
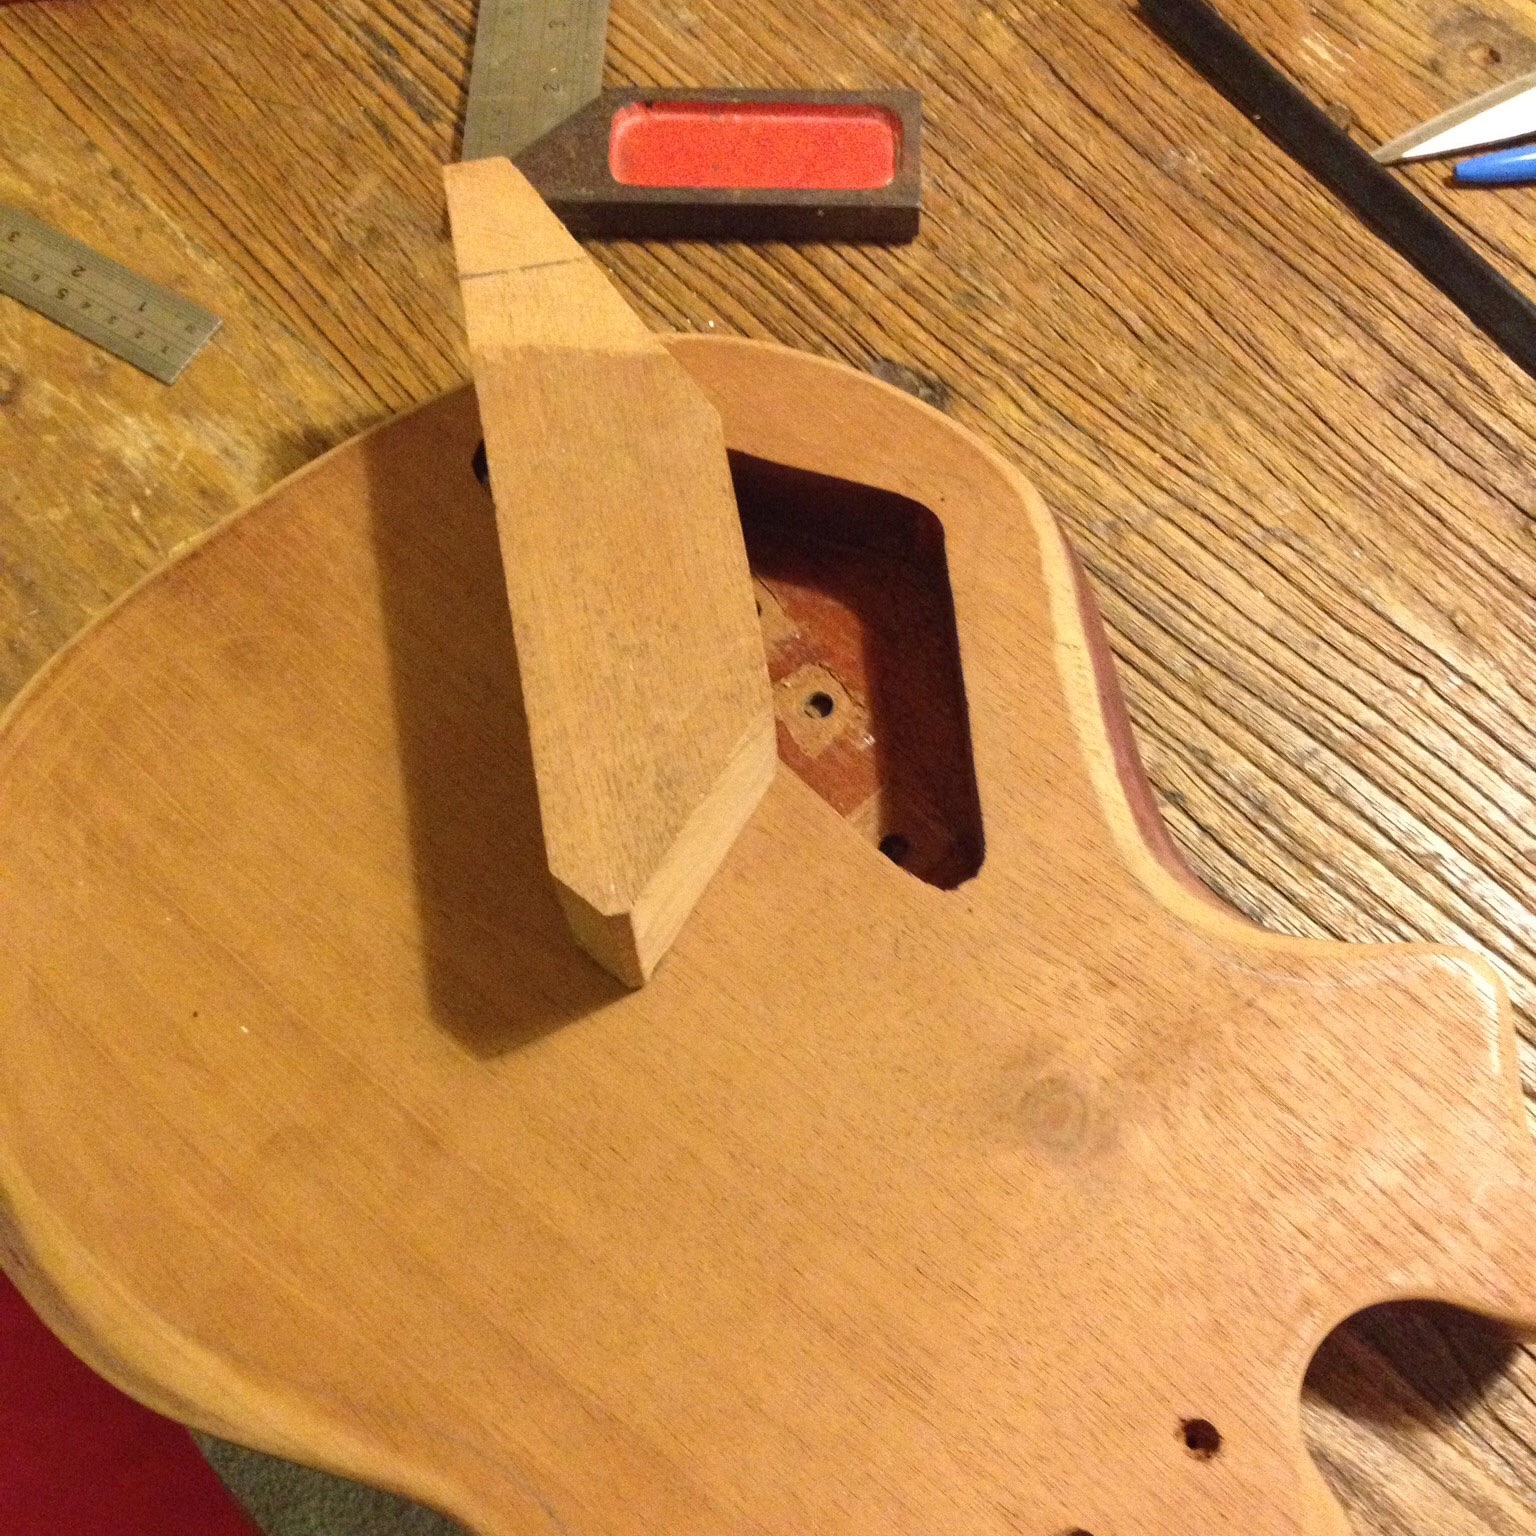
The Gaping Electronics Bay
I spent a while attempting to design a shape that would at least look better than this nasty triangular crevasse, then considered filling in some of it so that it was at least smaller. After further mulling, I decided to fill the whole thing in and install the electronics from the front behind the pick guard. With the high cost of good fillers, I opted to use some more of the mahogany leftovers to plug the majority of the hole before finishing the job with Builders Bog (interesting name, but it sure is handy stuff).
Well that’s about it for part one. I can’t do a whole lot more until all the chemistry has gone off.
The shaping begins. The bay itself is highly imperfect, making carving the filler rather interesting.

About as close as I’m likely to get it.
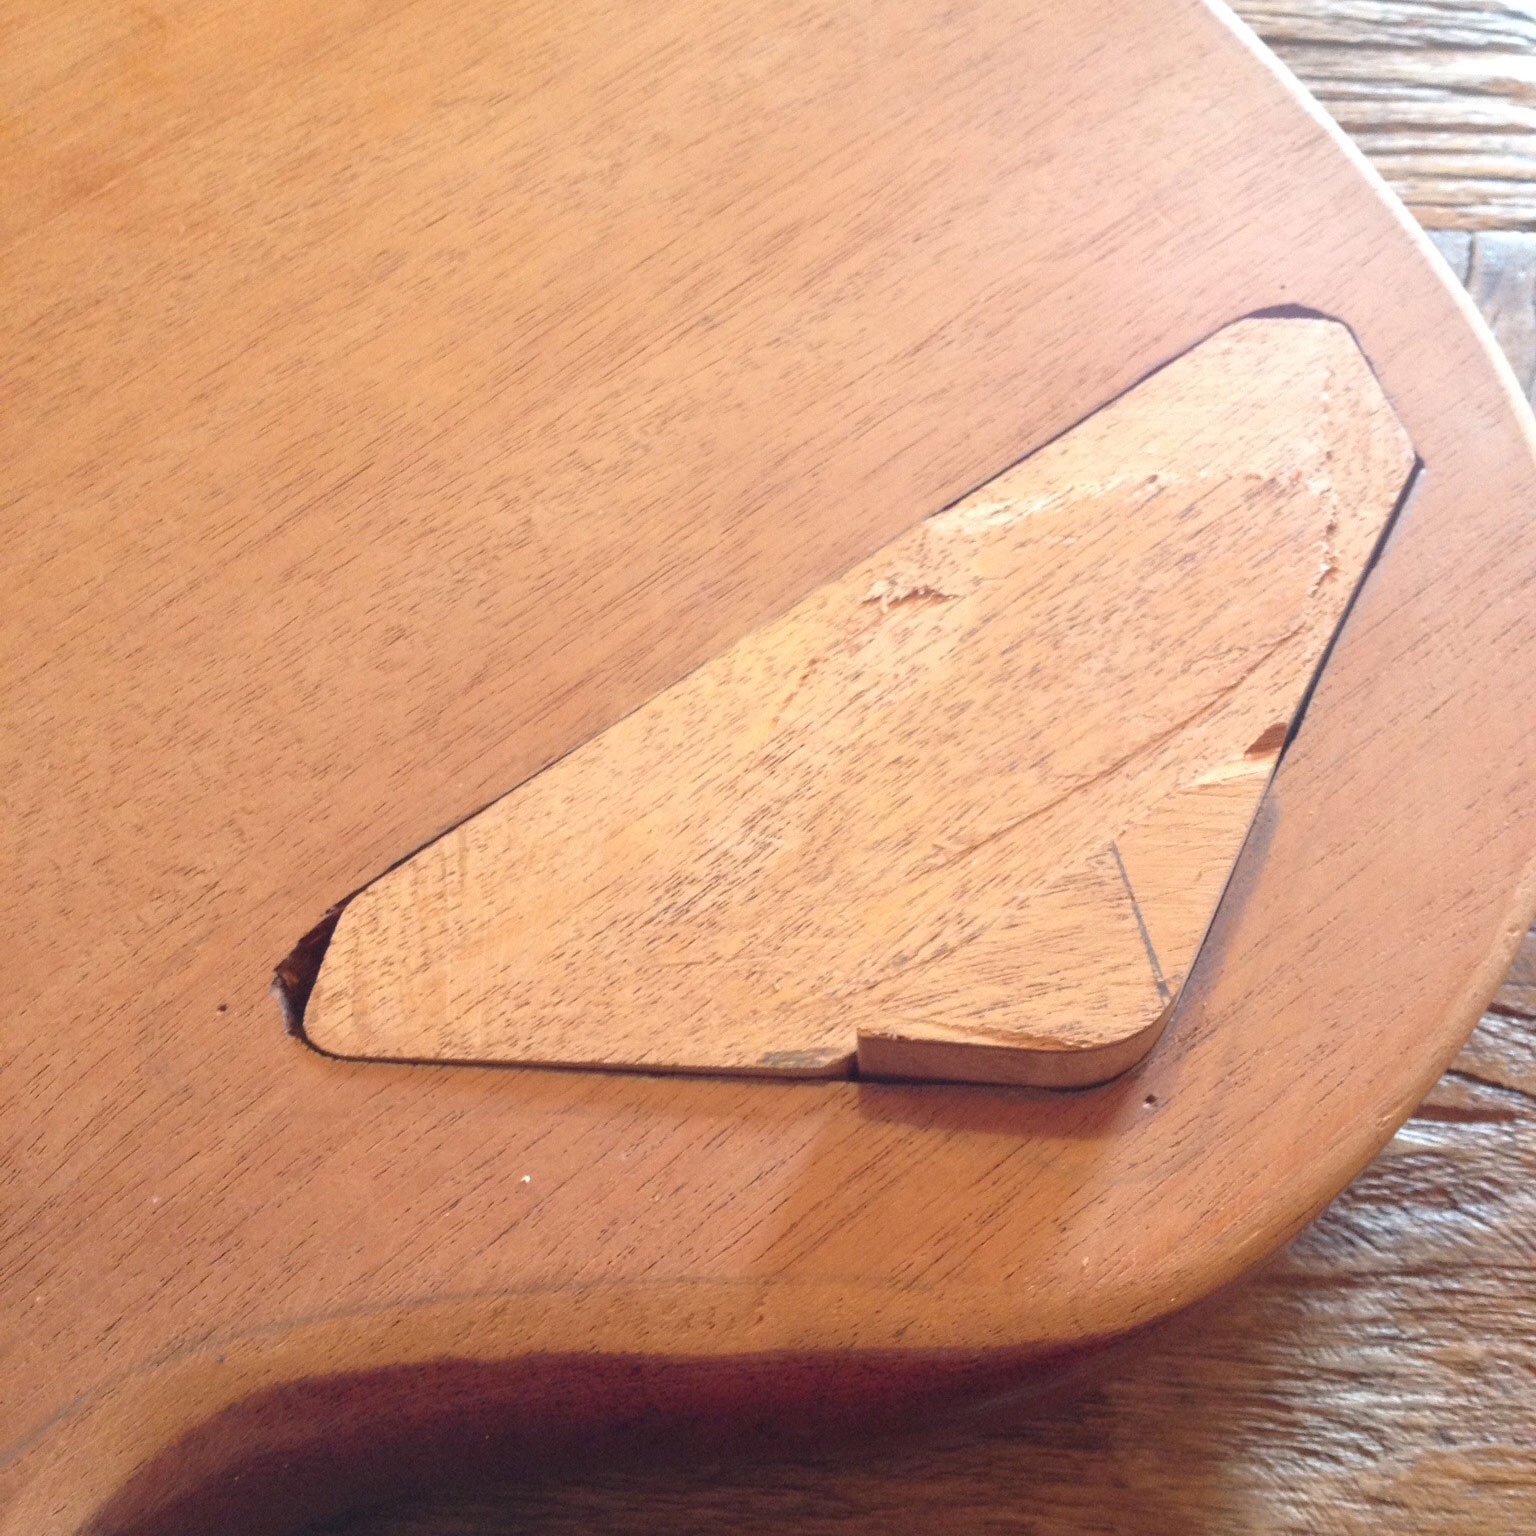
And a little bit more to fill the remaining space.

Bogged. There’s a little PVA glue in there too just to make sure nothing falls out. I hope it doesn’t interfere with the chemistry of the Builders Bog, but so far so good.
No Comments