
“Jerry Garcia” Guitar Re-Build (part 2)
Three months have elapsed since I last did any work on this guitar, three months of programming and electronics and writing technical essays. I can say with all sincerity that I cannot remember where I got up to with this project. As such, this is a kind of update report, and maybe during the process the dust will be shaken from those distant memories.
I ended the last post having filled and bogged the old electronics cavity and starting to build up the laminated headstock. Work on the guitar continued, but no update was made, so here goes:
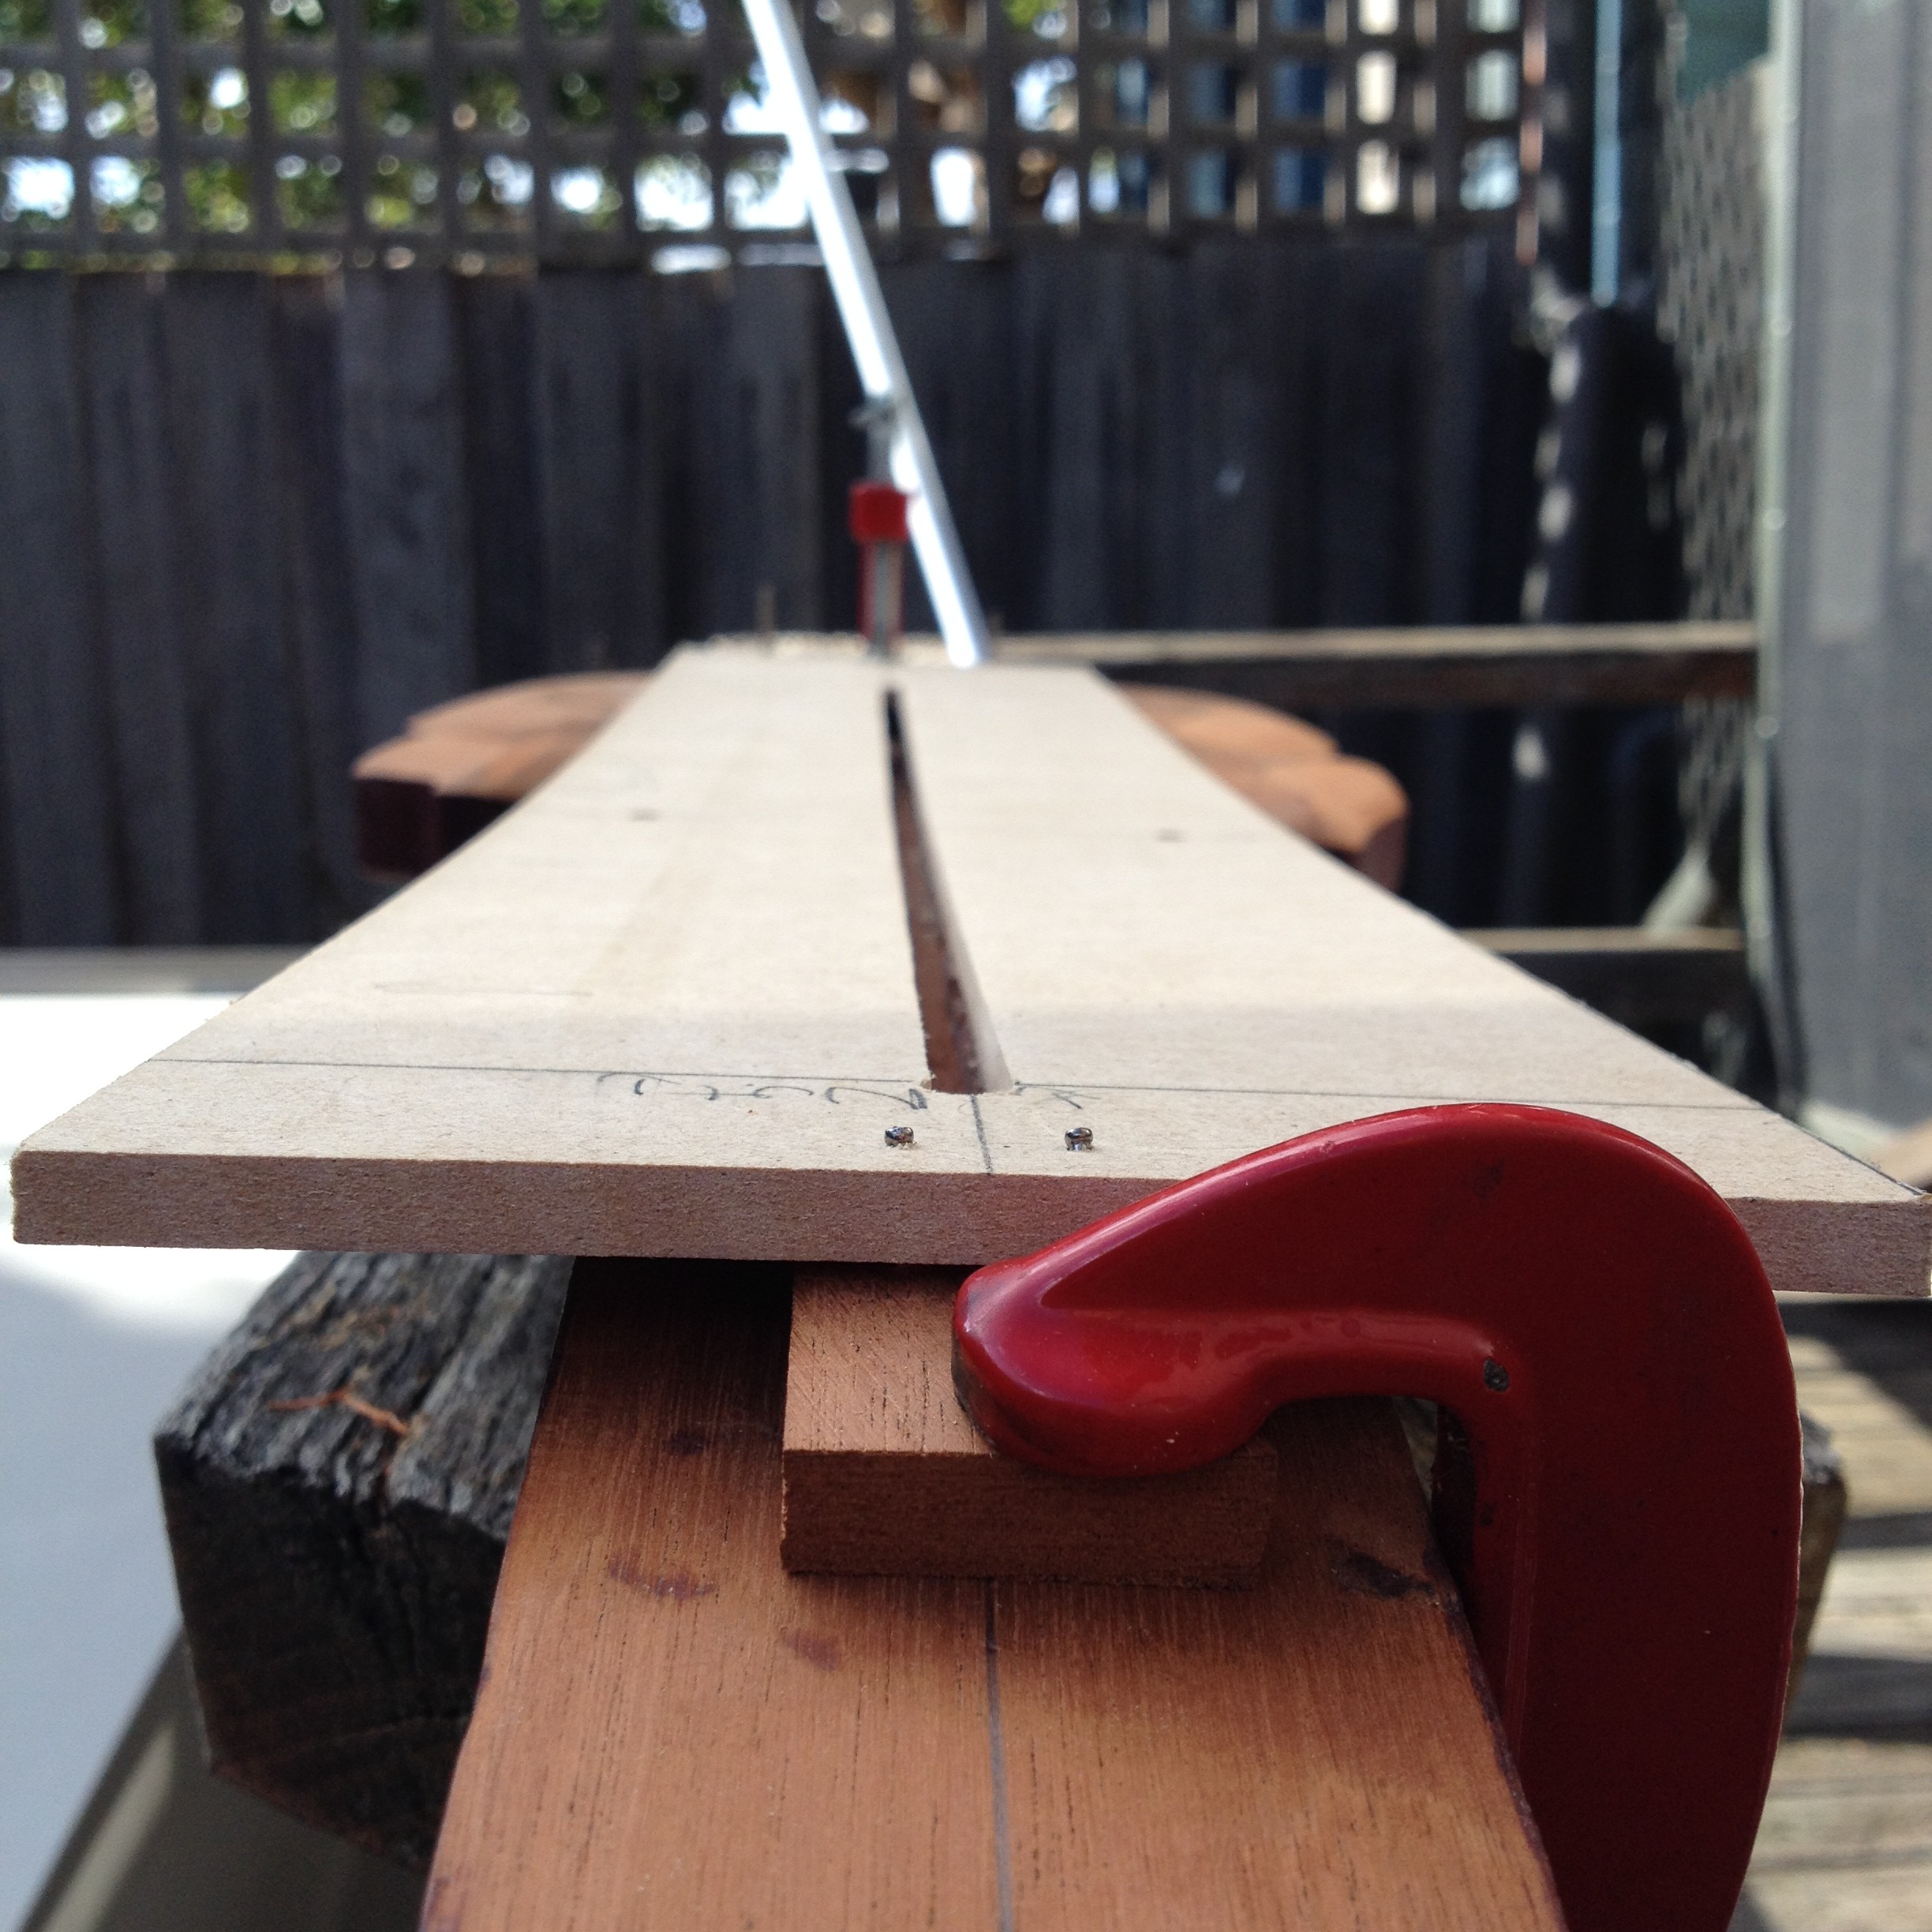
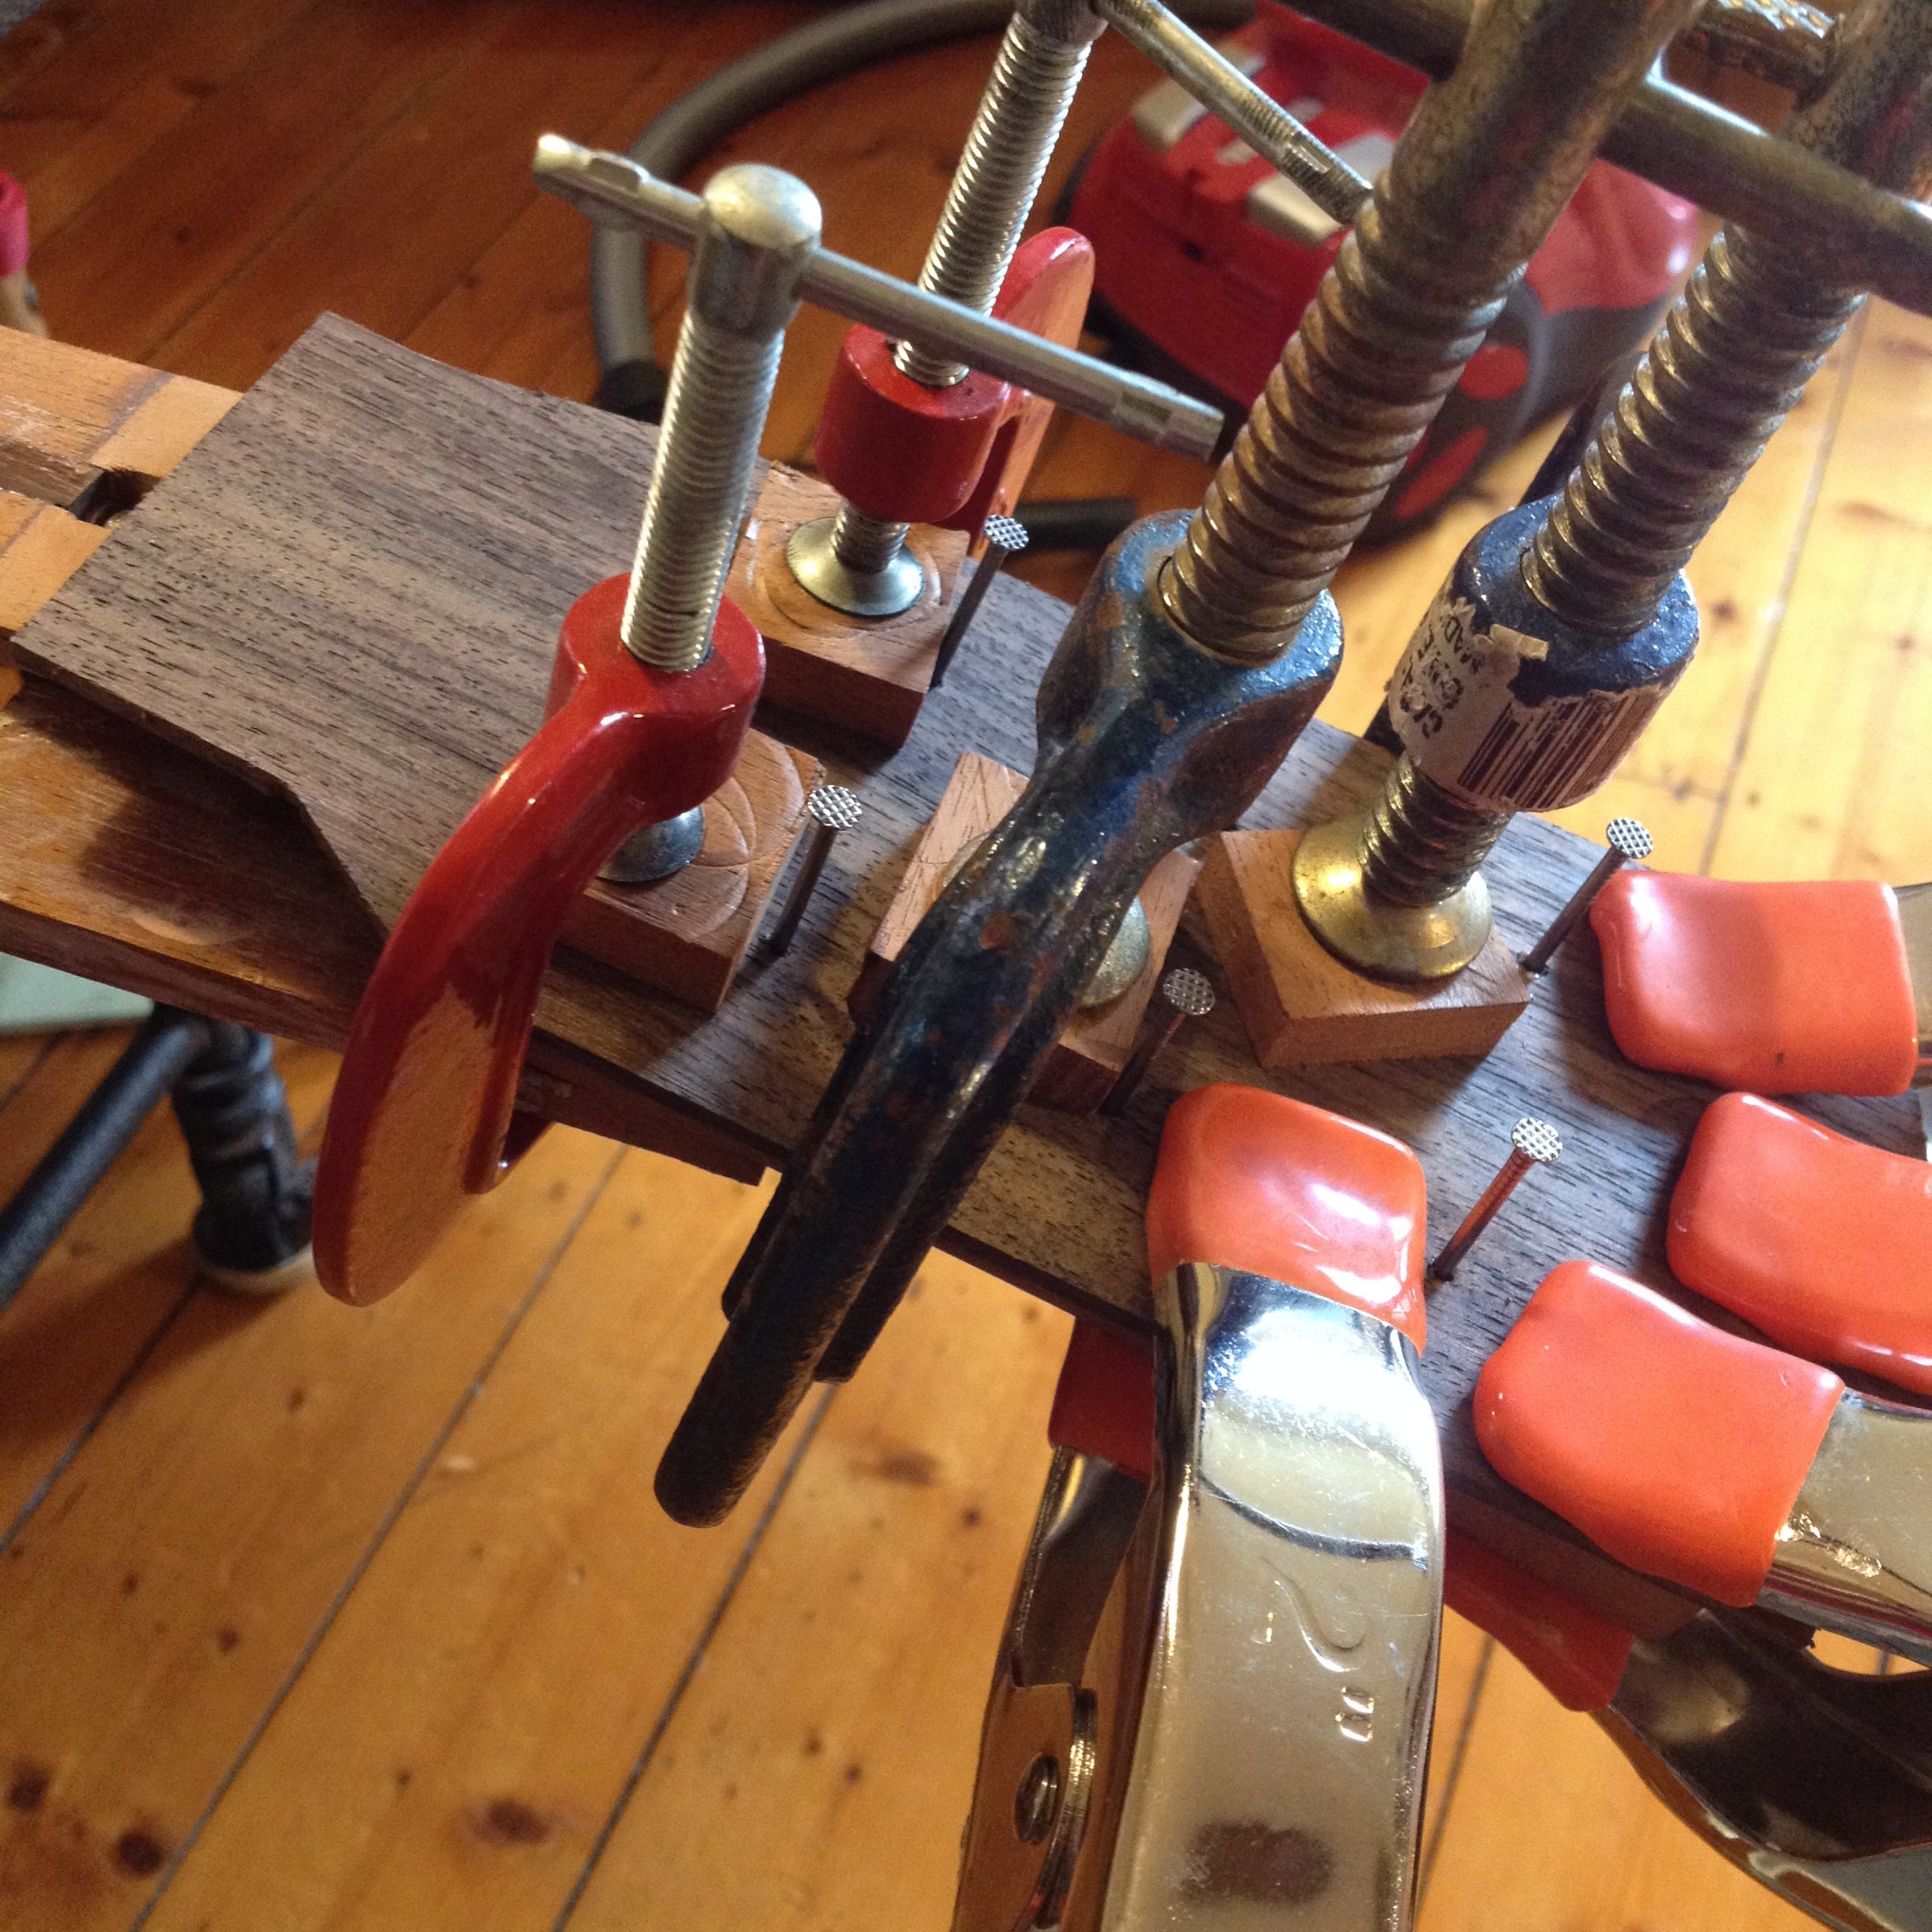
Re-grooving for the truss rod using an MDF template held in the correct curve.
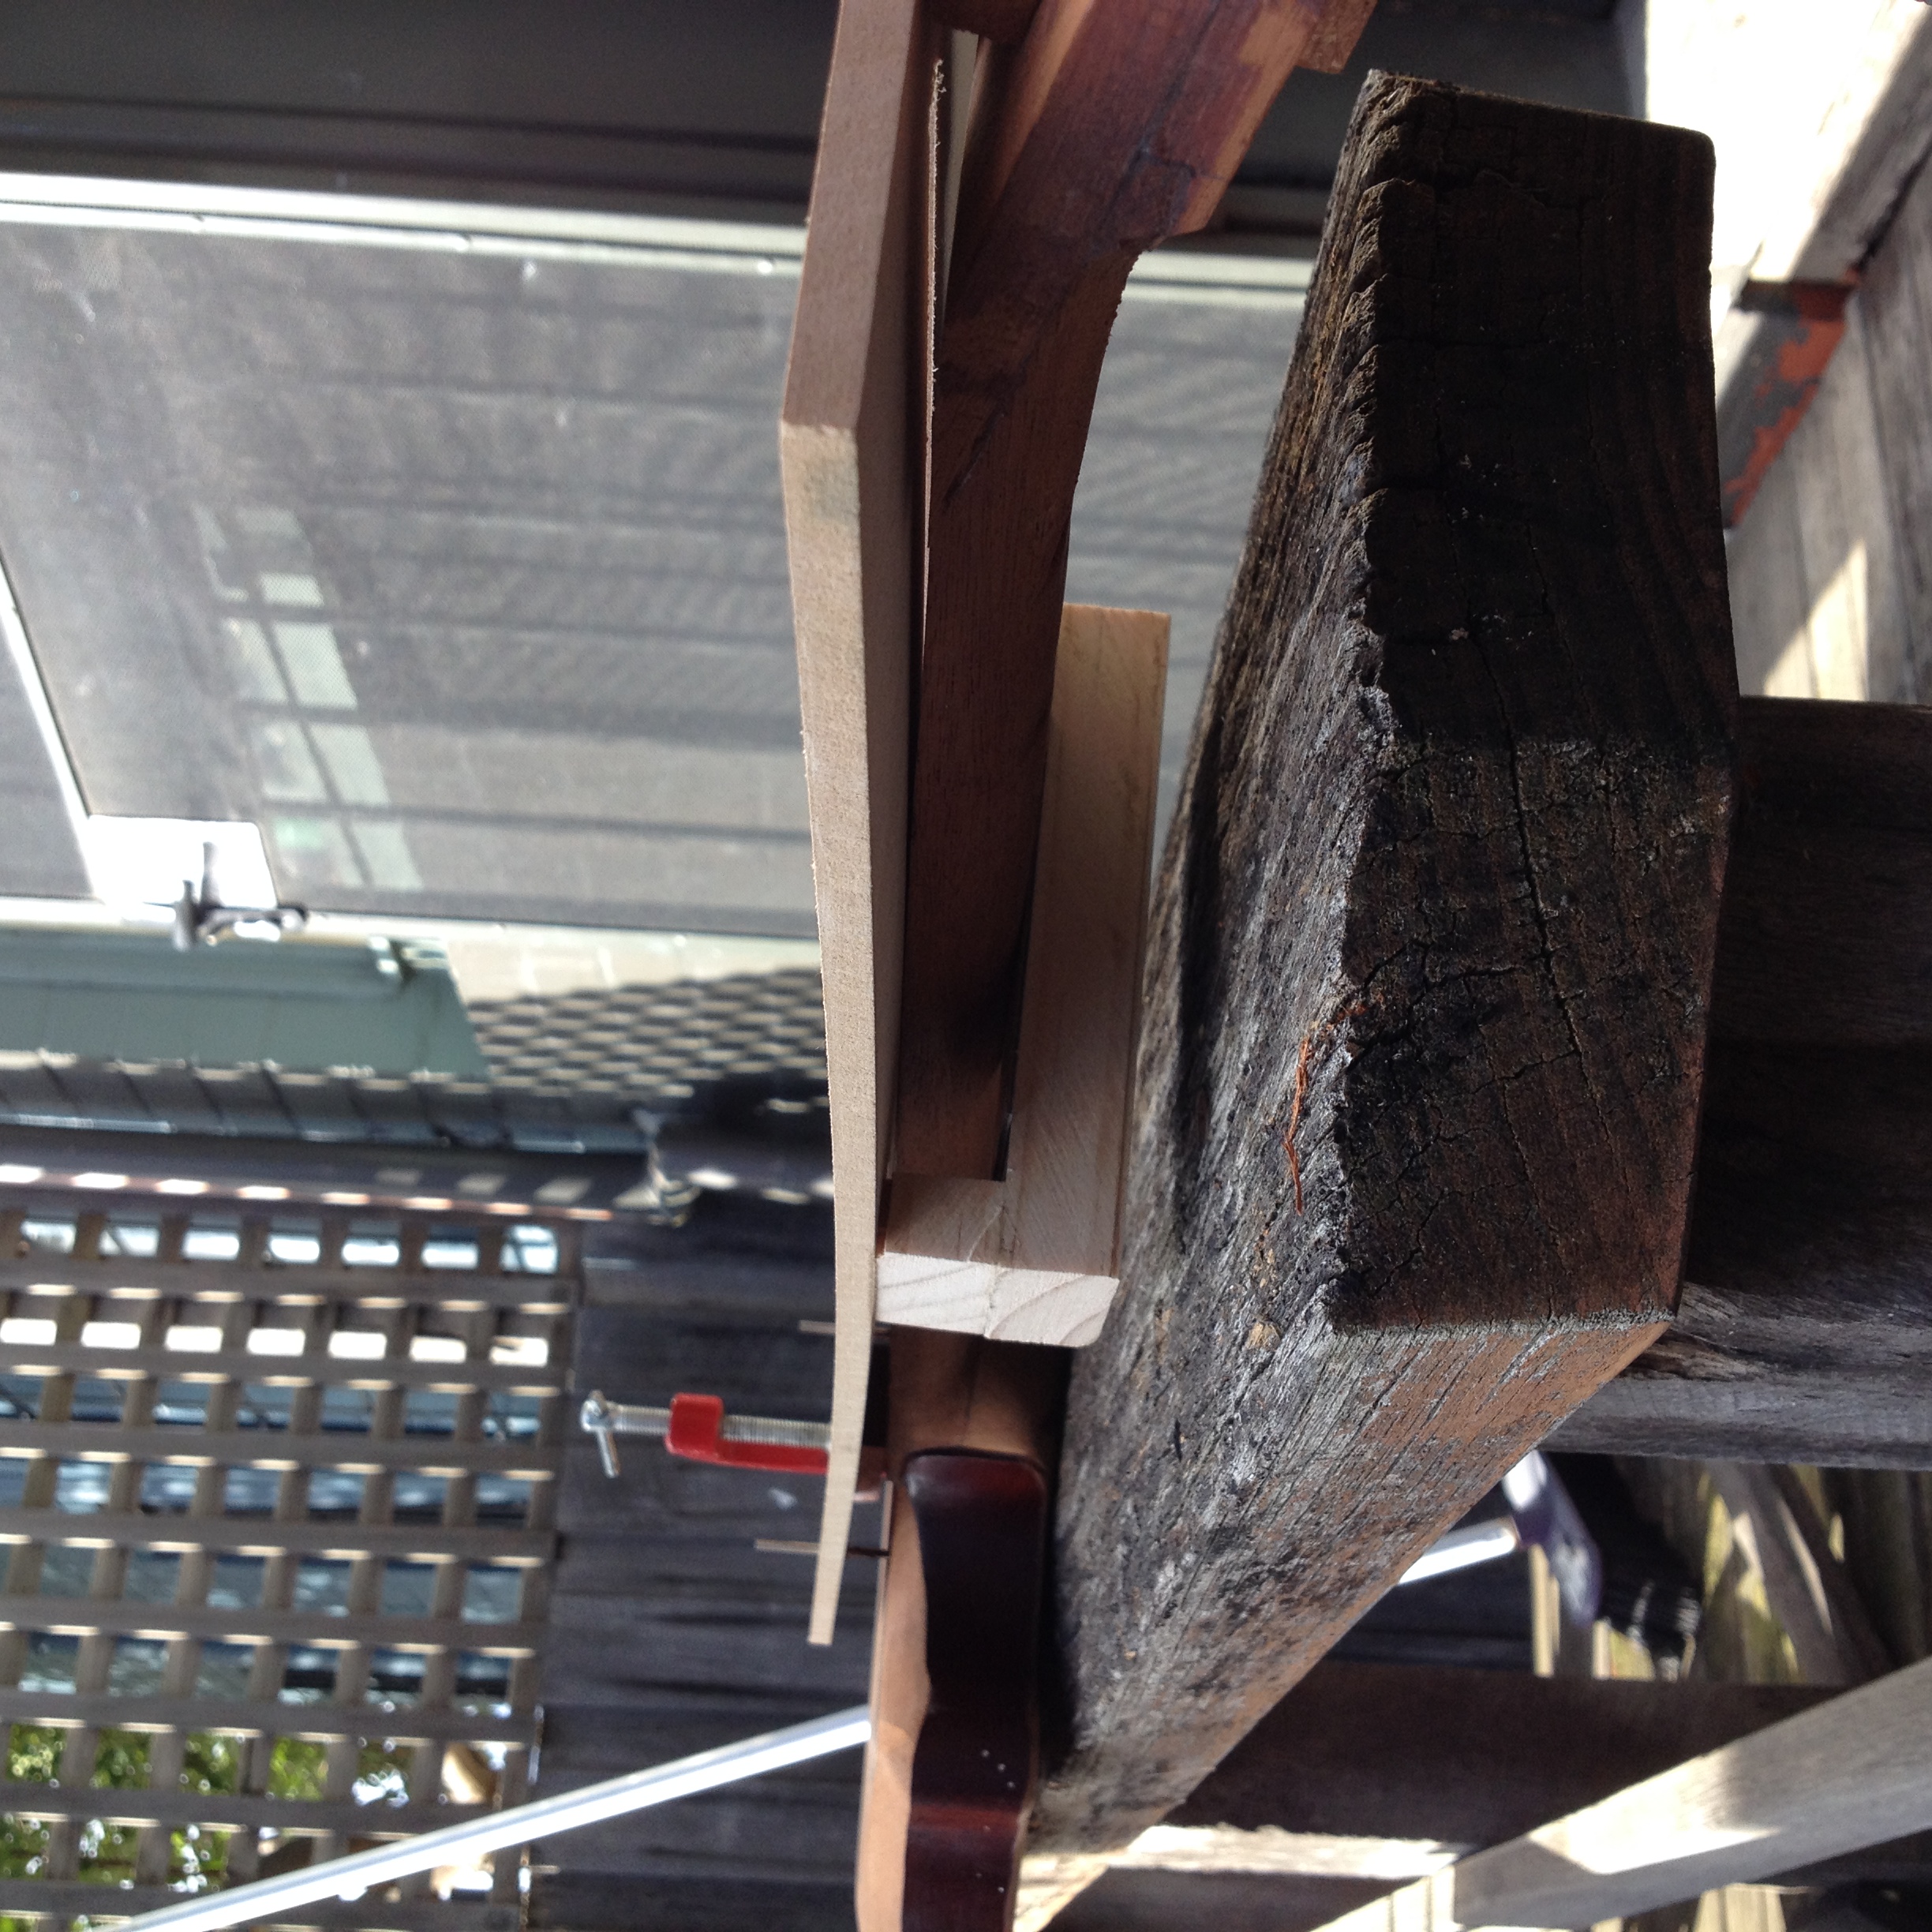
Behind the scenes, holding the template in the correct curve.
The existing truss rod groove was the right width, but because I’m using an old style truss rod (effectively just a steel length with a thread on one end) I needed to make the groove curved so that the rod would actually do what it’s meant to do, and MDF proved to be pretty good stuff to make a template out of. It is pinned at each end as well as at the deepest point of the groove.
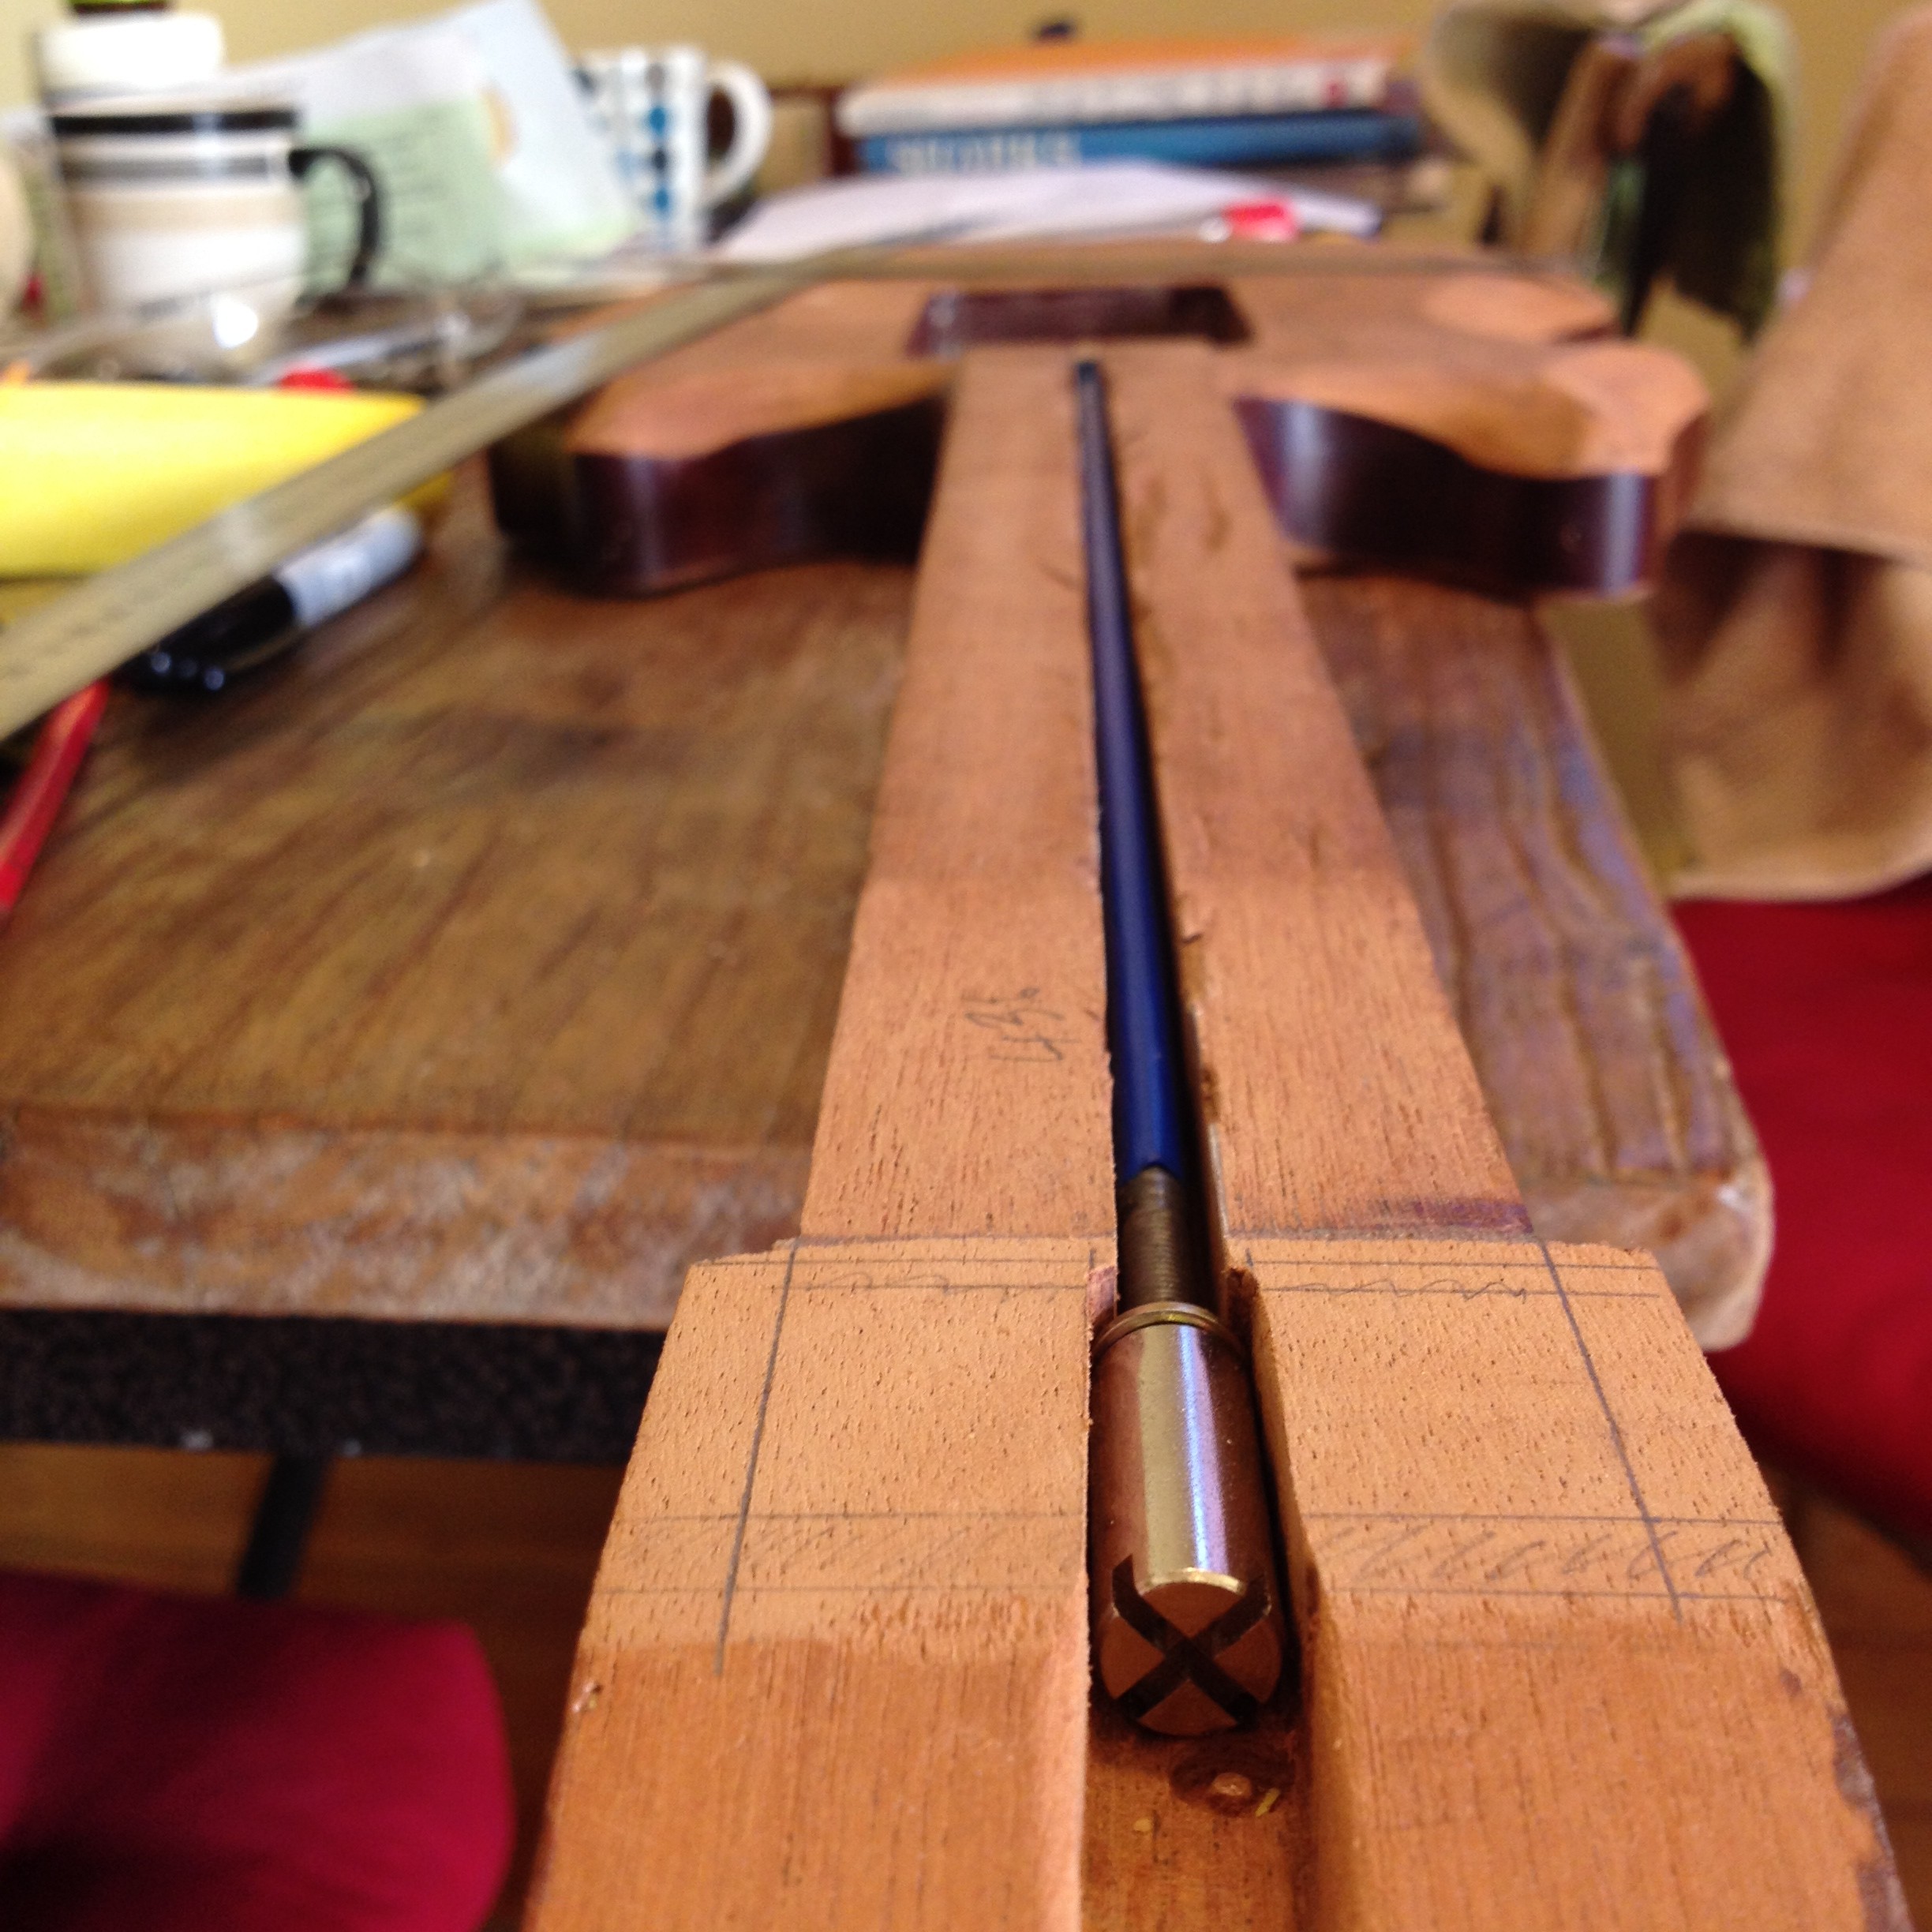
Test fit.
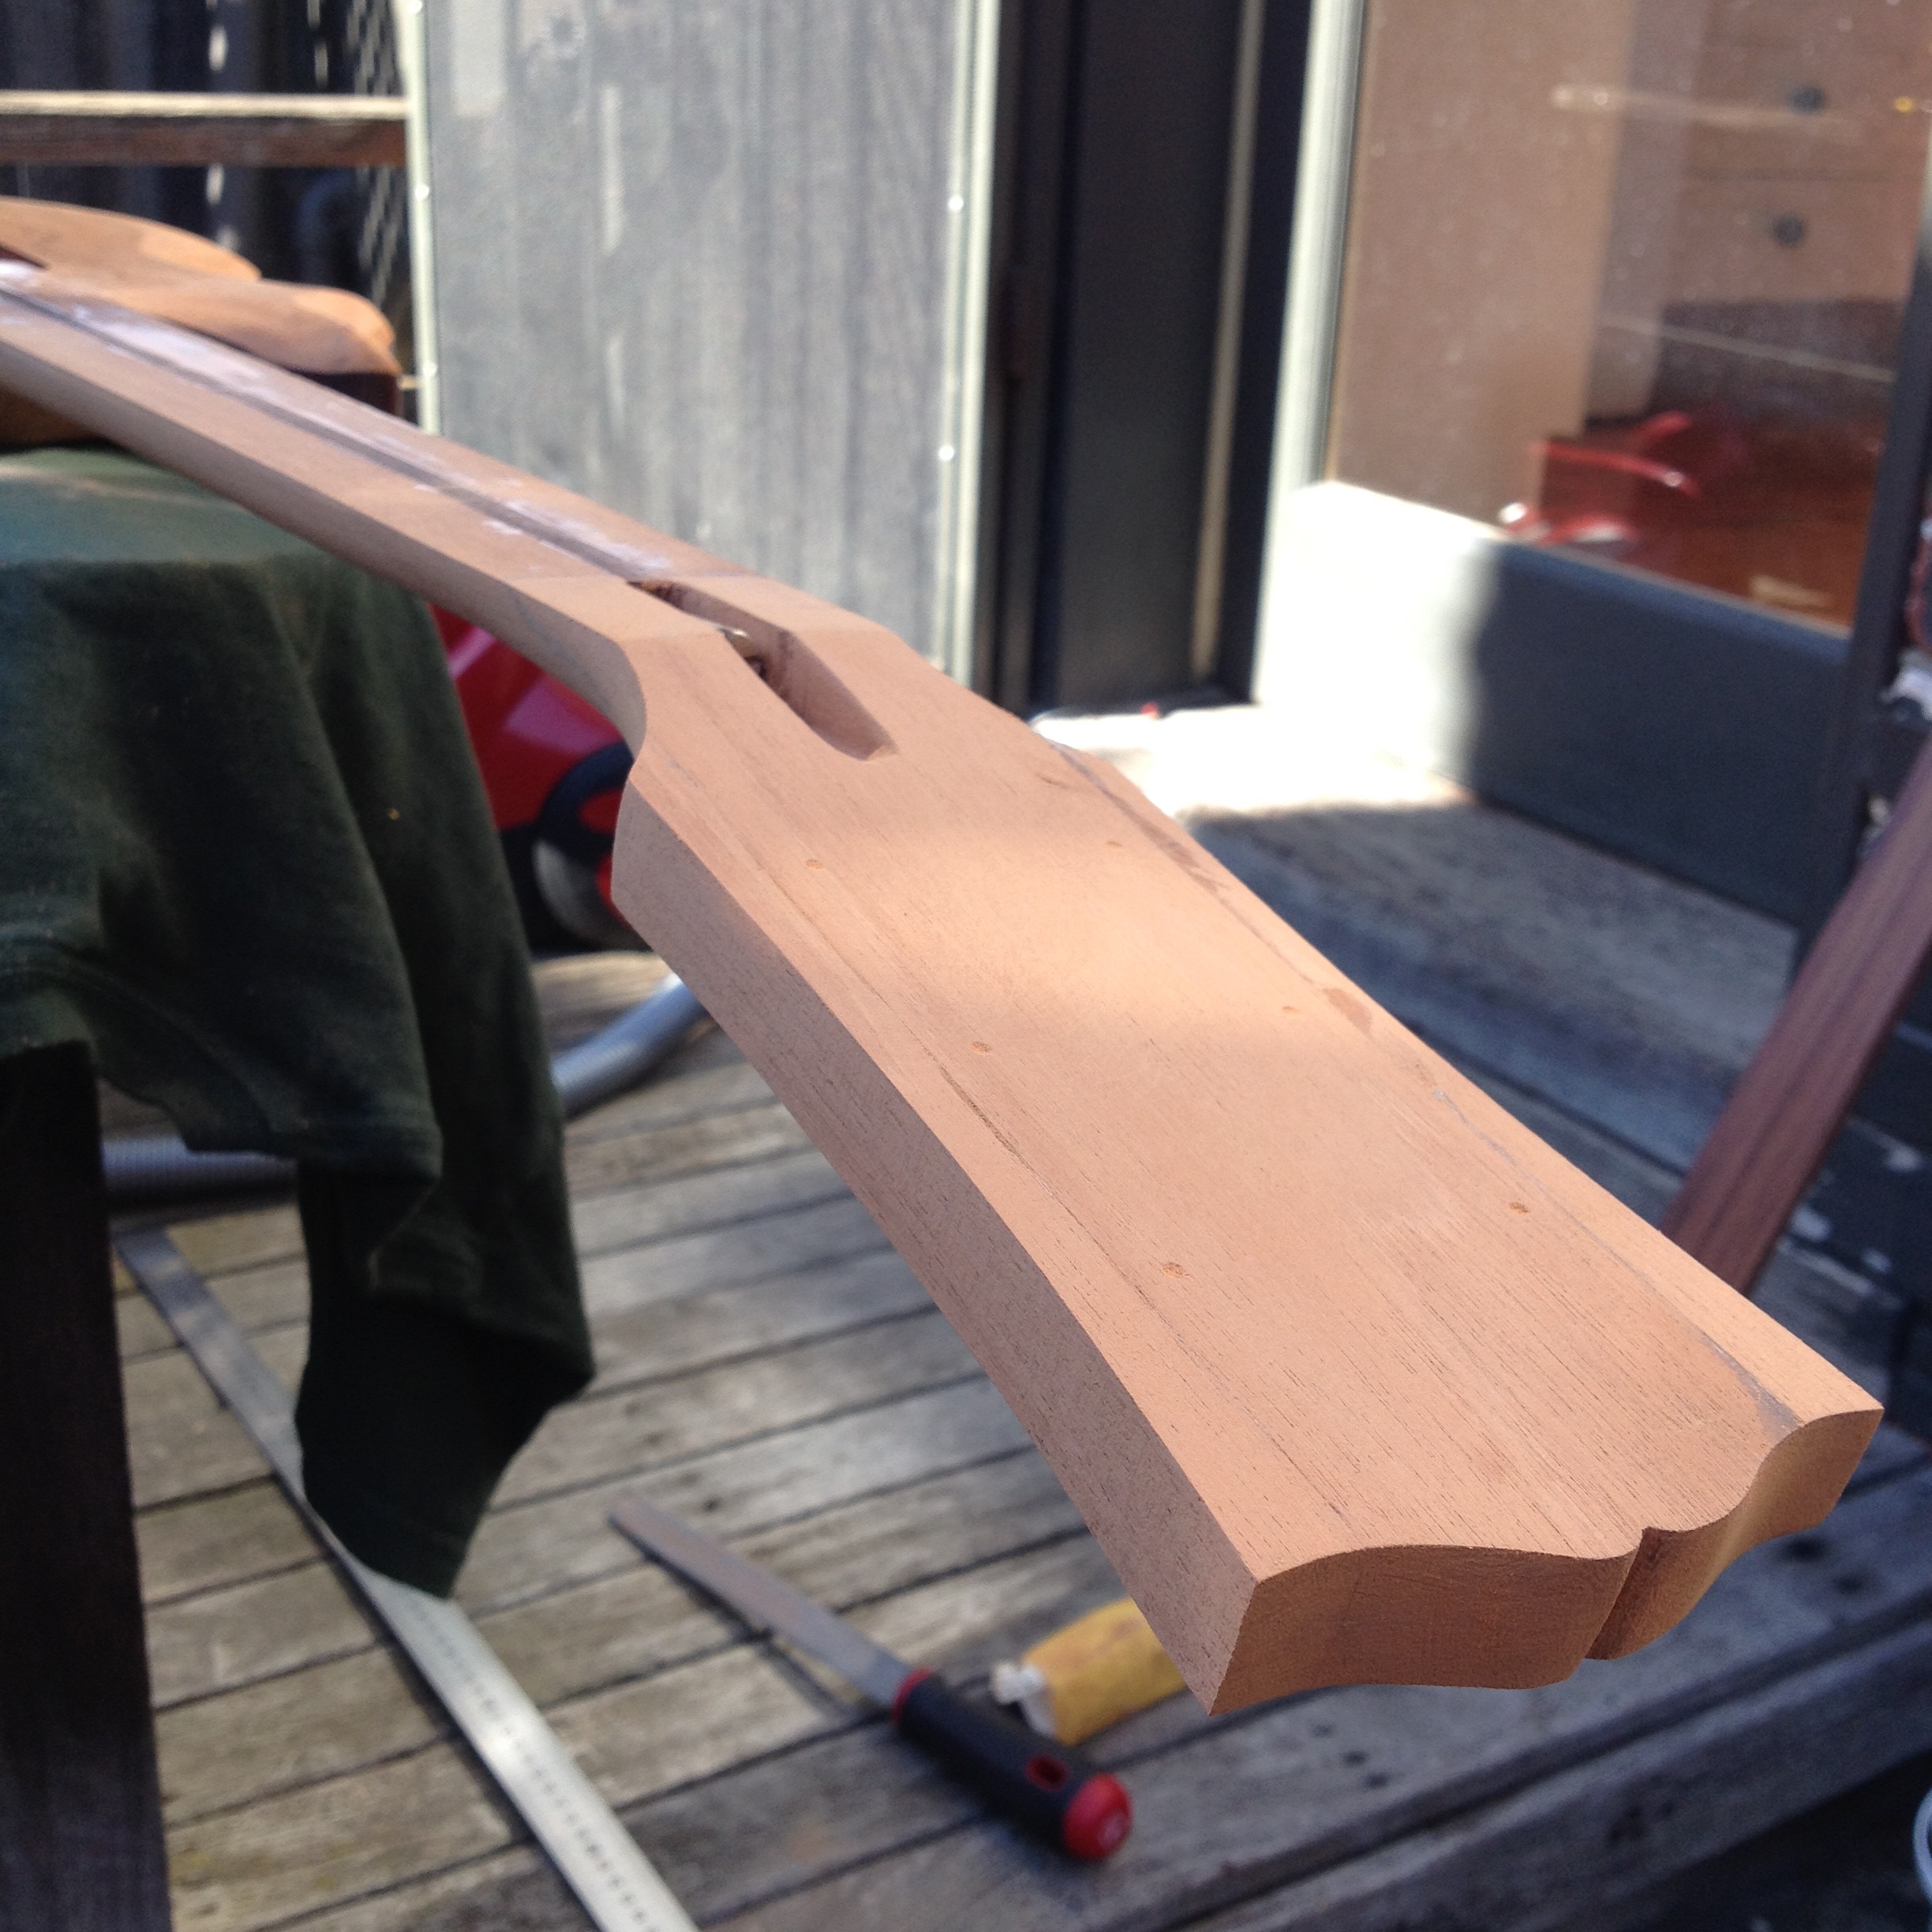
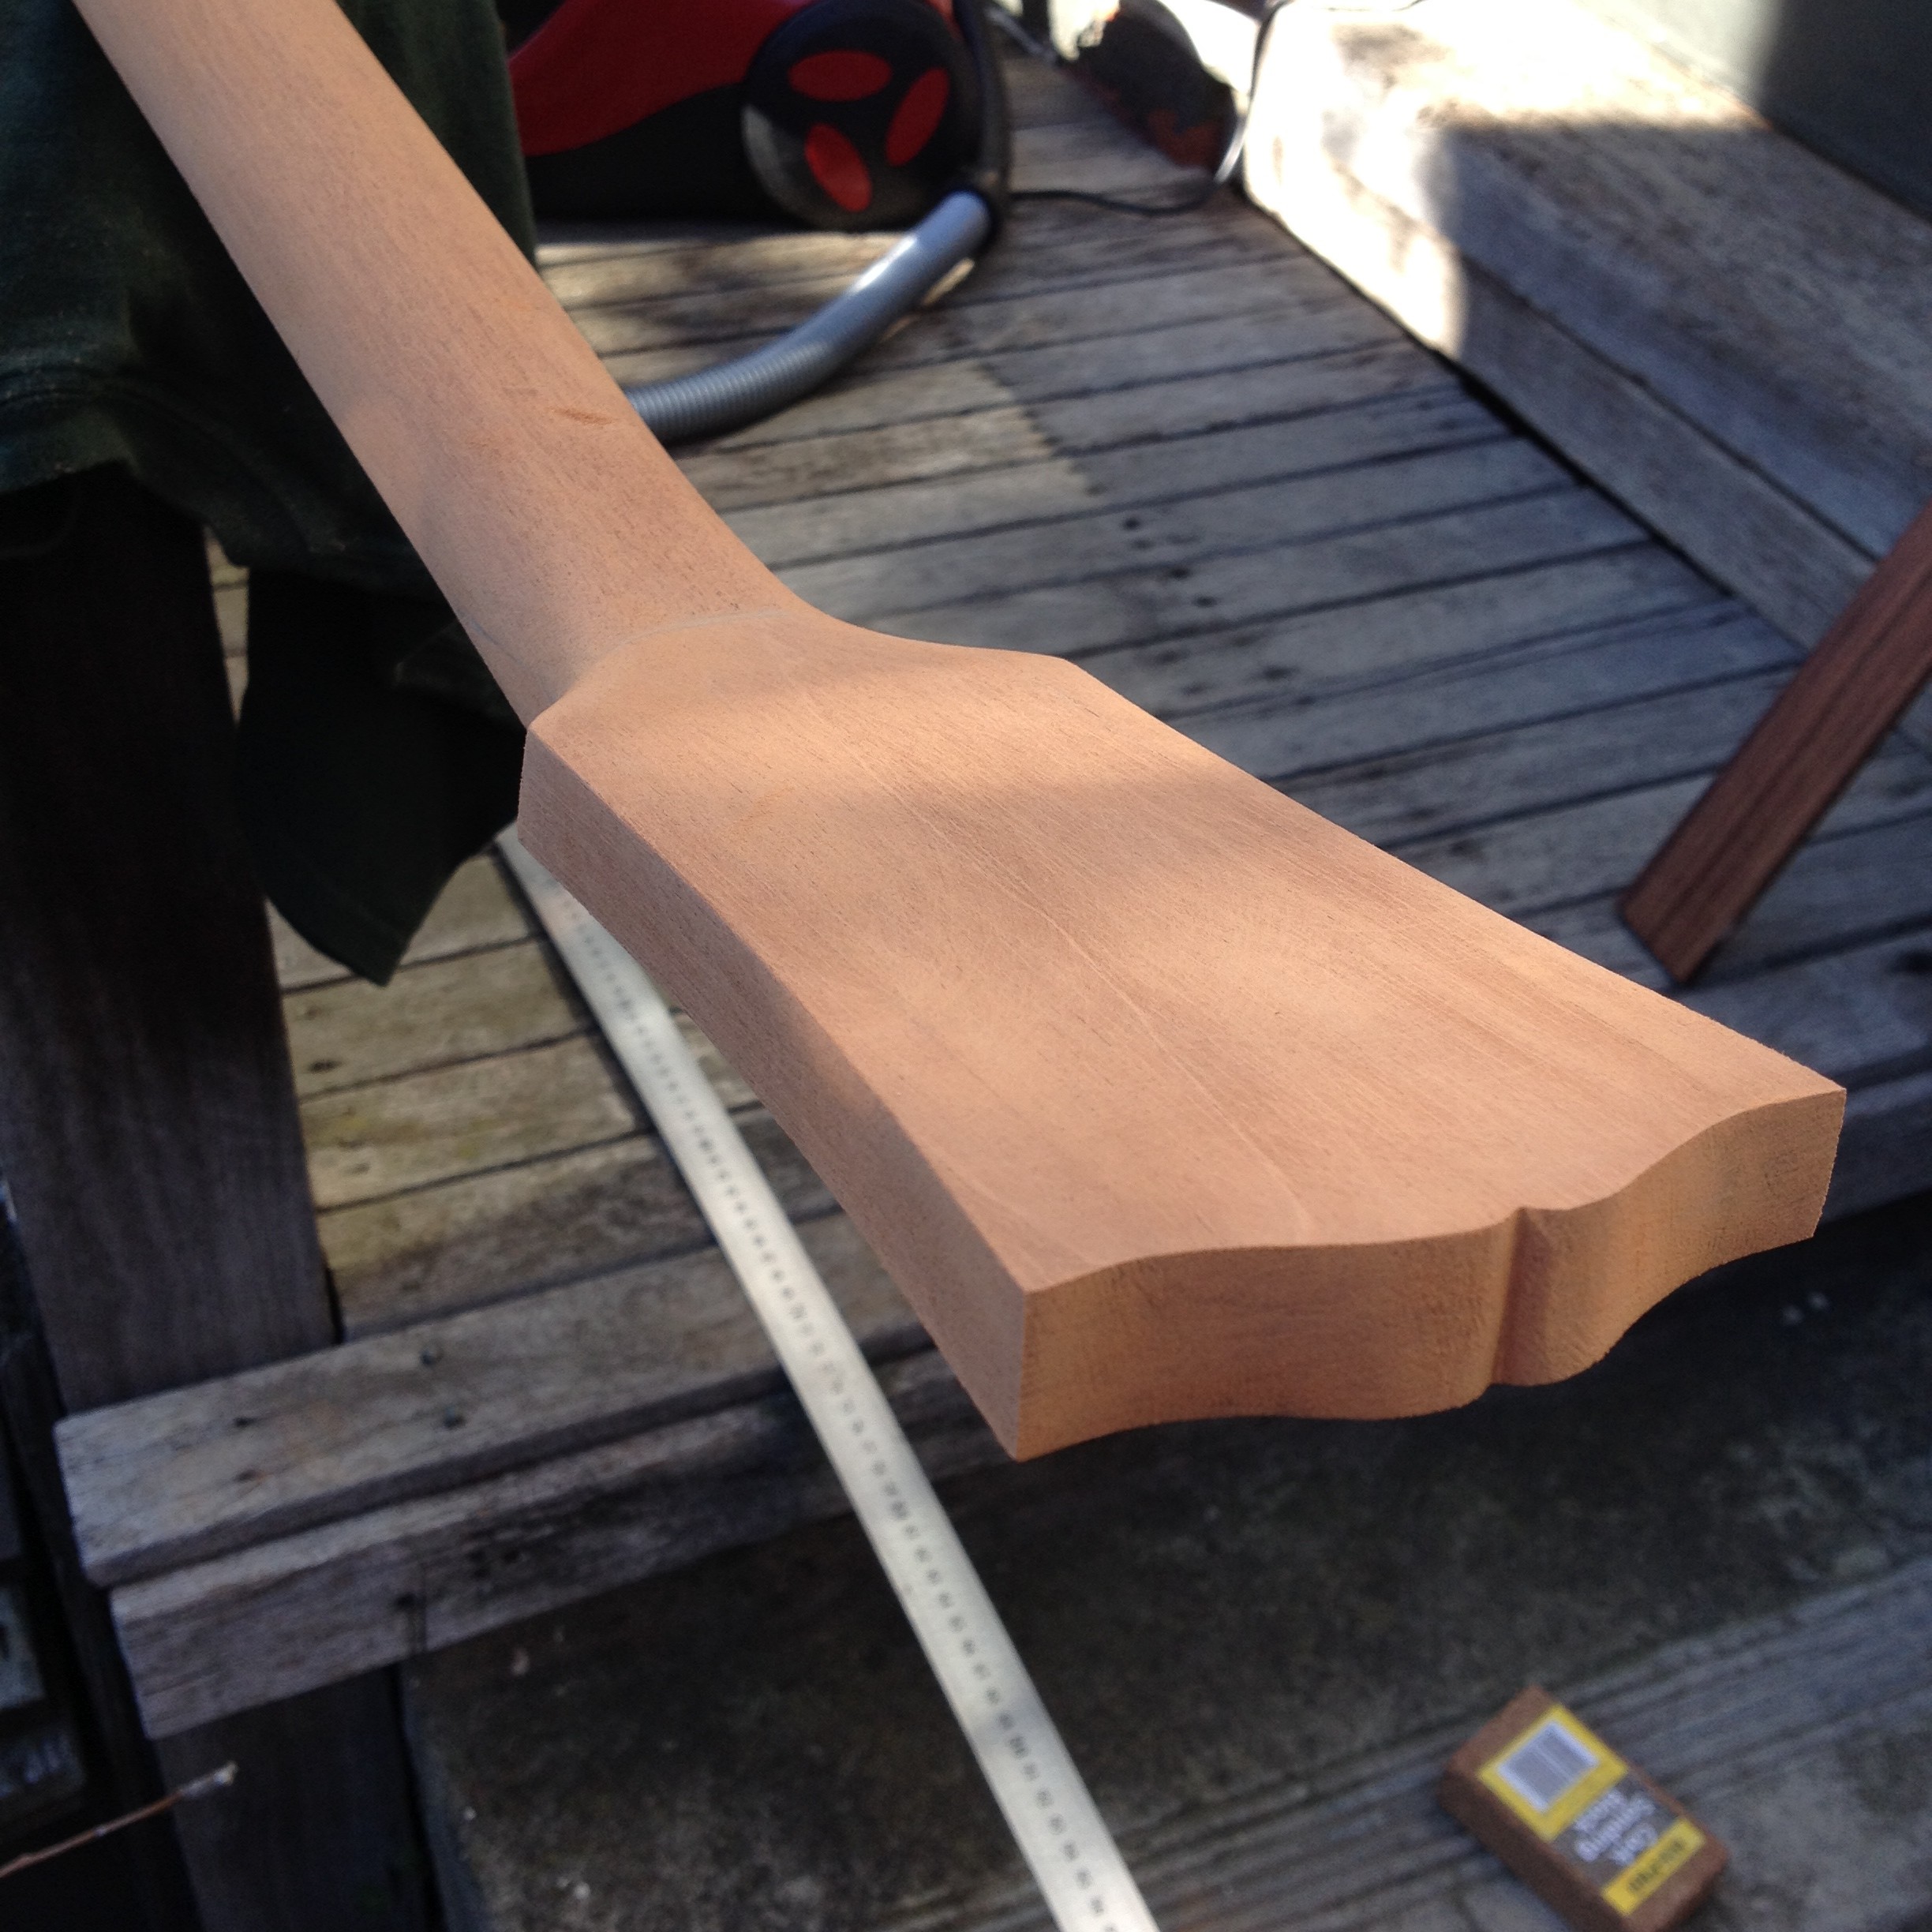
And then to shape the new headstock.
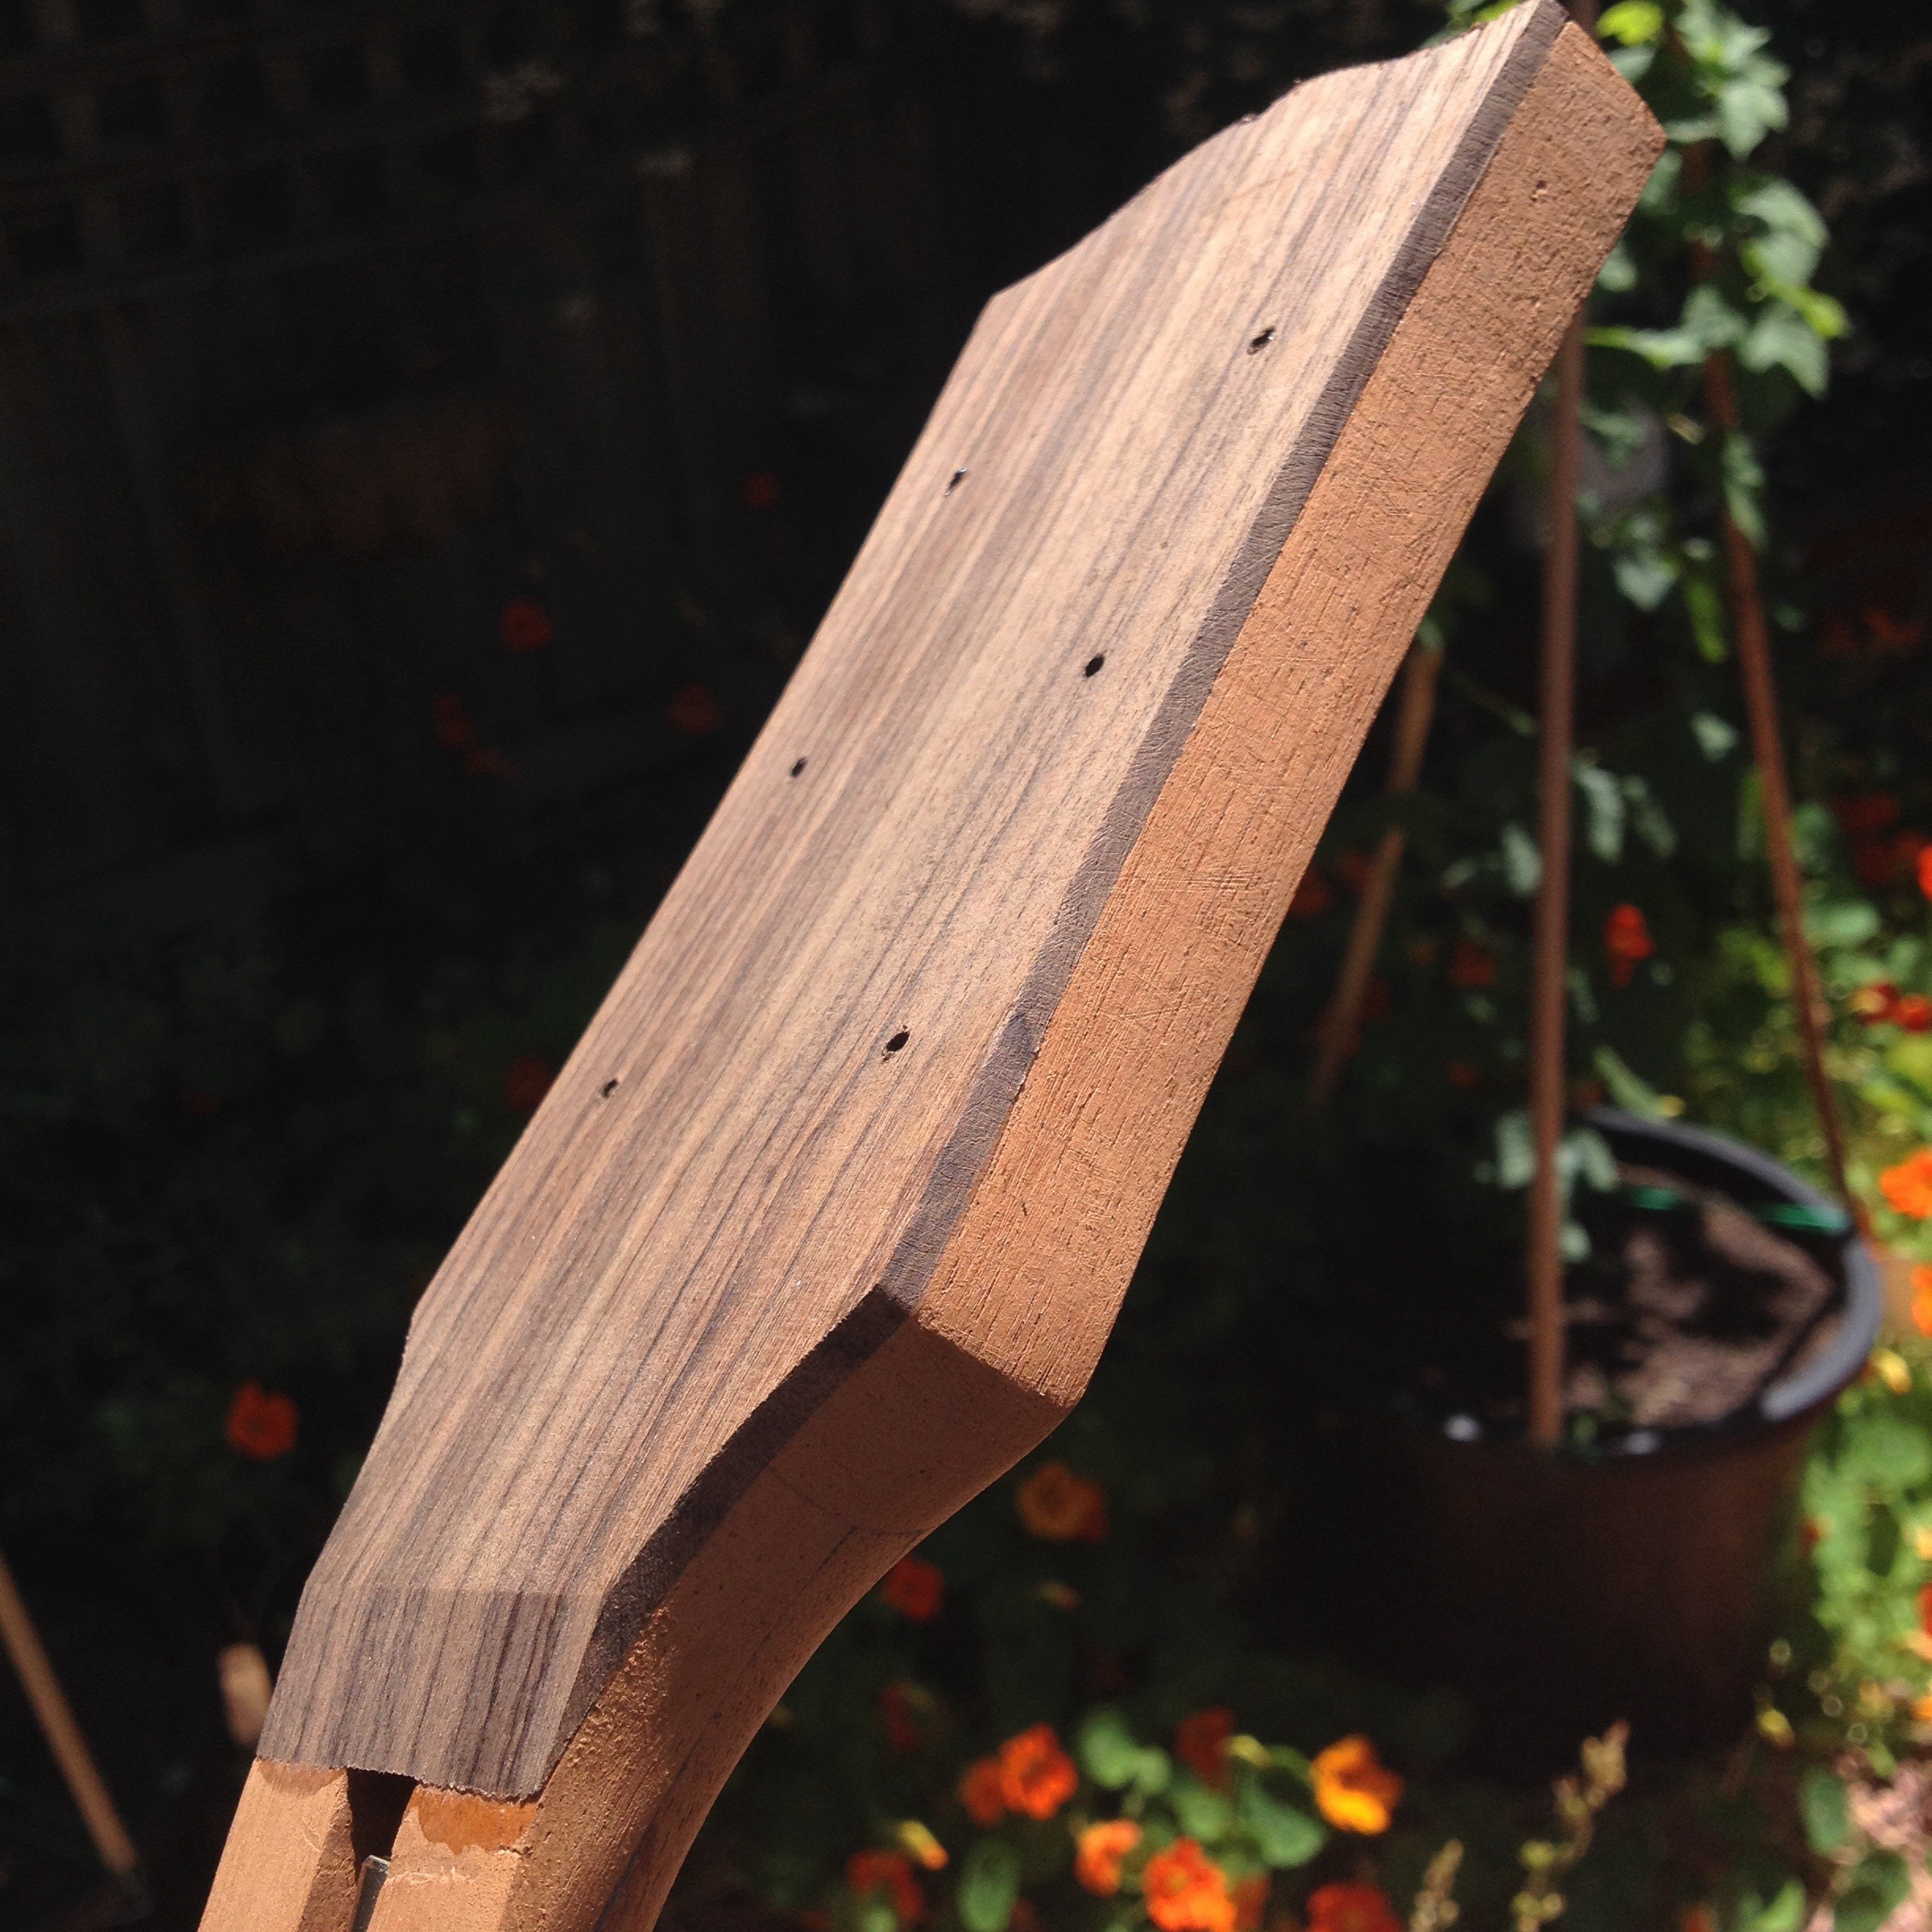
“Wings” were added to the new laminated headstock, and a basic Gibson-style shape cut.
And the back…
The final layer – Indian Rosewood laminate.
The rosewood laminate on the headstock needs to be thickness-sanded, and the truss rod access cavity needs to be cut. It doesn’t show so well in the pictures, but I spent quite a bit of time leveling the surface where the fingerboard will go (the piece of rosewood I mentioned in the previous post).
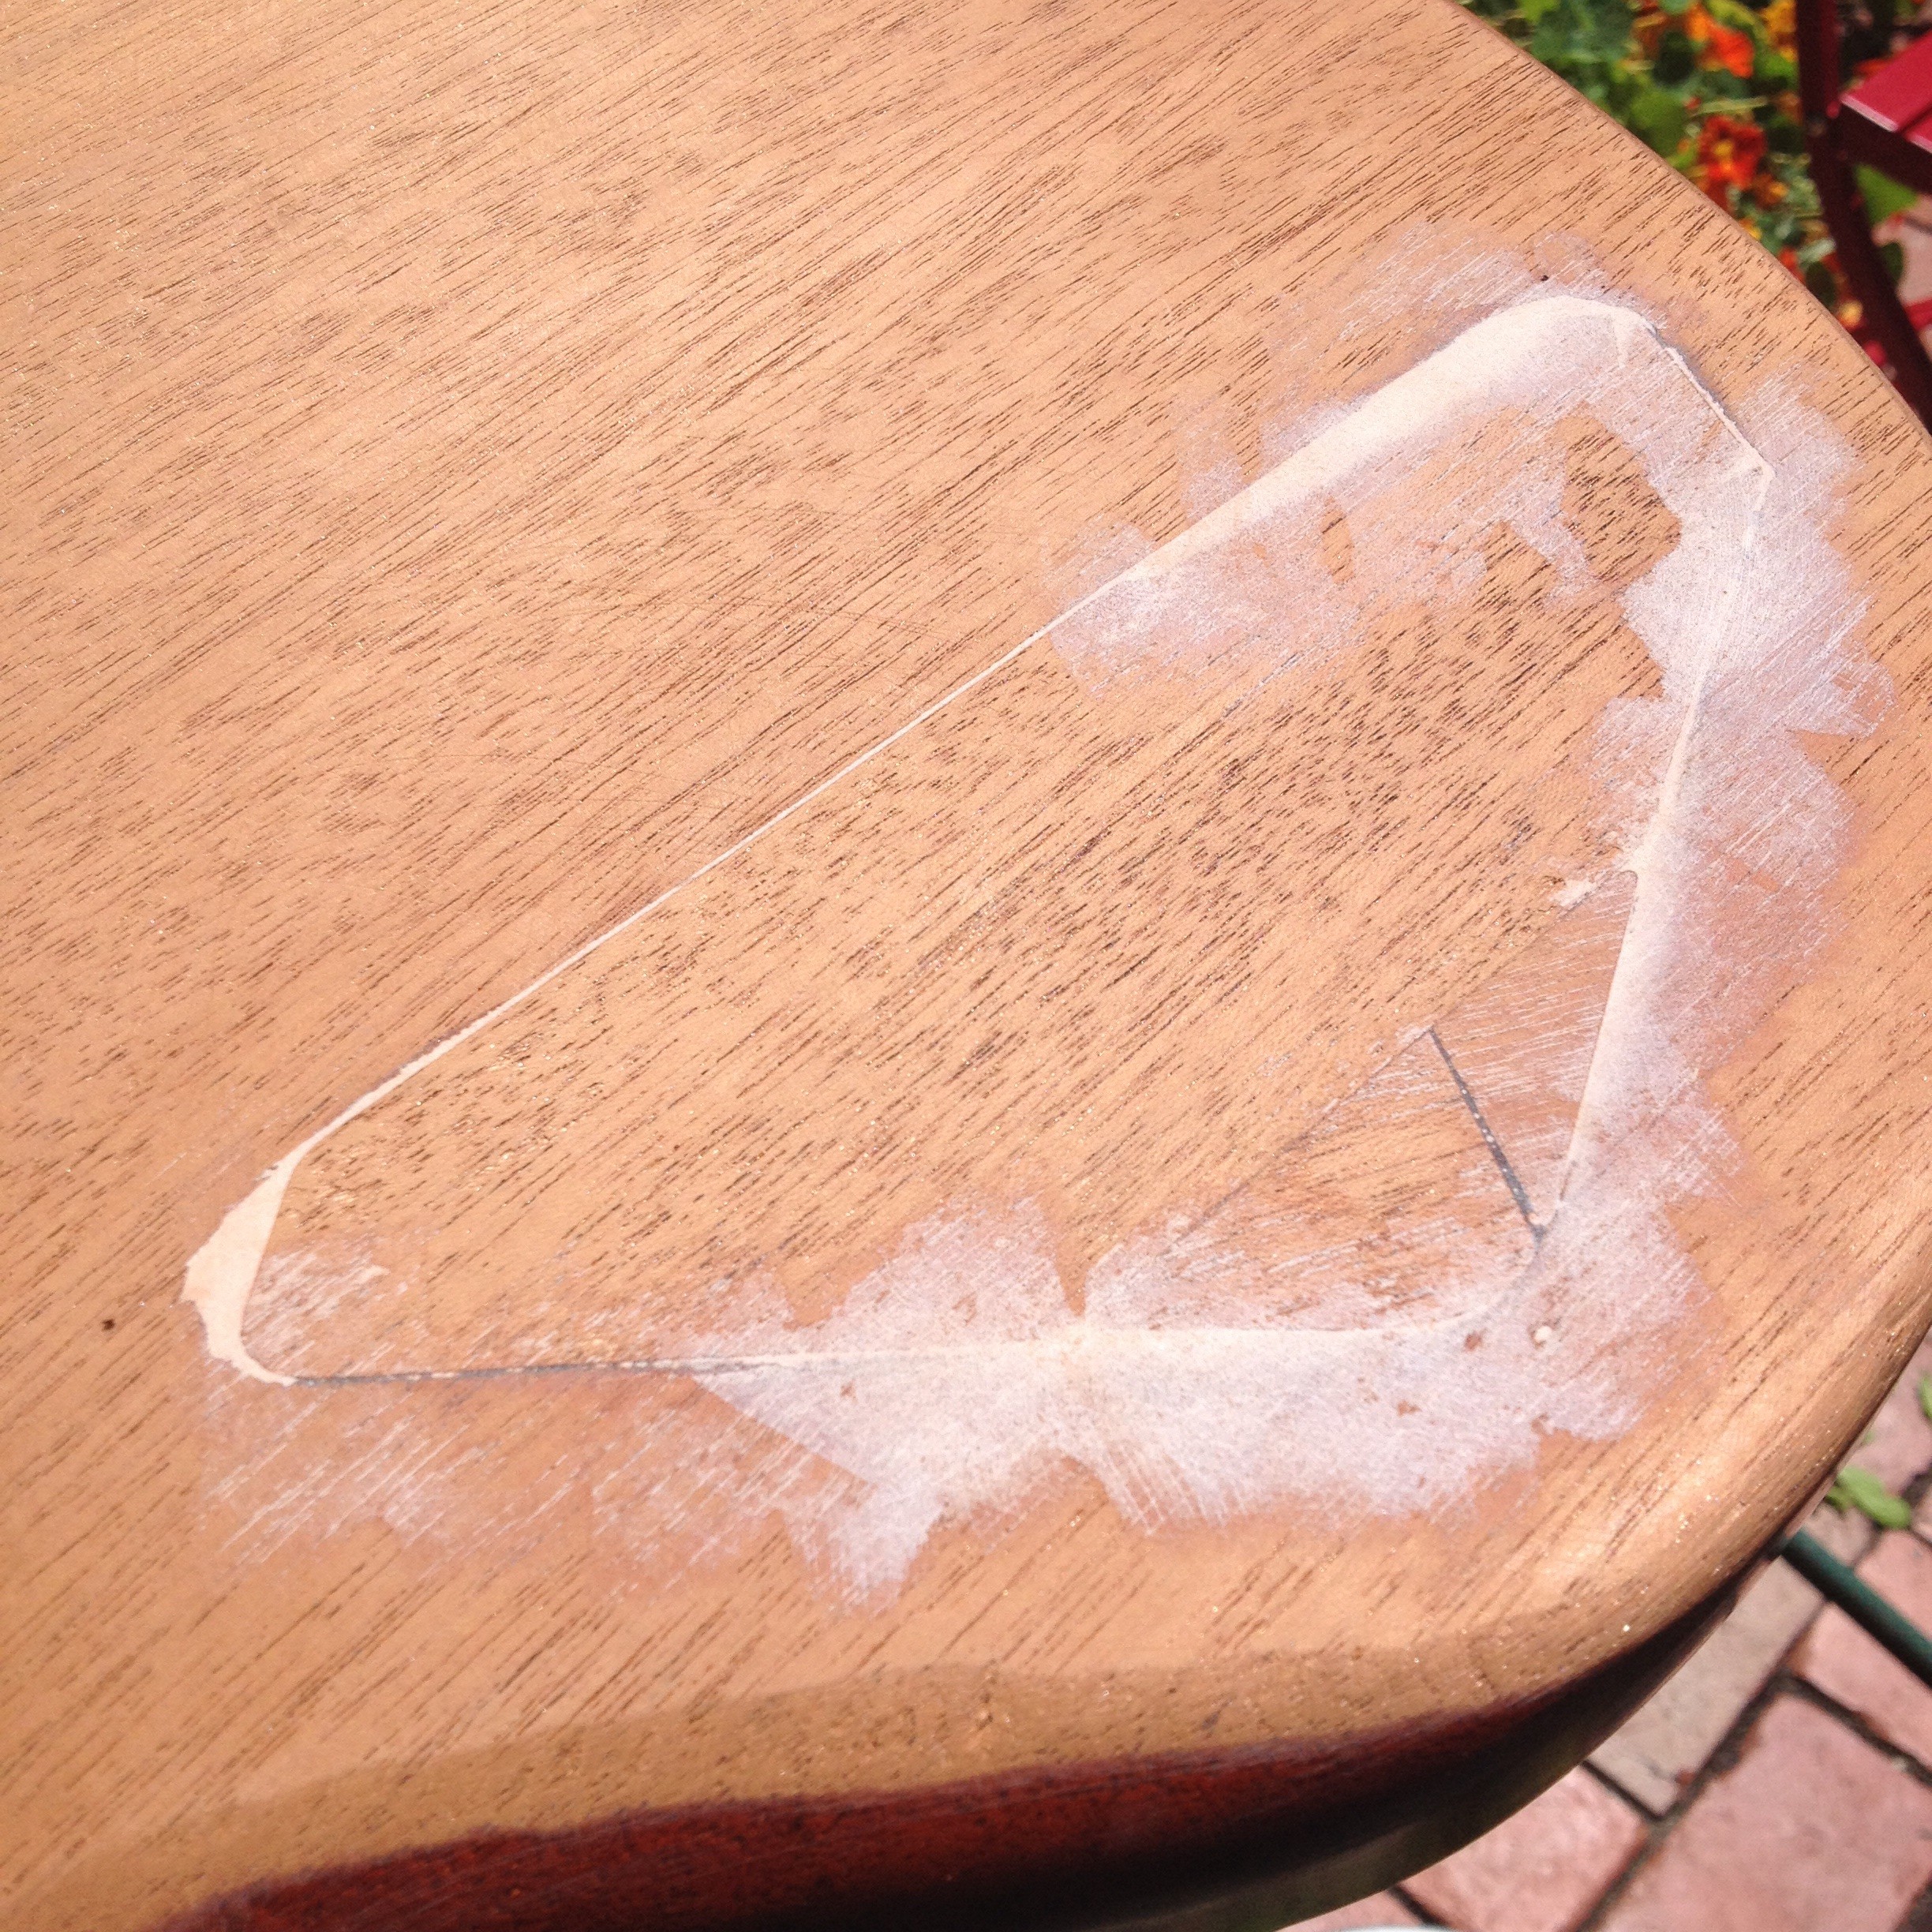
The old electronics cavity. Filled.
Rosewood laminate roughly trimmed.
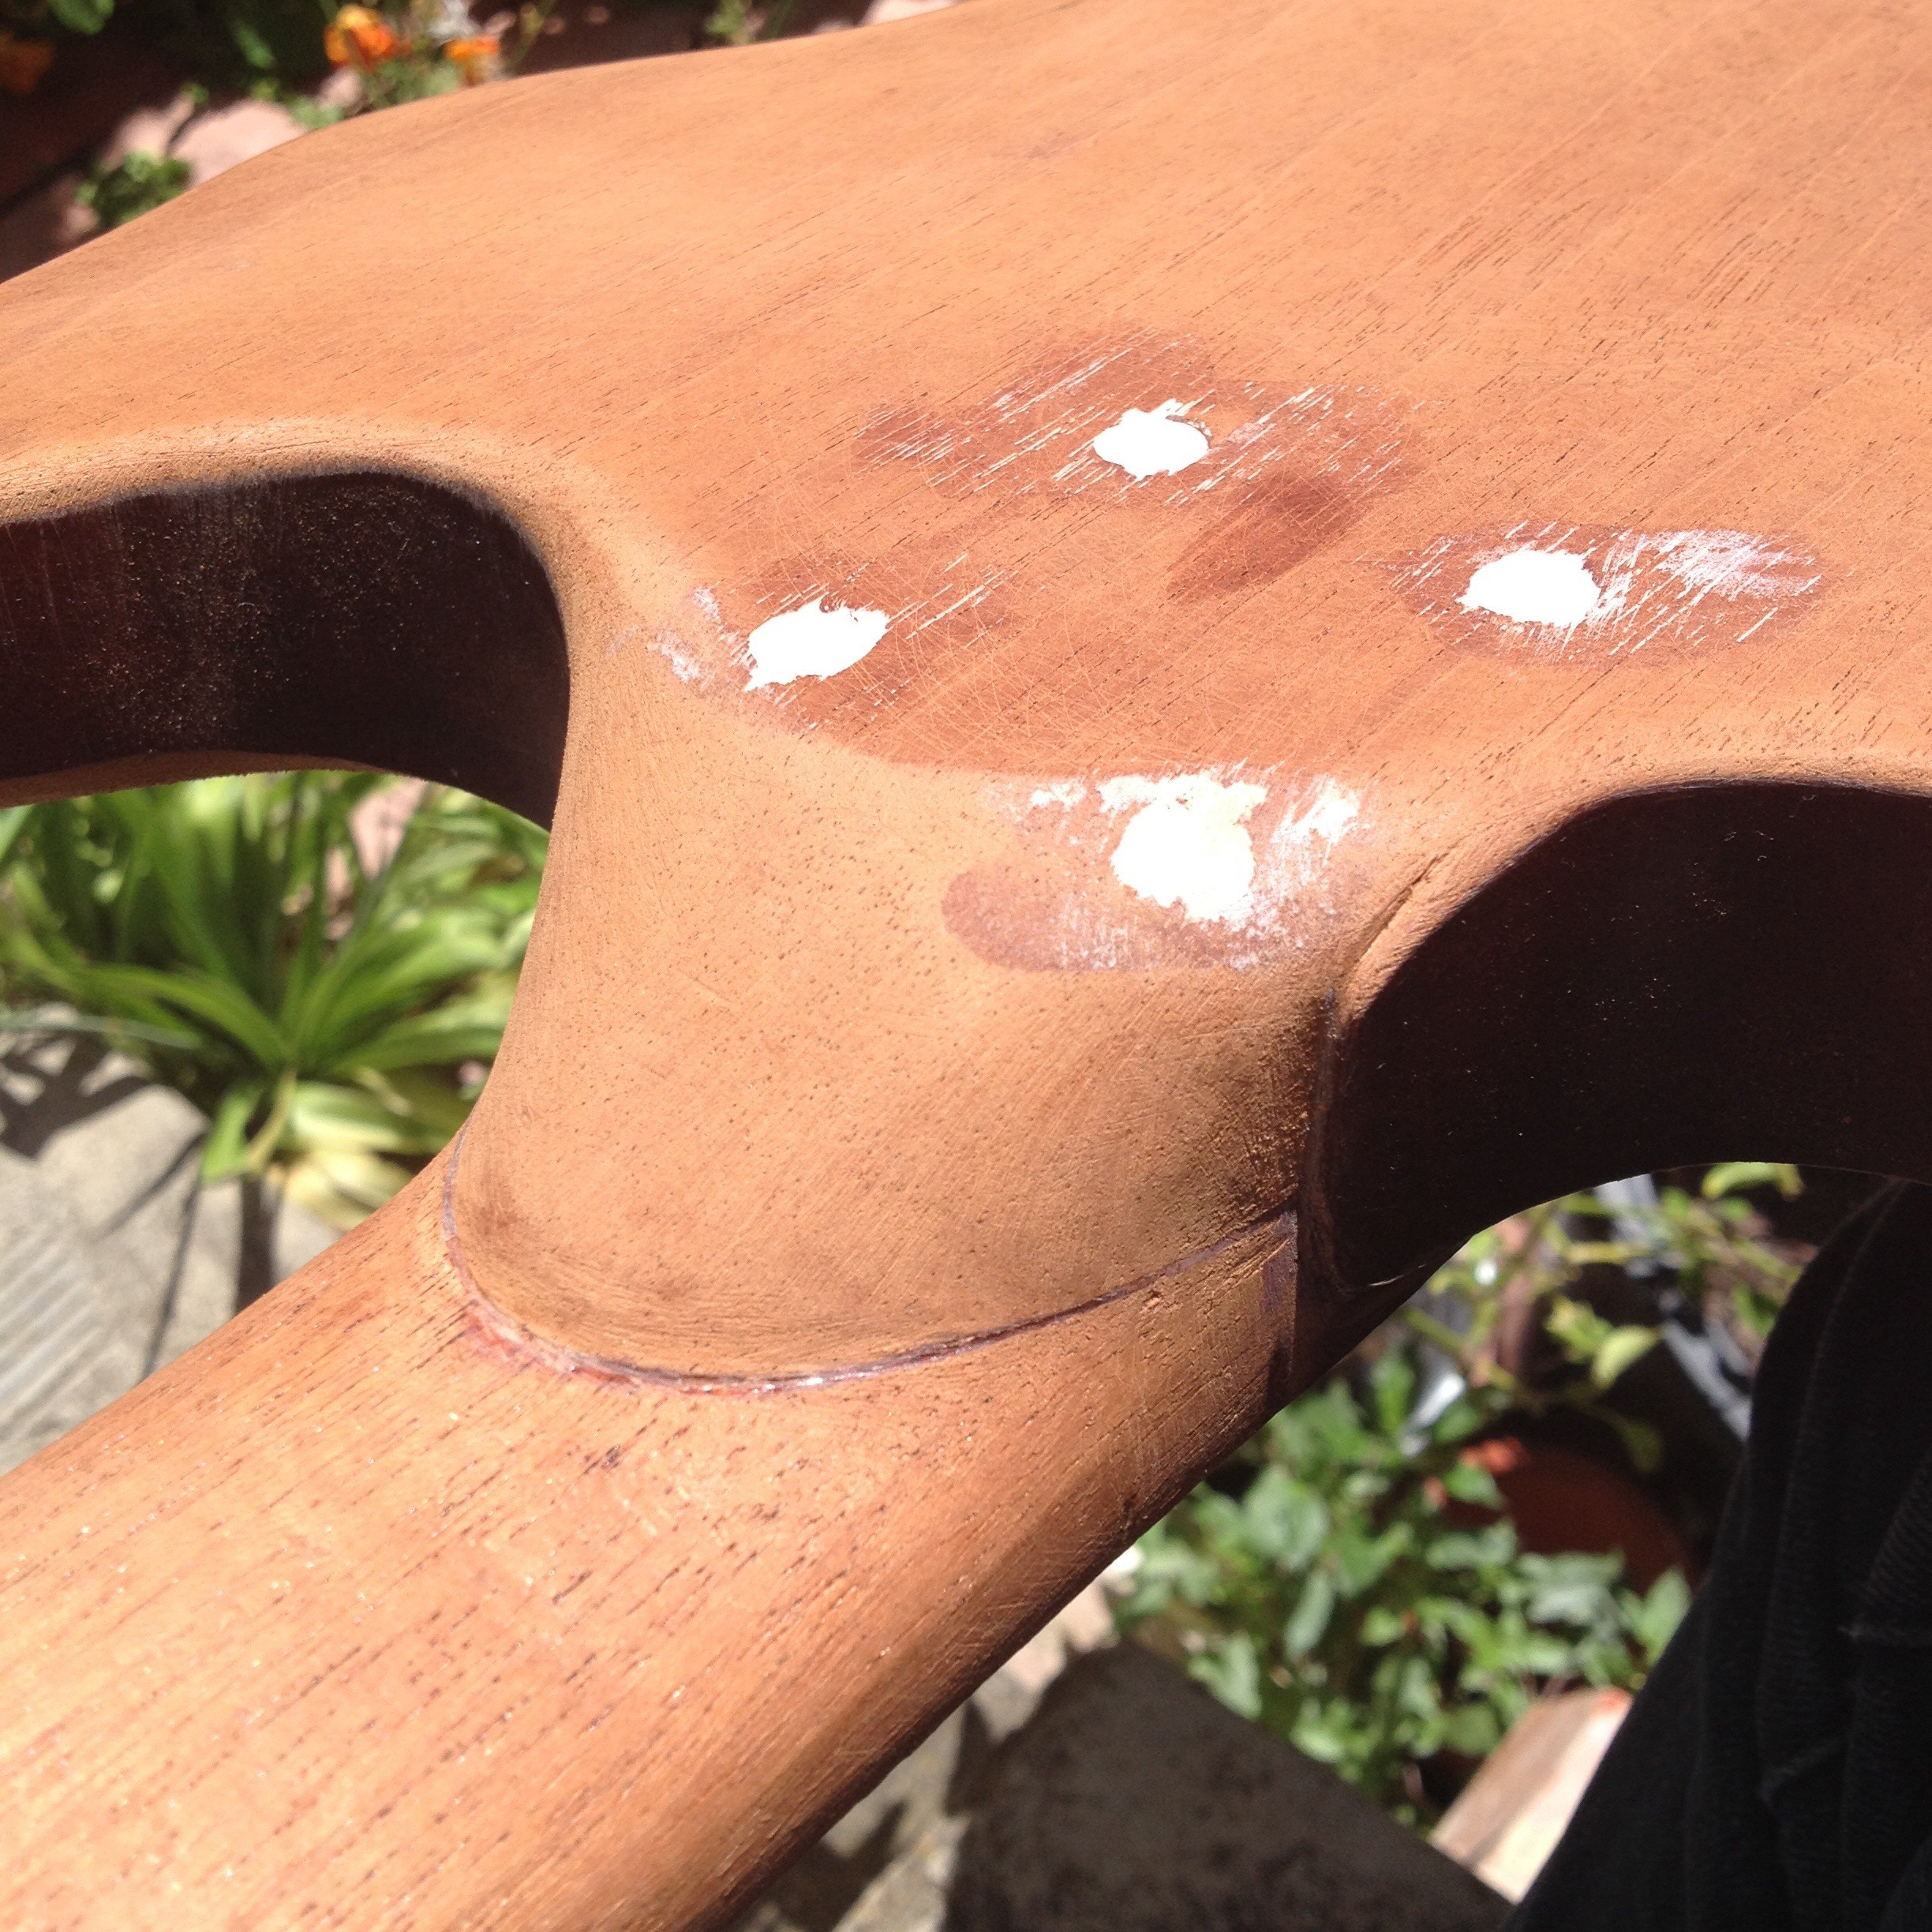
And we can’t forget the carved neck-body frontier. It’s still rough, but you can see where I’m going with it…
Well, thanks, you’ve helped jog my memory. Looks like I was working on the fingerboard. It’s far too thick at the moment, and an extremely hard piece of wood to sand. Patience and arm muscle is what is required here. I’ll get that mounted before cutting the truss access cavity. Then it’ll be time to finish carving the body. Then, dare I say it, time to start grain-filling and preparing for finishing.
On a side-note, I just found this page: http://www.buildyourguitar.com/guitars/yourguit/page4.htm. Scroll down about to half way to see what this guitar looked like when I finished it the first time!
End of part 2.
No Comments